Discord Bot
 ESO Server Status
 AlcastHQ
 First Descendant





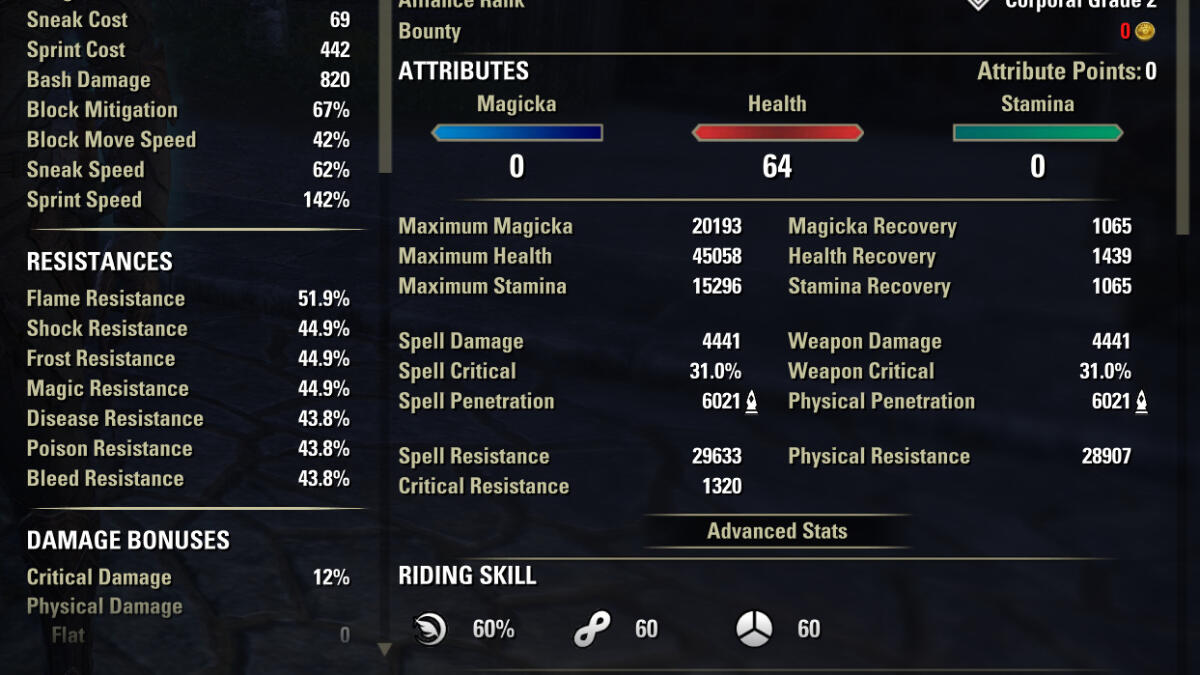
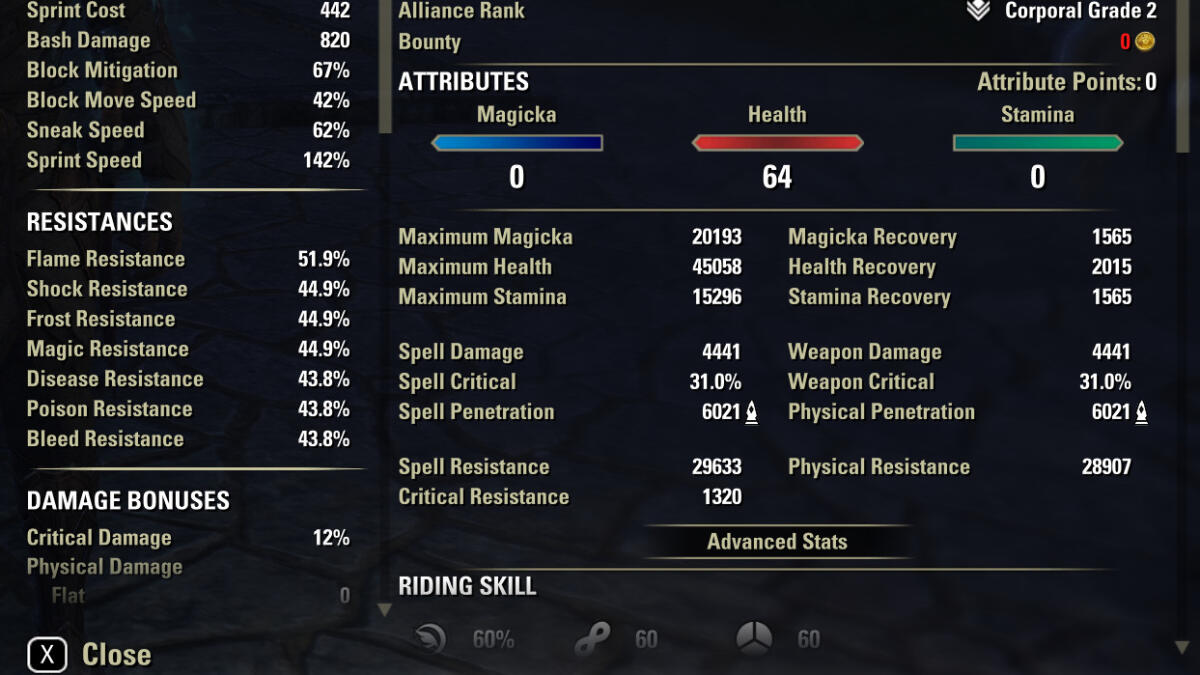
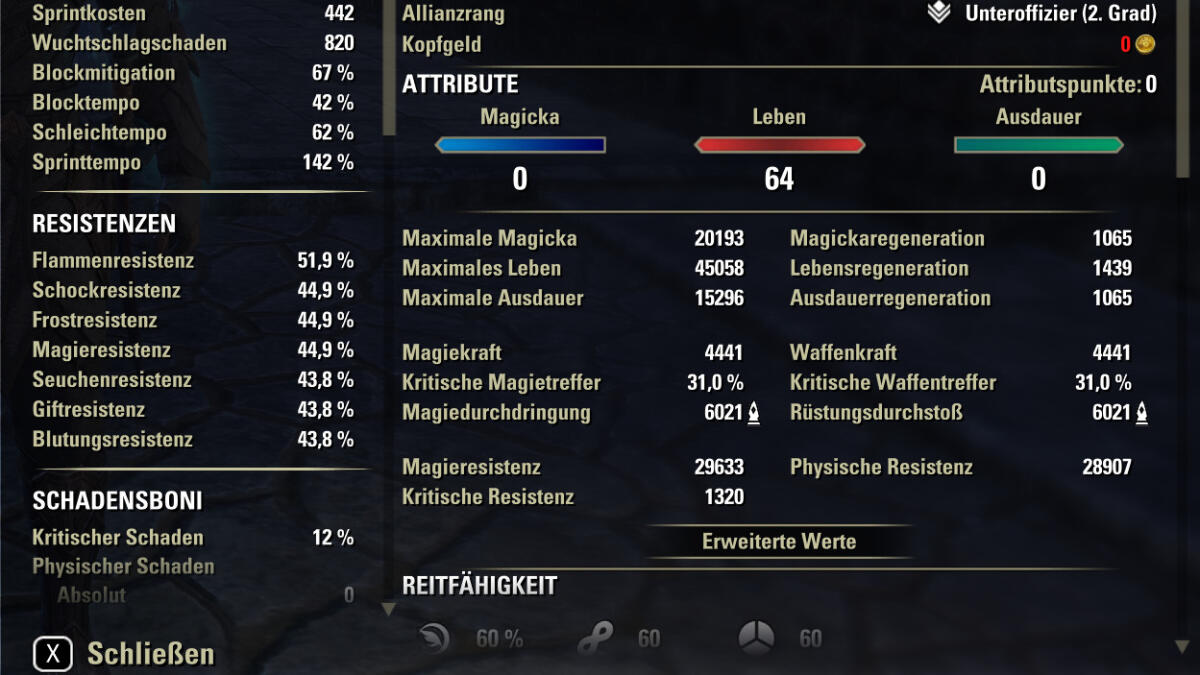
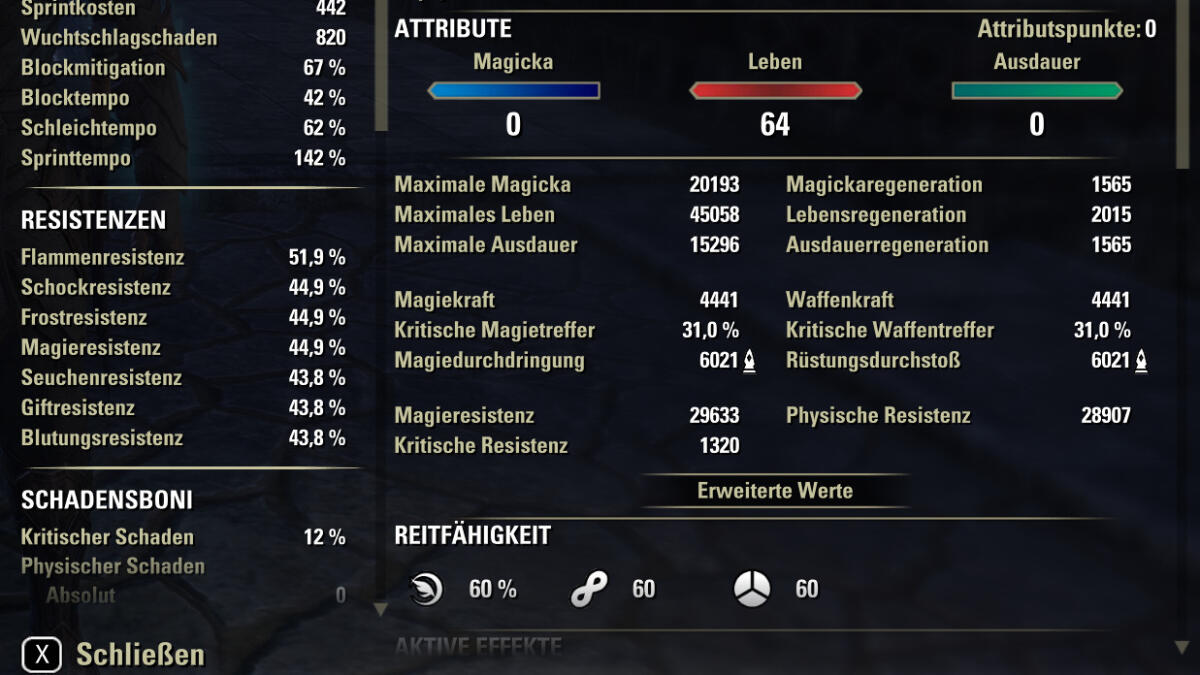
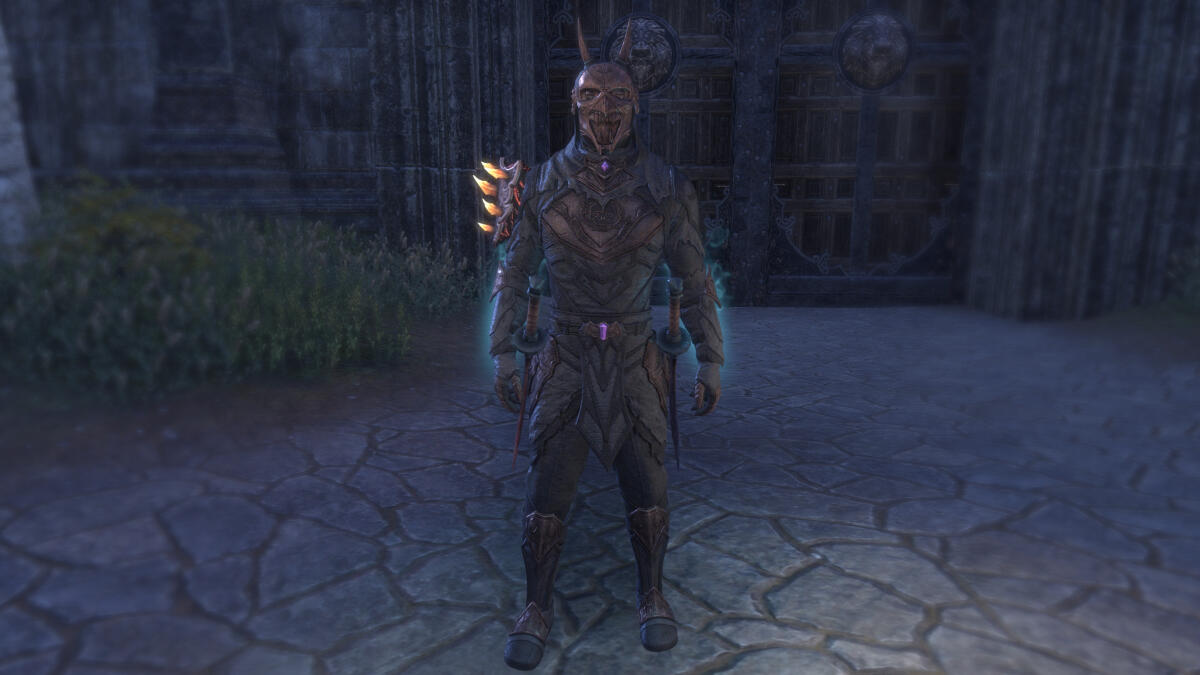
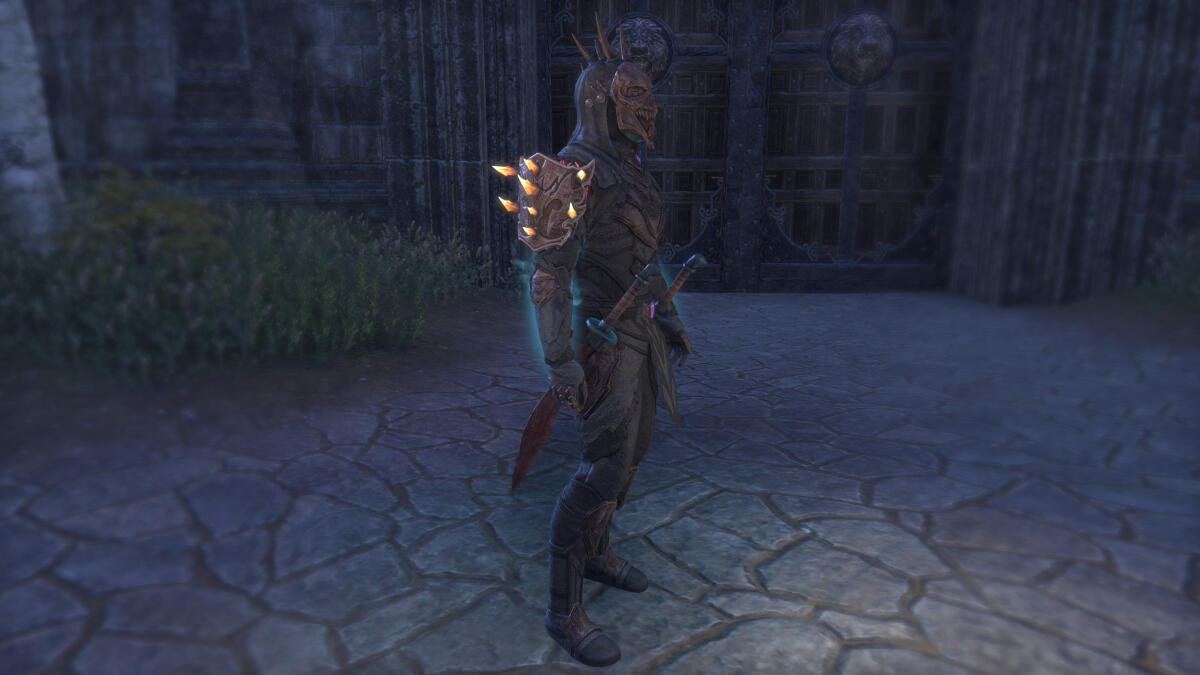
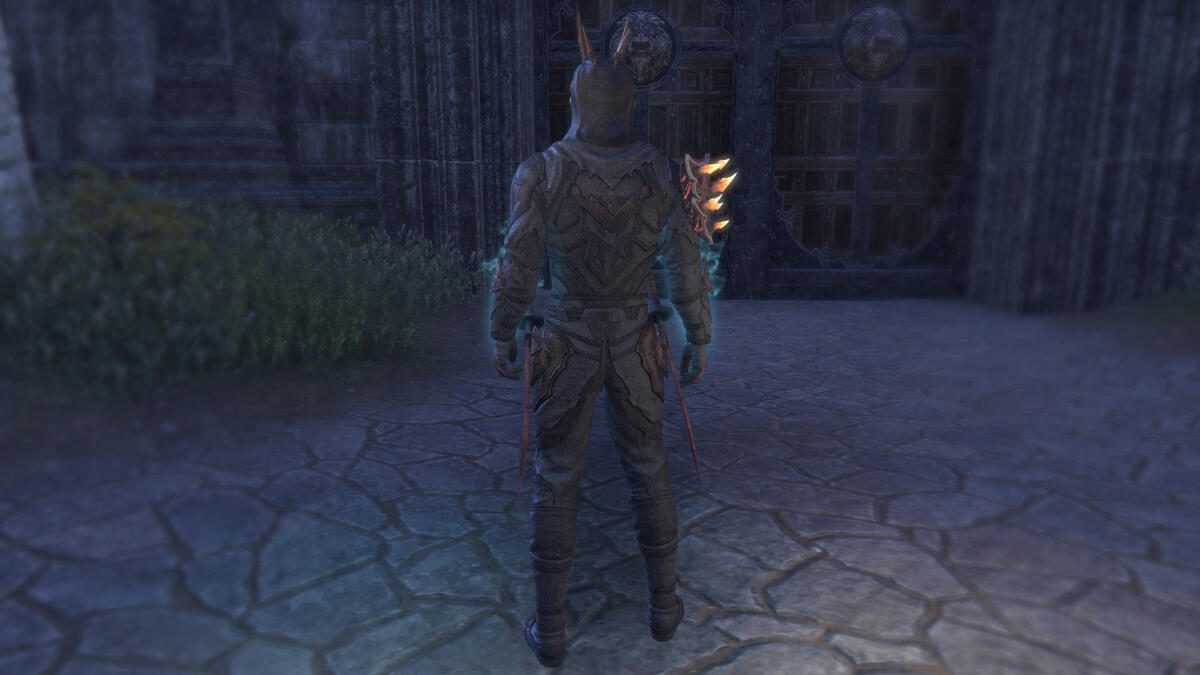
English. Deutsch weiter unten.
Solo Corpseburster with easy Rotation.
Rotation:
Drink the potion as the pre buff.
First: summon the blastbones, runeguard, knives, ward.
Then: blastbones, siphon, ward, blastbones, siphon, ward.
Repeat and activate the runeguard between and use the knives when the time effect runs out.
And don´t forget the light attacks between ;)
When things going tight, use the ultimate. That give you a big shield.
The Rotation for the Pure Necro is:
First: Blastbones, Grave, Ghost,
Then: Blastbones , Siphon, Scythe
activate graves and Ghost again when its running out.
On the DD Corpseburster setup activate the ultimate when its ready. Activate then the ultimate instead of skull.
Rotation here:
First: blastbones, Grave, Skeleton
Then: blastbones, siphon, skull blastbones, siphon, siphon
Just for Info:
the knives is a skill from the scribing system. You must have made the quest before and farm the componets.
The components on the knives are: focus ´´Multi-Target´´ , signature ´´Lingering-Torment´´ and the affix ´´Lifesteal´´
You can also use the signature ´´Warmage´s Defense´´ on the knives.
Some Person will wondering why i use Hatchling and not Hexos. This is because of the different conditions from the Sets. Hatchling come when i take Damage. Hexos come when i make critical direct Damage and have a deadtime of 1 second often more, not 0 like Hatchling. So when i am in the Situation that i am stunned or i don´t have any resources, because i fucked up with the Rotation, i still have some Defense with Hatchling. Yes Hatchling is weaker but more reliable.
When you want make more Damage and think that you don´t need the extra Shield you can use Sweep instead of Radiant Ward.
Deutsch
Solo Leichenberster mit einfacher Rotation.
Rotation:
Trinke den Trank als Vorbuff.
Zuerst: Beschwöre die Sprengknochen, Runenwächter, Reisemesser, Schutz.
Dann: Sprengknochen, Siphon, Schutz, Sprengknochen, Siphon, Schutz.
Wiederhole das und aktiviere Runenwächter dazwischen. Benutze die Messer wenn der Zeiteffekt ausläuft.
Wenn es eng wird benutze die Ultimative. Diese gibt dir einen großen Schild.
Beim DD Corpseburster Setup aktiviere die Ultimative sobald diese bereit ist. Führe dann die Ultimative, anstatt des Schädels aus.
Vergiss nicht die leichten Angriffe dazwischen und benutze den Trank ;)
Nur zur Information:
und die Reisemesser sind Fähigkeiten aus dem Schriftlehren System. Du musst also erstmal die Quest dazu machen und die einzelnen Komponenten farmen.
Die Komponenten bei den Reisemessern sind: Fokus ´´Mehrere Ziele´´, Effekt ´´beständige Qual´´ und Affix ´´Lebensraub´´.
Manche werden sich fragen, warum ich „Schlüpflingspanzer“ und nicht „Hexos“ verwende. Das liegt an den unterschiedlichen Bedingungen der Sets. „Schlüpflingspanzer“ wird aktiviert wenn ich Schaden erleide. „Hexos“ hingegen wird aktiviert wenn ich kritischen Direktschaden verursache und hat eine Ausfallzeit von einer Sekunde, meistens mehr. Im Gegensatz zu „Schlüpflingspanzer“, das keine Ausfallzeit hat. Wenn ich also betäubt bin oder keine Ressourcen mehr habe, weil ich einen Fehler in meiner Rotation gemacht habe, bietet mir „Schlüpflingspanzer“ immer noch etwas Verteidigung. Ja, „Schlüpflingspanzer“ ist schwächer, aber zuverlässiger.
Wenn du mehr Schaden verursachen willst und denkst das du den zusätzlichen Schild nicht benötigst, kannst du „Durchlagender Schwung“ anstelle von „Strahlender Schutz“ verwenden.