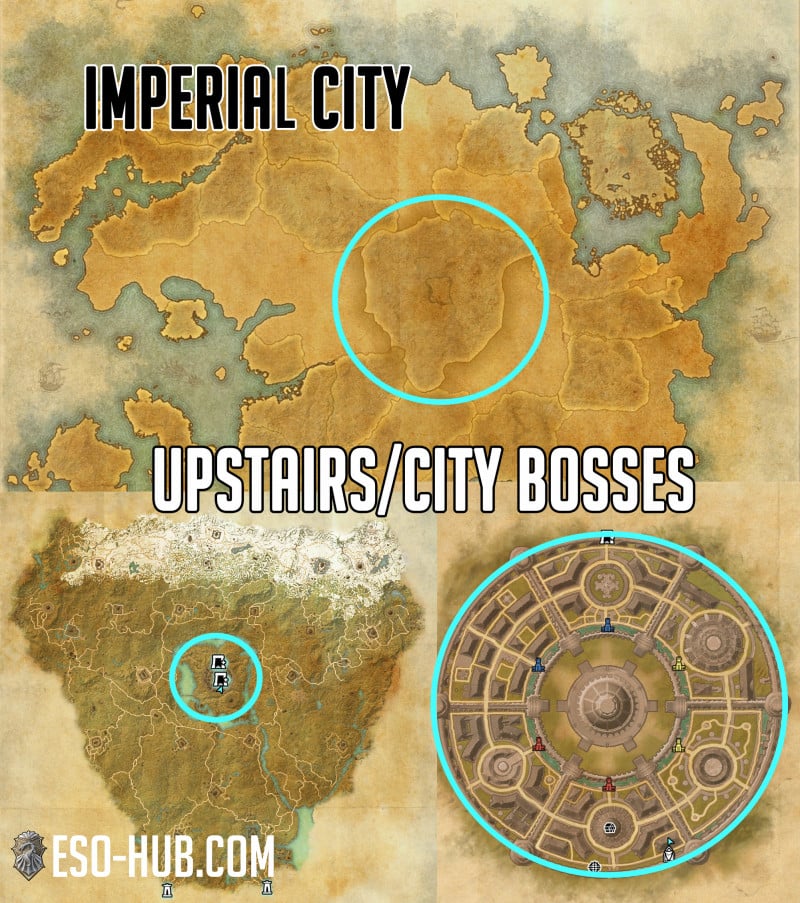
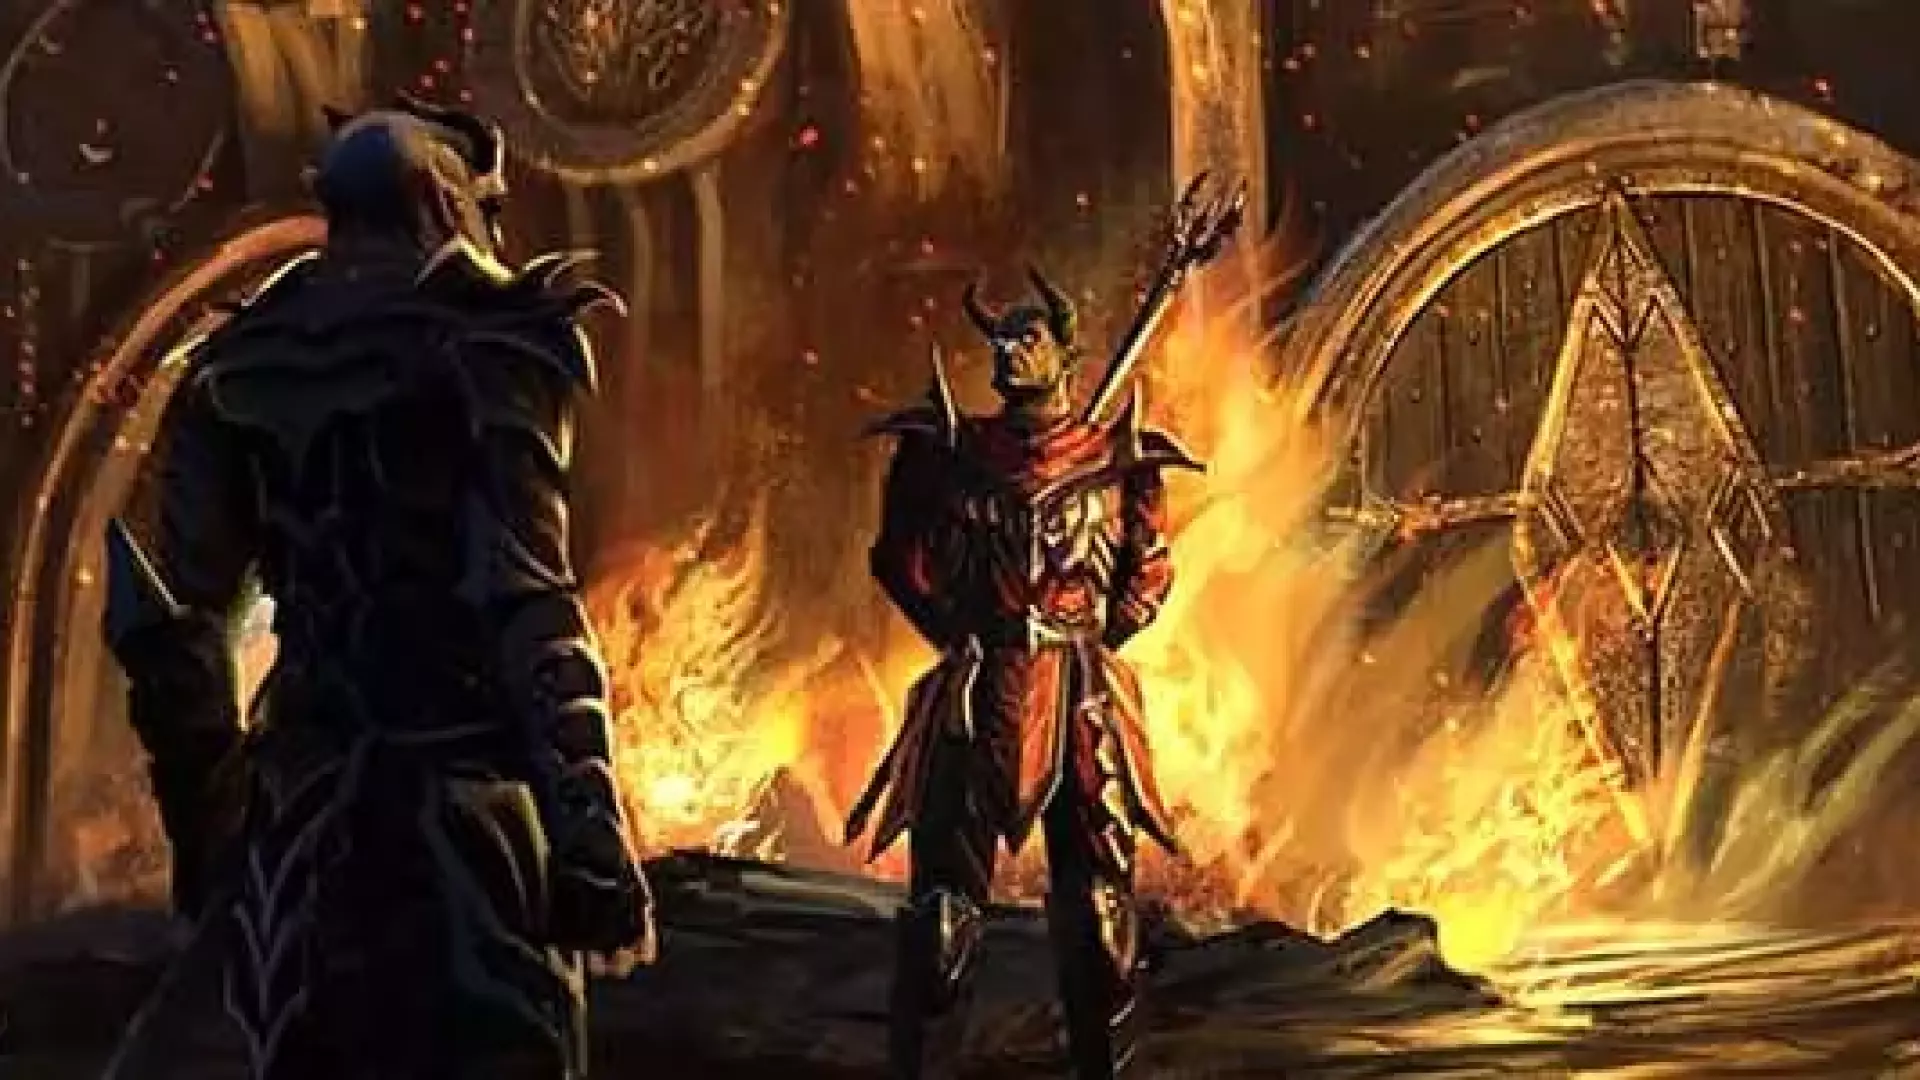
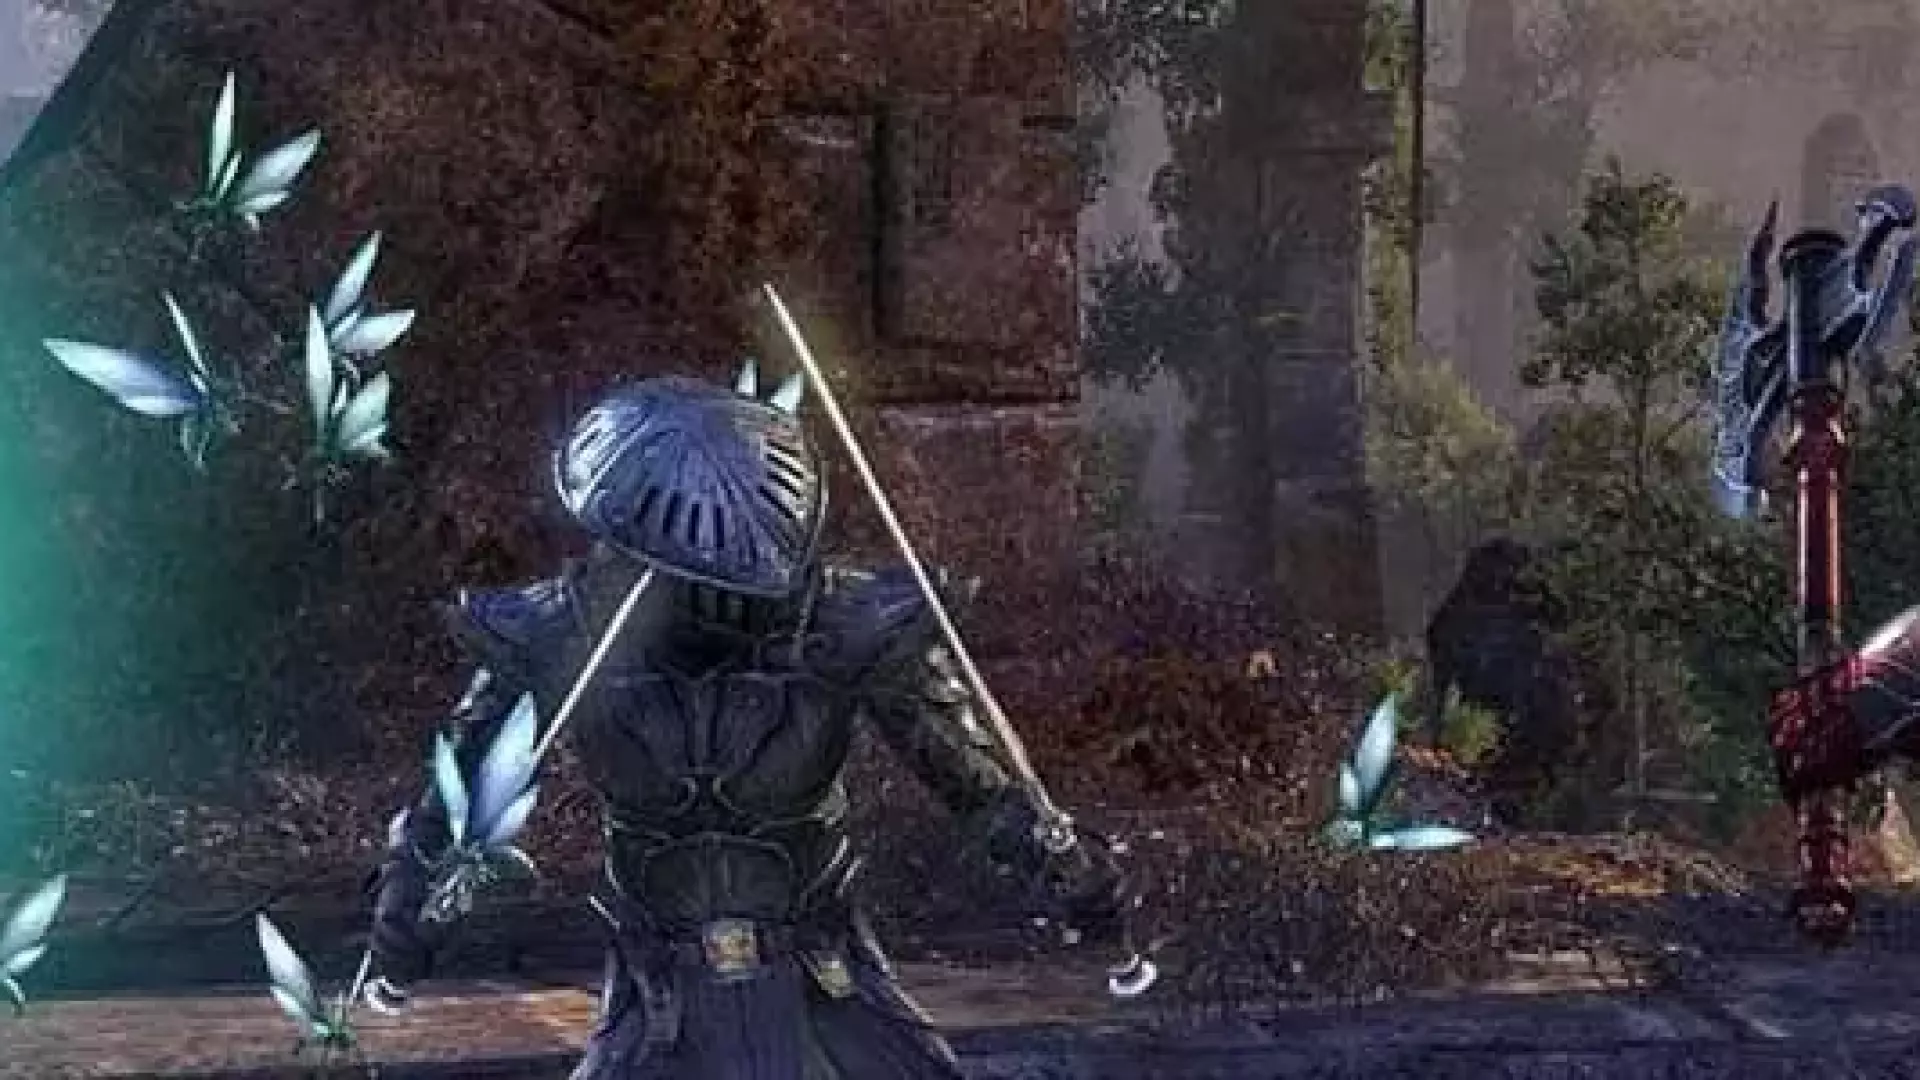
Imperial City - ESO
To access this zone you must own the Imperial City DLC.
Zones within Imperial City:
Zones within Imperial City:
- Imperial City Prison (Dungeon)
- Imperial Sewers (Zone)
- White-Gold Tower (Dungeon)
Sets in Imperial City
13 sets
PvP
Level 50 - CP 160
(2 items) Adds 1752 Maximum Stamina
(3 items) Adds 206 Weapon and Spell Damage
(3 items) Adds 206 Weapon and Spell Damage
Craftable
Level 50 - CP 160
(2 items) Adds 1206 Maximum Health
(3 items) Adds 1487 Armor
(4 items) Adds 1487 Armor
(5 items) While you have an Armor ability slotted, your Max Health is increased by 5%. When you use an Armor ability while in combat, your Physical and Spell Resistance is increased by 5940 for 10 seconds.
(3 items) Adds 1487 Armor
(4 items) Adds 1487 Armor
(5 items) While you have an Armor ability slotted, your Max Health is increased by 5%. When you use an Armor ability while in combat, your Physical and Spell Resistance is increased by 5940 for 10 seconds.
Monster Set
Level 50 - CP 160
(1 item) Adds 129 Stamina Recovery, Adds 129 Magicka Recovery
(2 items) On dealing area direct damage, mark a target for 6 seconds. Every 2 seconds after, an Explosive Scamp is spawned nearby and detonates after 1 second, dealing 363 Magic damage to up to 6 enemies within 4 meters and applying Minor Timidity for 10 seconds, draining 1 Ultimate every 1.5 seconds. Each Explosive Scamp spawned deals 100% increased damage. This effect can occur once every 25 seconds and scales off the higher of your Weapon or Spell Damage.
(2 items) On dealing area direct damage, mark a target for 6 seconds. Every 2 seconds after, an Explosive Scamp is spawned nearby and detonates after 1 second, dealing 363 Magic damage to up to 6 enemies within 4 meters and applying Minor Timidity for 10 seconds, draining 1 Ultimate every 1.5 seconds. Each Explosive Scamp spawned deals 100% increased damage. This effect can occur once every 25 seconds and scales off the higher of your Weapon or Spell Damage.
PvP
Level 50 - CP 160
(2 items) Adds 1928 Maximum Health
(3 items) Adds 618 Health Recovery
(3 items) Adds 618 Health Recovery
Monster Set
Level 50 - CP 160
(1 item) Adds 1206 Maximum Health
(2 items) While in combat, each second you stand still grants you a stack of Flesh Fortress, up to 10 stacks. Each stack increases your Armor by 380 and your Critical Resistance by 38. Each second you move removes a stack of Flesh Fortress. Exiting combat removes all stacks of Flesh Fortress. Using charge and teleport abilities do not remove stacks of Flesh Fortress.
(2 items) While in combat, each second you stand still grants you a stack of Flesh Fortress, up to 10 stacks. Each stack increases your Armor by 380 and your Critical Resistance by 38. Each second you move removes a stack of Flesh Fortress. Exiting combat removes all stacks of Flesh Fortress. Using charge and teleport abilities do not remove stacks of Flesh Fortress.
Monster Set
Level 50 - CP 160
(1 item) Adds 1487 Armor
(2 items) Adds 1206 Maximum Health, When you take damage while below 50% Health, gain immunity to immobilization, snares, and crowd control effects for 10 seconds. This effect can occur once every 40 seconds.
(2 items) Adds 1206 Maximum Health, When you take damage while below 50% Health, gain immunity to immobilization, snares, and crowd control effects for 10 seconds. This effect can occur once every 40 seconds.
Monster Set
Level 50 - CP 160
(1 item) Adds 1487 Offensive Penetration
(2 items) When you deal direct damage to a target within 12 meters, create a 5 meter area that after 1 second, quickly moves forward and then returns, dealing 812 Shock damage to enemies and applying Minor Enervation for 5 seconds, causing the target to deal 10% less Critical Damage. This effect can occur once every 15 seconds and scales off the higher of your Weapon or Spell Damage.
(2 items) When you deal direct damage to a target within 12 meters, create a 5 meter area that after 1 second, quickly moves forward and then returns, dealing 812 Shock damage to enemies and applying Minor Enervation for 5 seconds, causing the target to deal 10% less Critical Damage. This effect can occur once every 15 seconds and scales off the higher of your Weapon or Spell Damage.
Craftable
Level 50 - CP 160
(2 items) Adds 1206 Maximum Health
(3 items) Adds 1096 Maximum Stamina
(4 items) Adds 4% Healing Taken
(5 items) When you Bash a target, you heal for 3708 Health over 10 seconds and apply Minor Vulnerability to the enemy for 10 seconds, increasing their damage taken by 5%. The heal can only activate once every 10 seconds and scales off your Max Health.
Monster Set
Level 50 - CP 160
(1 item) Adds 1487 Armor
(2 items) On dealing Frost Damage, create a 6 meter area under the target for 6 seconds, dealing 192 Frost damage to enemies every 1 second and applying a 40% snare for 4 seconds. Enemies damaged four times become immobilized and afflicted with Major Brittle for 4 seconds, causing the target to take 20% increased Critical Damage. This effect can occur once every 15 seconds and scales off the higher of your Weapon or Spell Damage.
(2 items) On dealing Frost Damage, create a 6 meter area under the target for 6 seconds, dealing 192 Frost damage to enemies every 1 second and applying a 40% snare for 4 seconds. Enemies damaged four times become immobilized and afflicted with Major Brittle for 4 seconds, causing the target to take 20% increased Critical Damage. This effect can occur once every 15 seconds and scales off the higher of your Weapon or Spell Damage.
Craftable
Level 50 - CP 160
(2 items) Adds 1206 Maximum Health
(3 items) Adds 1096 Maximum Stamina
(4 items) Adds 1096 Maximum Magicka
(5 items) When you overheal yourself, you heal a group member within 15 meters of you for 664 Health. This effect can occur once every 1 second and scales off the higher of your Max Magicka or Stamina.
(3 items) Adds 1096 Maximum Stamina
(4 items) Adds 1096 Maximum Magicka
(5 items) When you overheal yourself, you heal a group member within 15 meters of you for 664 Health. This effect can occur once every 1 second and scales off the higher of your Max Magicka or Stamina.
PvP
Level 50 - CP 160
(2 items) Adds 129 Weapon and Spell Damage
(3 items) Adds 129 Weapon and Spell Damage
(4 items) Adds 657 Critical Chance
(5 items) When you deal direct Critical Damage to an enemy while behind them, you inject a leeching poison that deals 1300 Poison Damage over 10 seconds to them and heals you for 100% of the damage done. This effect can occur once every 10 seconds per enemy and scales off the higher of your Weapon or Spell Damage.
PvP
Level 50 - CP 160
(2 items) Adds 1752 Maximum Magicka
(3 items) Adds 206 Weapon and Spell Damage
(3 items) Adds 206 Weapon and Spell Damage
Monster Set
Level 50 - CP 160
(1 item) Adds 1096 Maximum Stamina
(2 items) When you Break Free, you release a wave of Watcher energy, causing enemies within 8 meters of you to become Feared for 3 seconds. You also gain 34 Weapon and Spell Damage for each enemy hit, up to 6 enemies, for 7 seconds.
(2 items) When you Break Free, you release a wave of Watcher energy, causing enemies within 8 meters of you to become Feared for 3 seconds. You also gain 34 Weapon and Spell Damage for each enemy hit, up to 6 enemies, for 7 seconds.
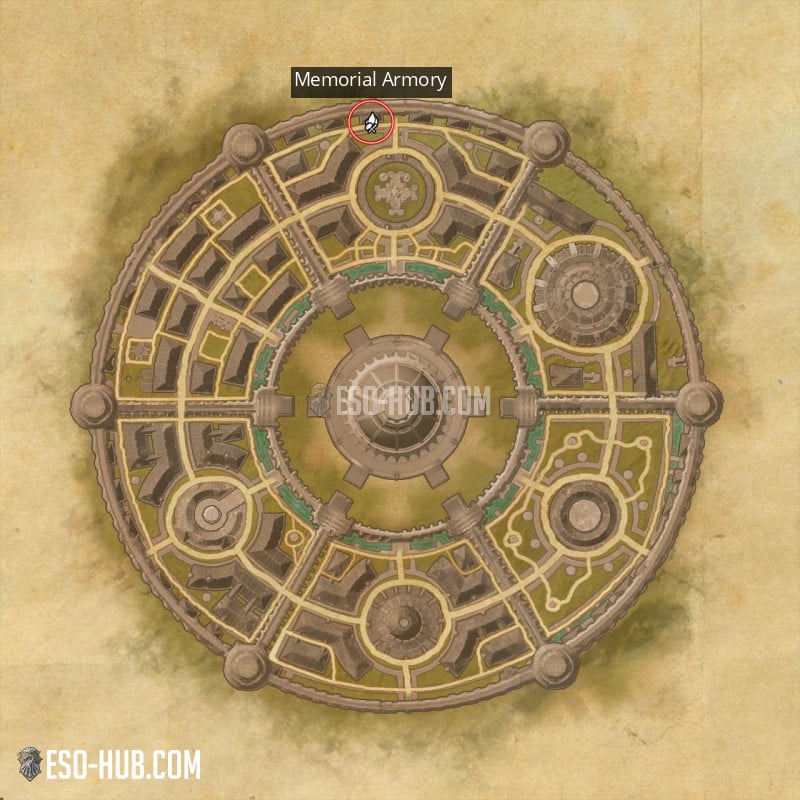
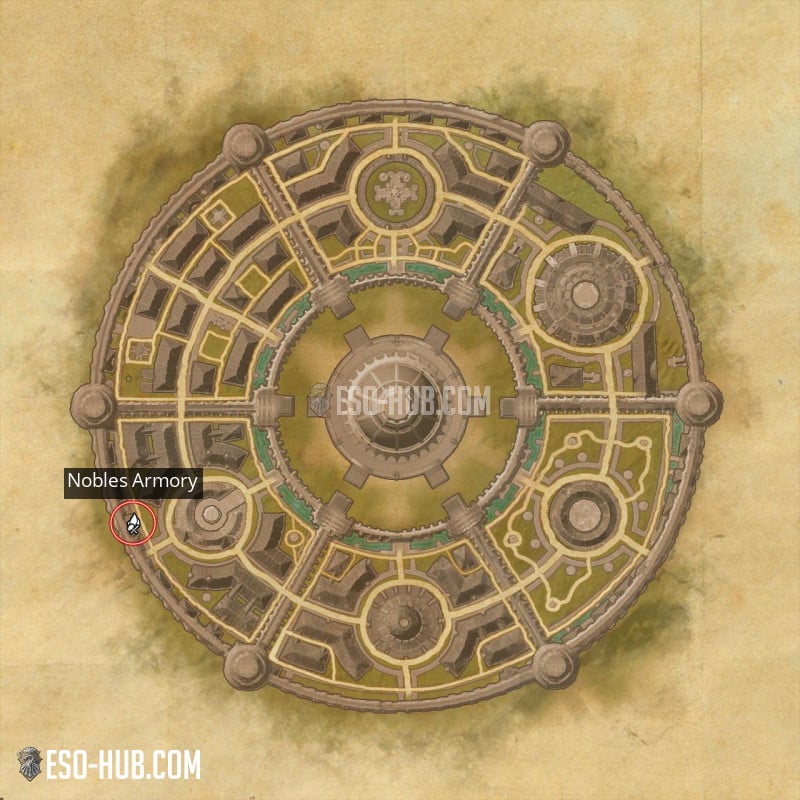
Leads in Imperial City
Lead
Armor set: Malacath's Band of Brutality
Location:
Upper District Bosses (Dig Site in Bal Foyen)
View on map
Location:
Upper District Bosses (Dig Site in Bal Foyen)
View on map
Lead
Furniture: Moth Priest's Cleansing Bowl
Location:
Imperial City Bosses, Imperial Sewer Bosses & Monsters, Imperial Sewer General Malvicus (Story quest of Imperial City), Backpacks
Location:
Imperial City Bosses, Imperial Sewer Bosses & Monsters, Imperial Sewer General Malvicus (Story quest of Imperial City), Backpacks
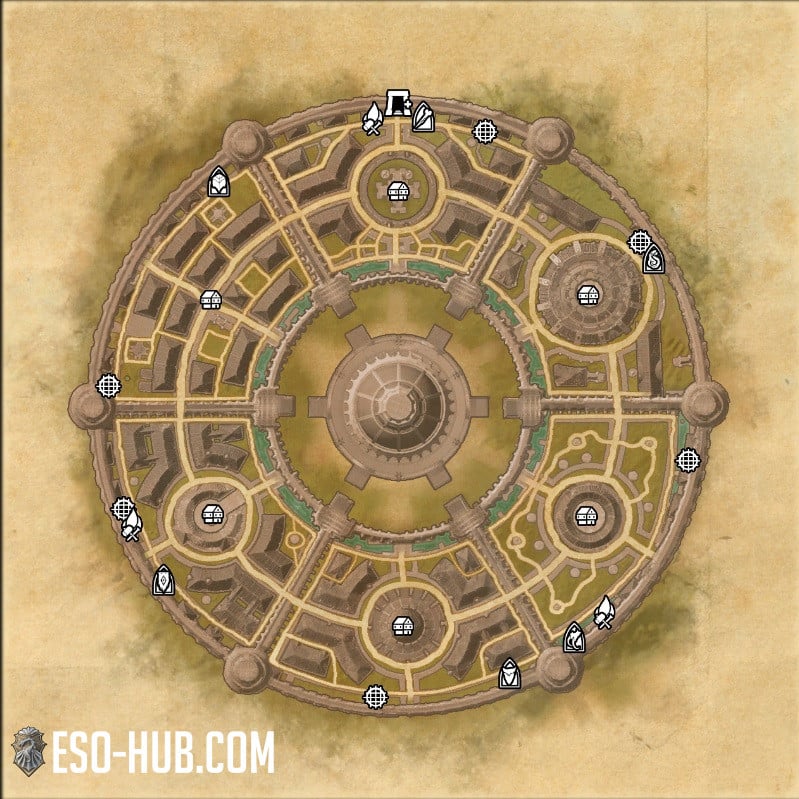
Imperial City map
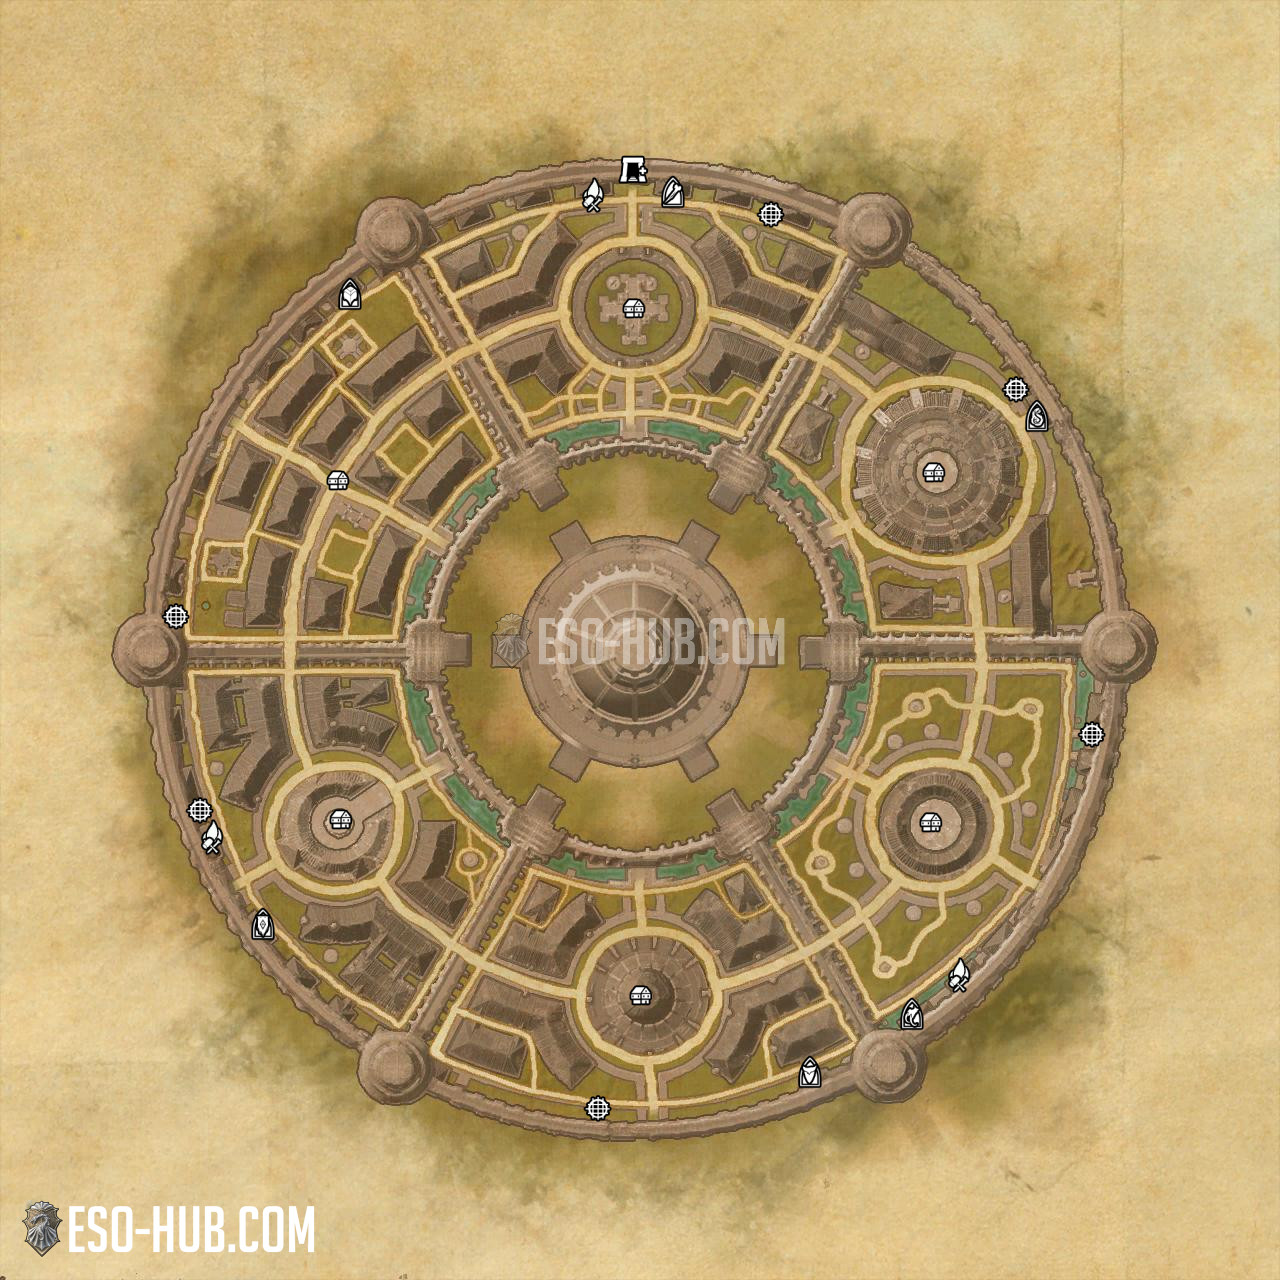
Crafting locations in Imperial City
Guides
PVP
Alliance War Skill Boosters - War Torte Consumable
Learn everything about the Alliance War Skill Boosters that increase your Alliance Skill-line gains! Colovian War Torte, Molten War Torte, White-Gold War Torte.
1 year ago
General
ESO Chronological Timeline Guide - Best Way to Play the Story and Avoid Spoilers
Every ESO Chapter, DLC and Prologue quest in the correct story order. Follow this chronological path to experience the full Elder Scrolls Online narrative without spoilers.
4 months ago
PVP
ESO Cyrodiil Beginner Guide
This is the Cyrodiil Beginner Guide for ESO. Here you will find all the information you need in order to get started in Cyrodiil and participate in the combat or quests there!
2 years ago
PVP
ESO Imperial City Beginner Guide
Welcome to the Imperial City Beginner Guide for ESO. Here you will find all the information you need or want about the Imperial City, what you can do in there and why you may want to seek out that place!
2 years ago
PVP
Sets that work in the No-CP Campaigns in ESO - No Procs No-CP
Full list of all sets that still work in No-Champion Points Campaigns for Cyrodiil and Imperial City in ESO (Elder Scrolls Online).
1 year ago

General
Zone Dailies List for ESO - Zone Daily Elder Scrolls Online
Welcome to the Zone Dailies Guide for ESO. You can find a list of every zone that has dailies available here.
2 years ago
Outfit styles and motifs in Imperial City
|
|
Aldmeri | You can obtain the Aldmeri Dominion style by purchasing it from the Aldmeri camp in the Imperial City, for Tel Var Stones.. |