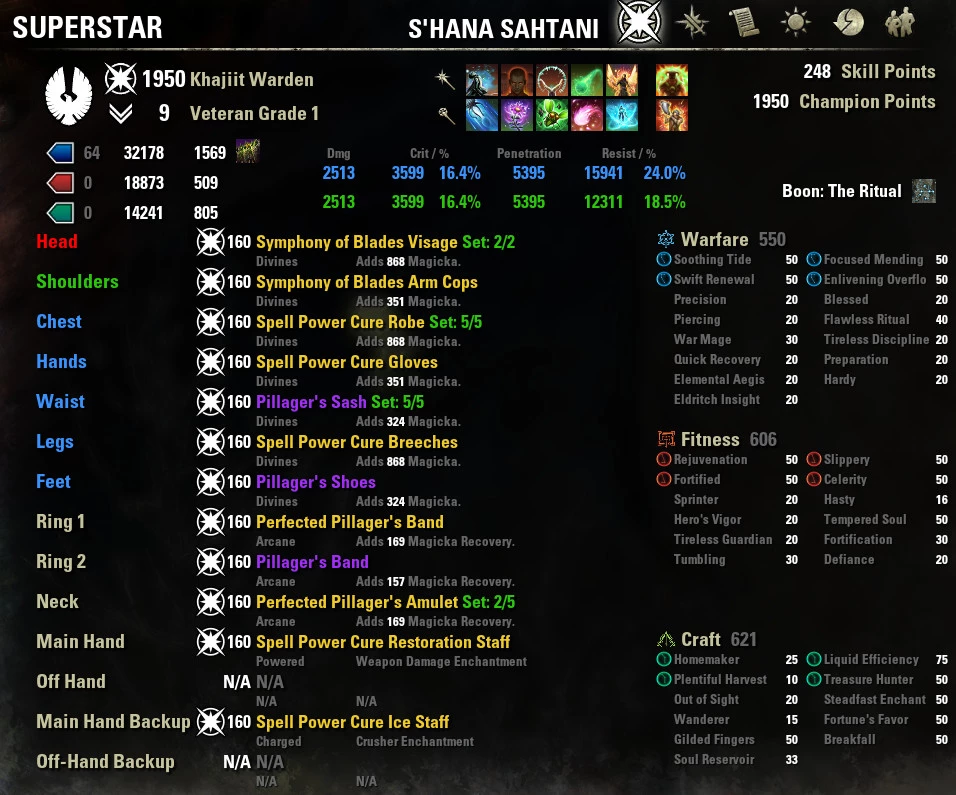
Frontbar:
- Healing Springs - Aim where group will be heading on transitions, aim towards group any other time
- Combat Prayer - Main burst heal ability, spam in execute + use to heal self. Make sure when getting voltaic overload to be on frontbar
- Radiating Regen - Main HoT ability, make sure to be in range of group (but behind them) and keep up uptimes of this whenever possible
- Energy Orb - Shoot towards group whenever you pass by
- Deceptive Predator - Helps you with crushing darkness damage a little bit but importantly gives you major expedition for evading crushing darkness, getting shards, coming into group for roaring flare, and switching positions in transition phase
- Barrier - Use at lead's discretion, I have pillagers on front and backbar here so there's no loss in barriering
Backbar:
- Blue Betty - Magicka restore, useful for the panic of execute
- Budding Seeds - If you're caught on backbar during voltaic, spamming this at your feet will be your heal. Otherwise, use the same as Healing Springs
- Fetcher Infection - If minor vulnerability is not already covered, use this on Z'maja, minis, orbs (if needed), and creepers
- Elemental Susceptibility - Use on minis, orbs, and creepers. Z'maja likely taken care of by tanks, but check with your group on what is expected of you with fetcher infection and ele sus
- Expansive Frost Cloak - Make sure to have maximum uptime on this, extremely important
- Aggressive Horn - Main ultimate, use unless lead tells you to barrier
 Deutsch
 Français
 Русский
 Español


