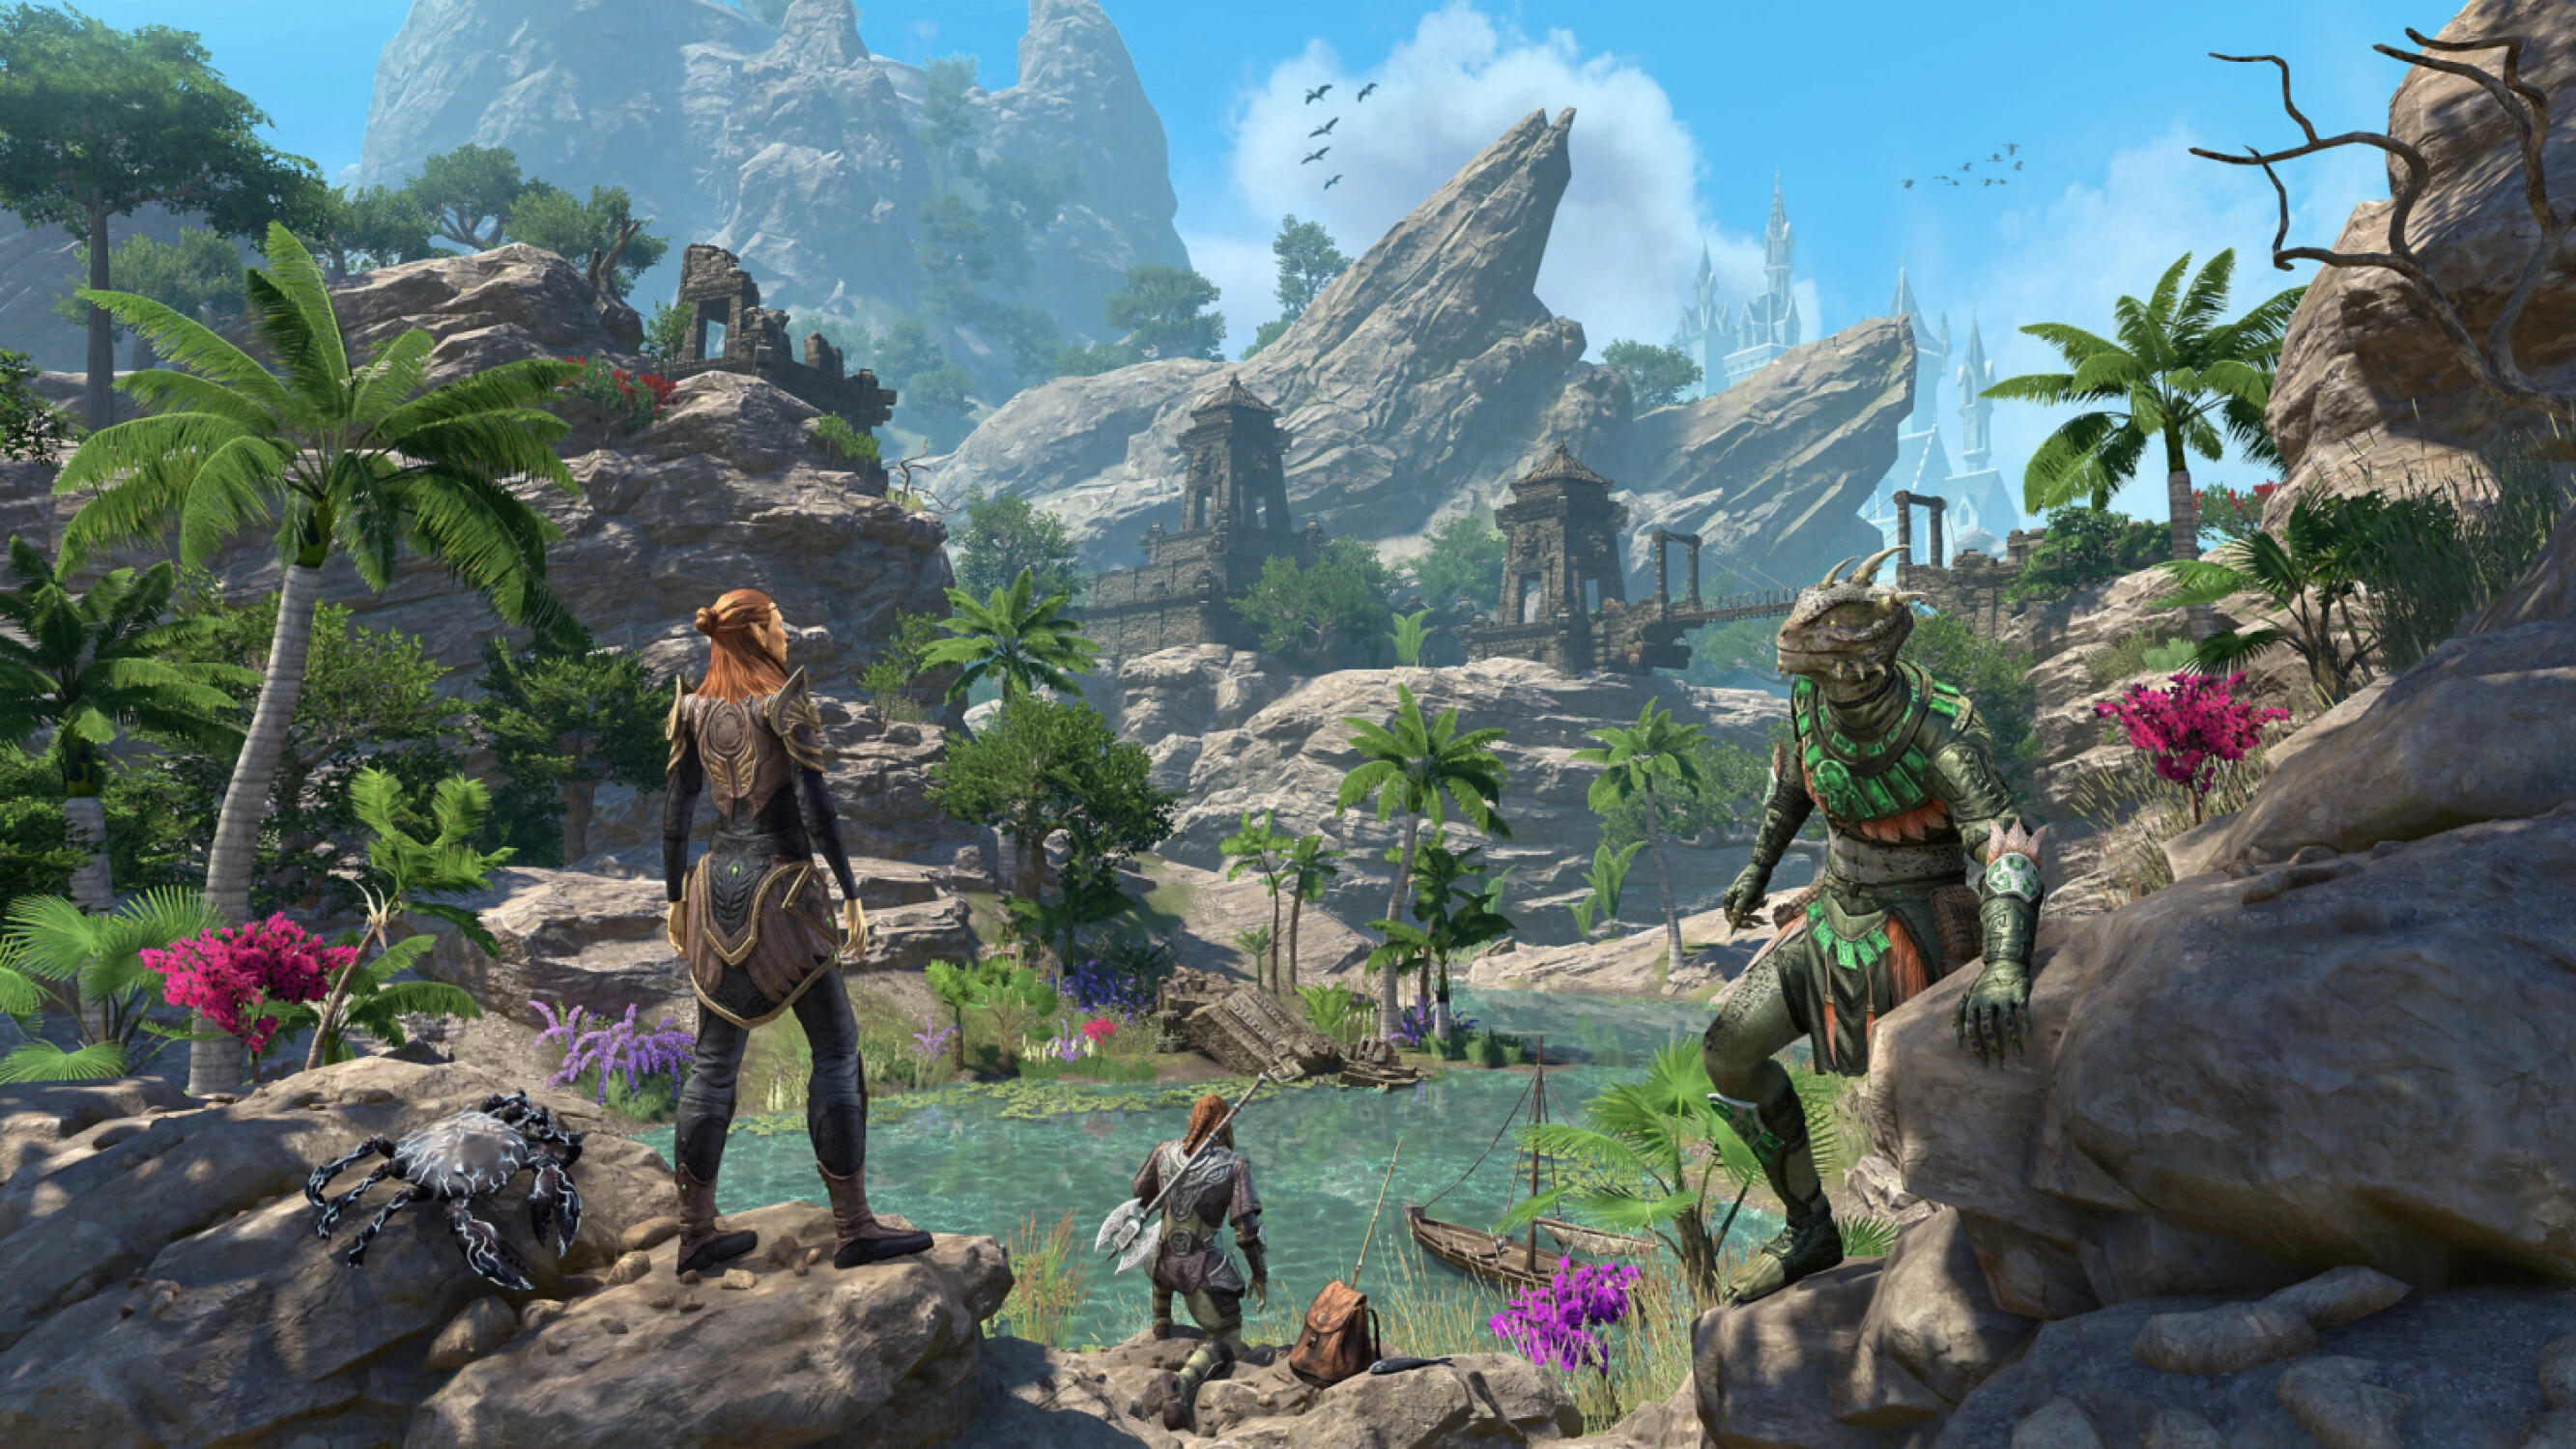
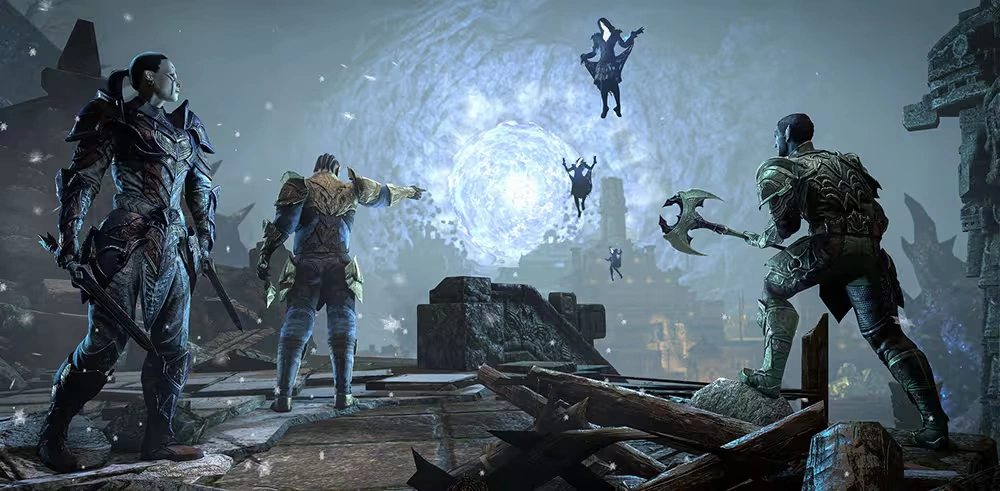
Solstice is the newest destination in The Elder Scrolls Online (ESO), a stunning yet perilous tropical island located off the coast of Murkmire. This massive new zone is the heart of the year-long Seasons of the Worm Cult saga, offering a compelling blend of sun-drenched Argonian ruins, majestic Altmer architecture, and the dark threat of a resurgent enemy. Accessible and Battle Leveled for all adventurers, Solstice provides a new chapter in Tamriel's history, filled with ancient secrets, necromantic peril, and high-stakes adventure.
Solstice - ESO
Zones within Solstice:
- Black Gem Foundry (Dungeon)
- Naj-Caldeesh (Dungeon)
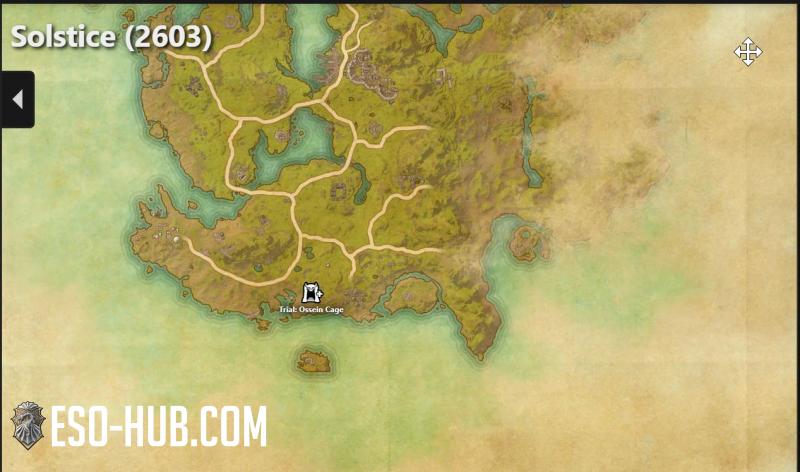
- Ossein Cage (Trial)
Sets in Solstice
9 sets
Overland
Level 50 - CP 160
(2 items) Adds 1096 Maximum Stamina
(3 items) Adds 657 Critical Chance
(4 items) Adds 129 Stamina Recovery
(5 items) Adds 1528 Critical Chance while you have 50% or more Stamina. Reduce the cost of your Core Combat abilities by 23% while you have less than 50% of your Stamina.
(3 items) Adds 657 Critical Chance
(4 items) Adds 129 Stamina Recovery
(5 items) Adds 1528 Critical Chance while you have 50% or more Stamina. Reduce the cost of your Core Combat abilities by 23% while you have less than 50% of your Stamina.
Craftable
Level 50 - CP 160
(5 items) Adds 7425 Armor
(10 items) Adds 6020 Maximum Health
(12 items) Gain Major Protection, reducing your damage taken by 10%.
(10 items) Adds 6020 Maximum Health
(12 items) Gain Major Protection, reducing your damage taken by 10%.
Overland
Level 50 - CP 160
(2 items) Adds 1206 Maximum Health
(3 items) Adds 1096 Maximum Stamina
(4 items) Adds 1096 Maximum Stamina
(5 items) While you have a food buff active, your Block Mitigation is increased by 8% and block cost is reduced by 8%.
(3 items) Adds 1096 Maximum Stamina
(4 items) Adds 1096 Maximum Stamina
(5 items) While you have a food buff active, your Block Mitigation is increased by 8% and block cost is reduced by 8%.
Mythic
Level 50 - CP 160
(1 item) While in combat, roll dodging creates a random effect. This effect can occur once every 3 seconds. Effects:
-Create a cheese wheel under an enemy within 15 meters that deals 1250 Magic damage to enemies in 3 meters after 1 second.
-Deal 1000 Physical damage to enemies facing you after 1.5 seconds.
-Deal 1395 Magic damage to the nearest enemy.
-Gain Major Expedition for 4.5 seconds.
-Restore 1172 Stamina.
-Reduce the cost of your next non-Ultimate ability by 14%.
-Gain 7 Ultimate.
Mythic
Level 50 - CP 160
(1 item) While in combat and on your Primary Weapon gain Major Force, Minor Berserk, and Minor Vulnerability.
While in combat and on your Secondary Weapon gain Major Protection, Minor Vitality, and Minor Timidity.
Mythic
Level 50 - CP 160
(1 item) Increases your damage done with non-Ultimate Heavy Attacks and decreases your damage done with Light Attacks by 50% each.
Dealing damage with a Light Attack restores 431 Magicka or Stamina, depending on your equipped weapon type. This resource restore is treated as a Heavy Attack resource restore for bonuses and penalties. Your Heavy Attacks no longer restore resources.
Craftable
Level 50 - CP 160
(2 items) Adds 1096 Maximum Stamina
(3 items) Adds 1206 Maximum Health
(4 items) Adds 1096 Maximum Magicka
(5 items) When you enter combat, 6% of the damage you take is transferred to your Companion instead. Reduce the damage your Companion takes by 16%. When your Companion dies in combat, they will automatically revive themselves after 12 seconds.
Overland
Level 50 - CP 160
(2 items) Adds 1096 Maximum Magicka
(3 items) Adds 1096 Maximum Magicka
(4 items) Adds 1096 Maximum Magicka
(5 items) Gain 1 Magicka Recovery for every 100 Max Magicka you have. Current Increase: 120 Magicka Recovery
(3 items) Adds 1096 Maximum Magicka
(4 items) Adds 1096 Maximum Magicka
(5 items) Gain 1 Magicka Recovery for every 100 Max Magicka you have. Current Increase: 120 Magicka Recovery
Craftable
Level 50 - CP 160
(2 items) Adds 129 Weapon and Spell Damage
(3 items) Adds 657 Critical Chance
(4 items) Adds 1487 Offensive Penetration
(5 items) Increase your direct damage done to monsters by 15%.
(3 items) Adds 657 Critical Chance
(4 items) Adds 1487 Offensive Penetration
(5 items) Increase your direct damage done to monsters by 15%.
Leads in Solstice
Lead
Location:
Obtained after completing the Stone-Nest Soup Stone
Obtained after completing the Stone-Nest Soup Stone
Lead
Location:
Obtained after completing the Carved Conch Shell Necklace
Obtained after completing the Carved Conch Shell Necklace
Lead
Location:
Obtained after completing the Bismuth-laced Ceremonial Basin
Obtained after completing the Bismuth-laced Ceremonial Basin
Lead
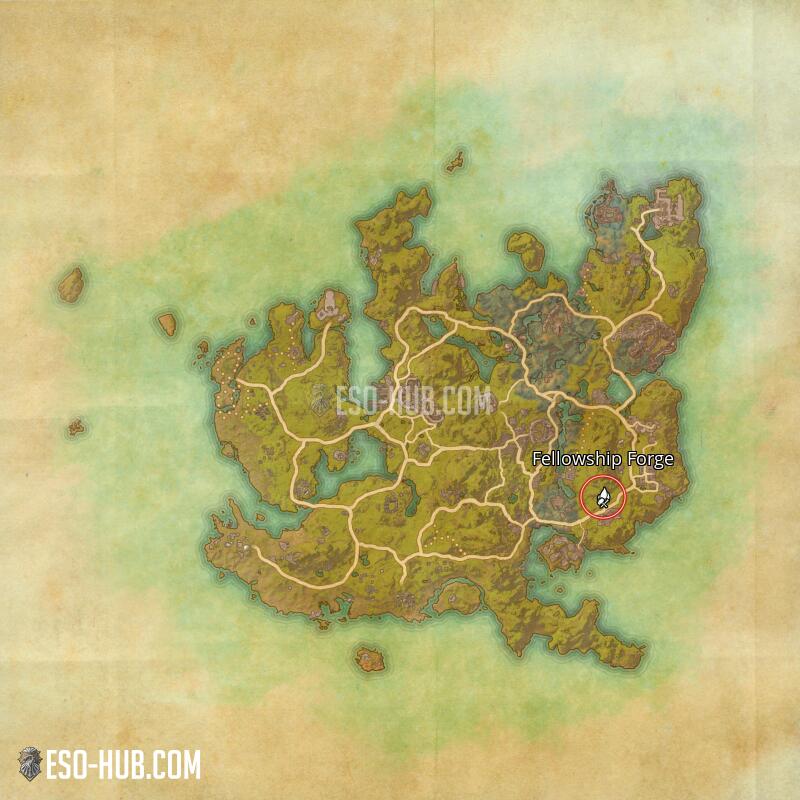
Furniture: Cult Blacksmithing Station
Location:
Bosses in the Calindvale Gardens public dungeon
View on map
Location:
Bosses in the Calindvale Gardens public dungeon
View on map
Lead
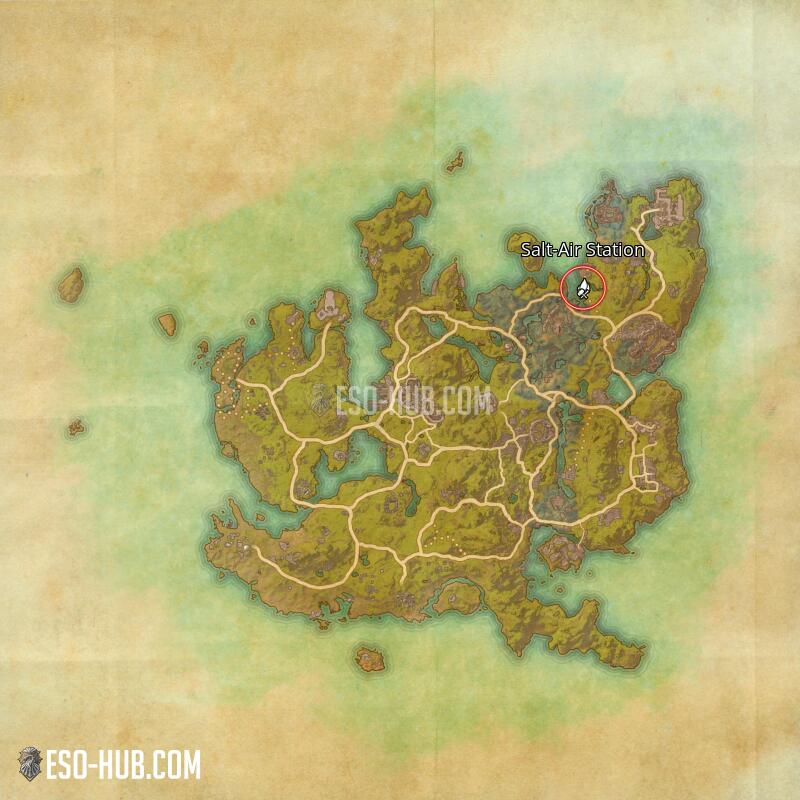
Furniture: Cult Blacksmithing Station
Location:
Lector Fenworine, Sea and Sword Lodge delvbe boss in Eastern Solstice
Location:
Lector Fenworine, Sea and Sword Lodge delvbe boss in Eastern Solstice
Lead
Furniture: Solstice Giant Crocodile Skull
Location:
Can drop from anything in the Solstice zone
View on map
Location:
Can drop from anything in the Solstice zone
View on map
Lead
Furniture: Stone-Nest Gazebo
Location:
Calindvale Gardens group event, Xul-Katama Delve boss
View on map
Location:
Calindvale Gardens group event, Xul-Katama Delve boss
View on map
Lead
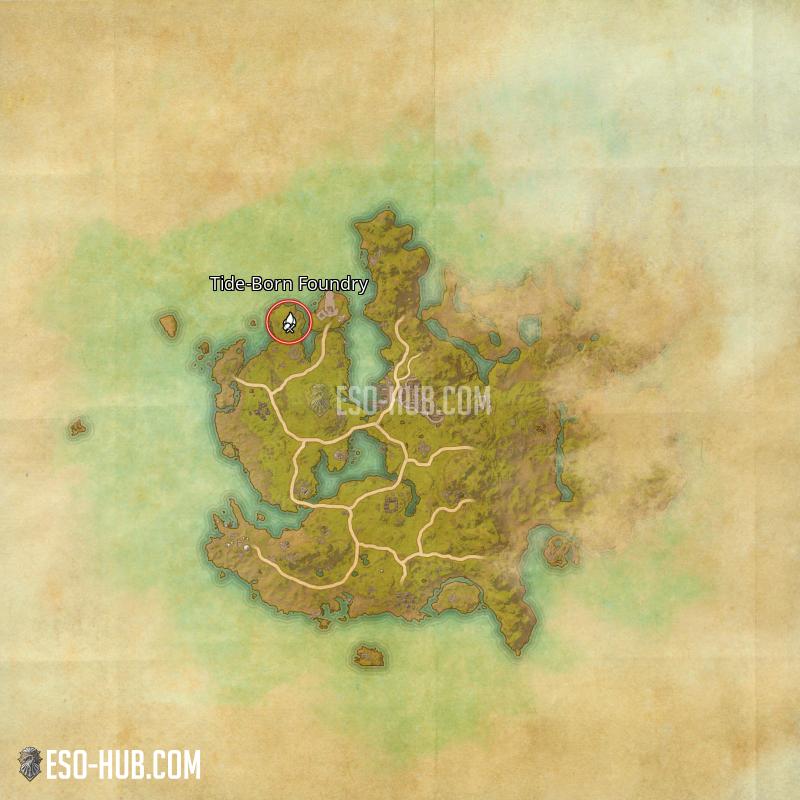
Furniture: Cult Blacksmithing Station
Location:
Lair of the Black Worm Delve Boss in Eastern Solstice
Location:
Lair of the Black Worm Delve Boss in Eastern Solstice
Houses in Solstice
Staple Home
Named after an amusing incident with Solstice's sloths, this airy room provides travelers and adventurers alike with a quiet space to recuperate. It can even accommodate your favorite arboreal friends!
Purchase Requires:
"Room to Spare" House Quest Completion
view on map
Notable Home
Once a relaxing getaway for Corelanyan nobles, this elegant retreat features an outdoor pool along the shore, indoor steam baths, and spacious facilities that allow even the most battle-worn adventurer to treat themselves.
Gold Purchase Requires:
"West Solstice Grand Adventurer" Achievement
view on map
Notable Home
Discovered by guild mages in the aftermath of the Writhing Wall campaign, this dread realm hosts a bone colossus personally crafted by Wormblood. Wrest this stronghold from the worms and use the colossus to practice your best combat moves!
view on map
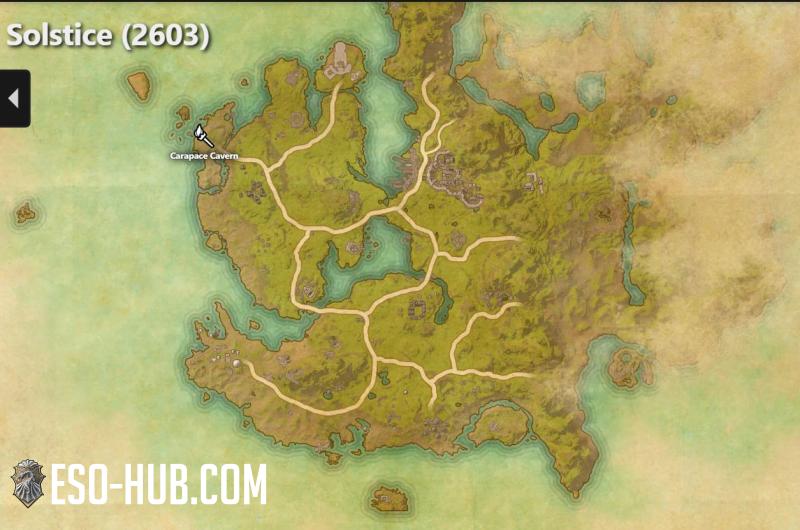
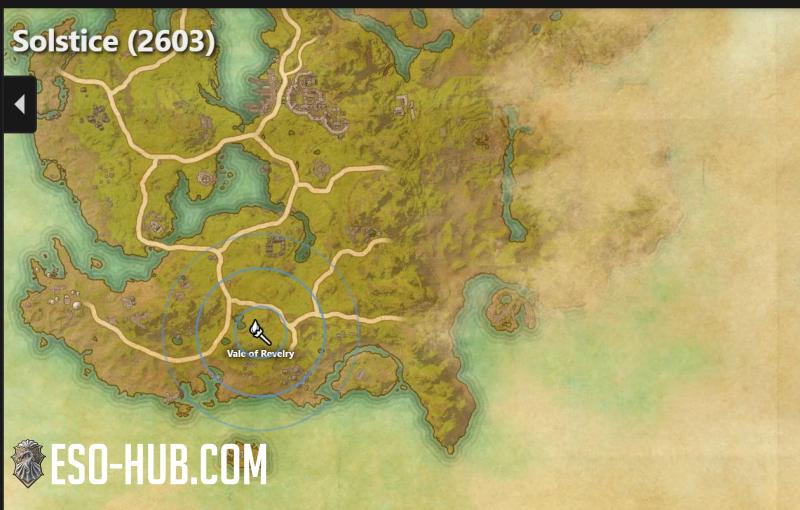
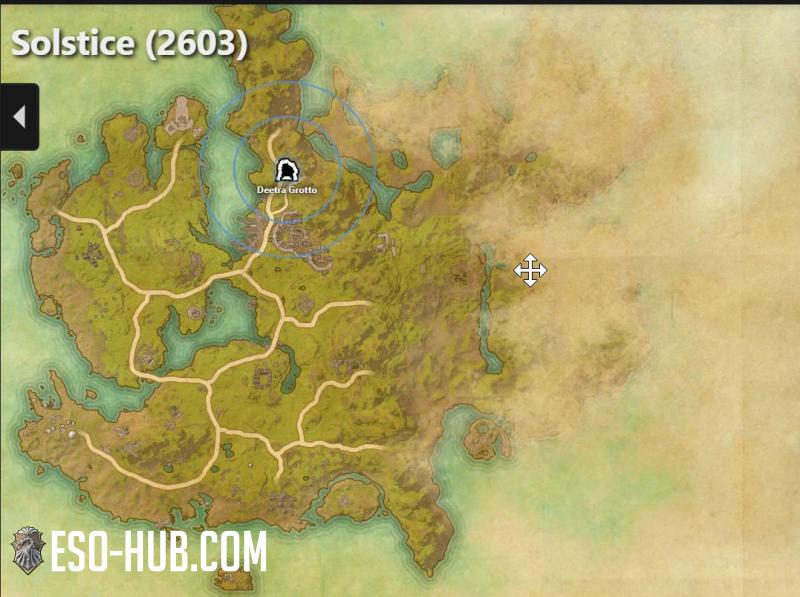
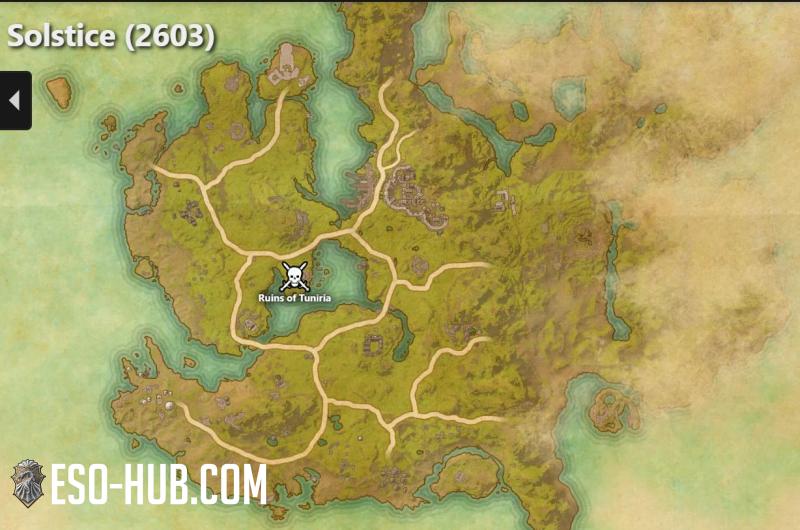
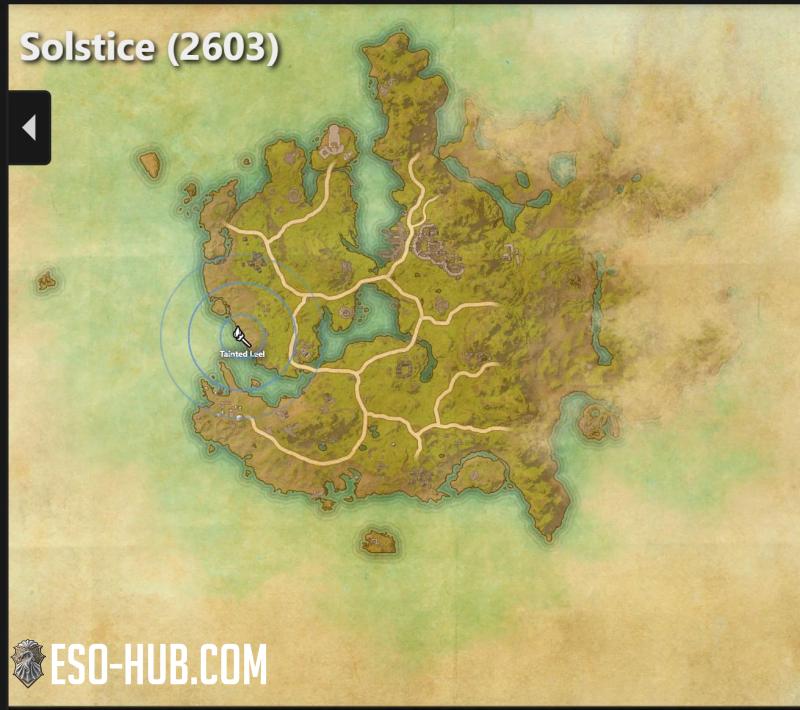
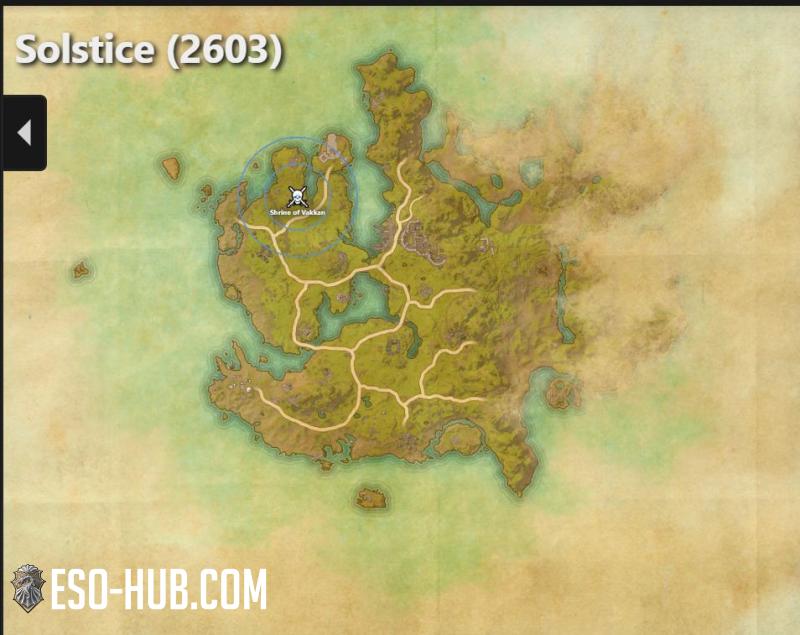
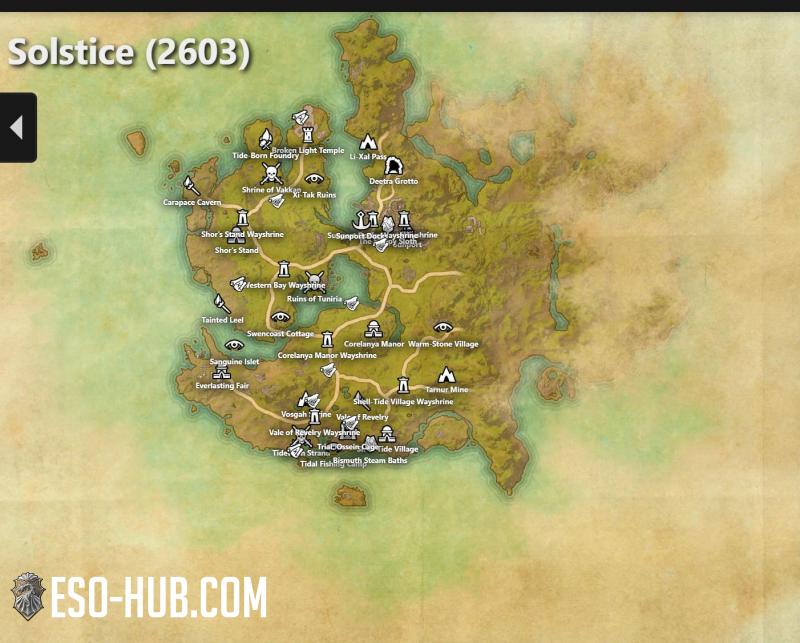
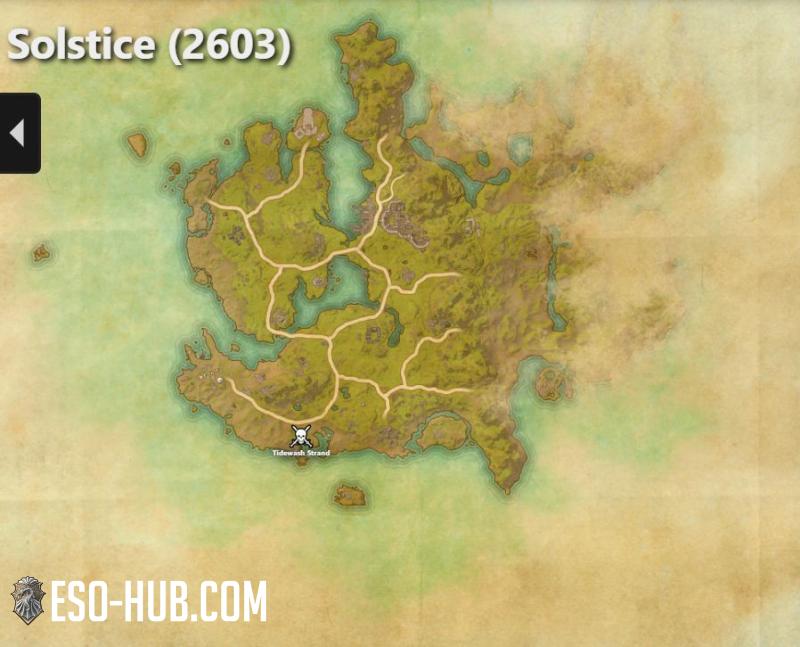
Solstice map

Solstice map

Crafting locations in Solstice
Guides
General
ESO Chronological Timeline Guide - Best Way to Play the Story and Avoid Spoilers
Every ESO Chapter, DLC and Prologue quest in the correct story order. Follow this chronological path to experience the full Elder Scrolls Online narrative without spoilers.
4 months ago

General
The Writhing Wall Explained: ESO Community Challenge and Zone Unlock Guide
Unravel the mystery of the Writhing Wall in ESO: Solstice. This guide will go over the main points of the Writhing Wall, clearing up a lot of the confusion.
9 months ago
General
Zone Dailies List for ESO - Zone Daily Elder Scrolls Online
Welcome to the Zone Dailies Guide for ESO. You can find a list of every zone that has dailies available here.
2 years ago
Sub-zones in Solstice
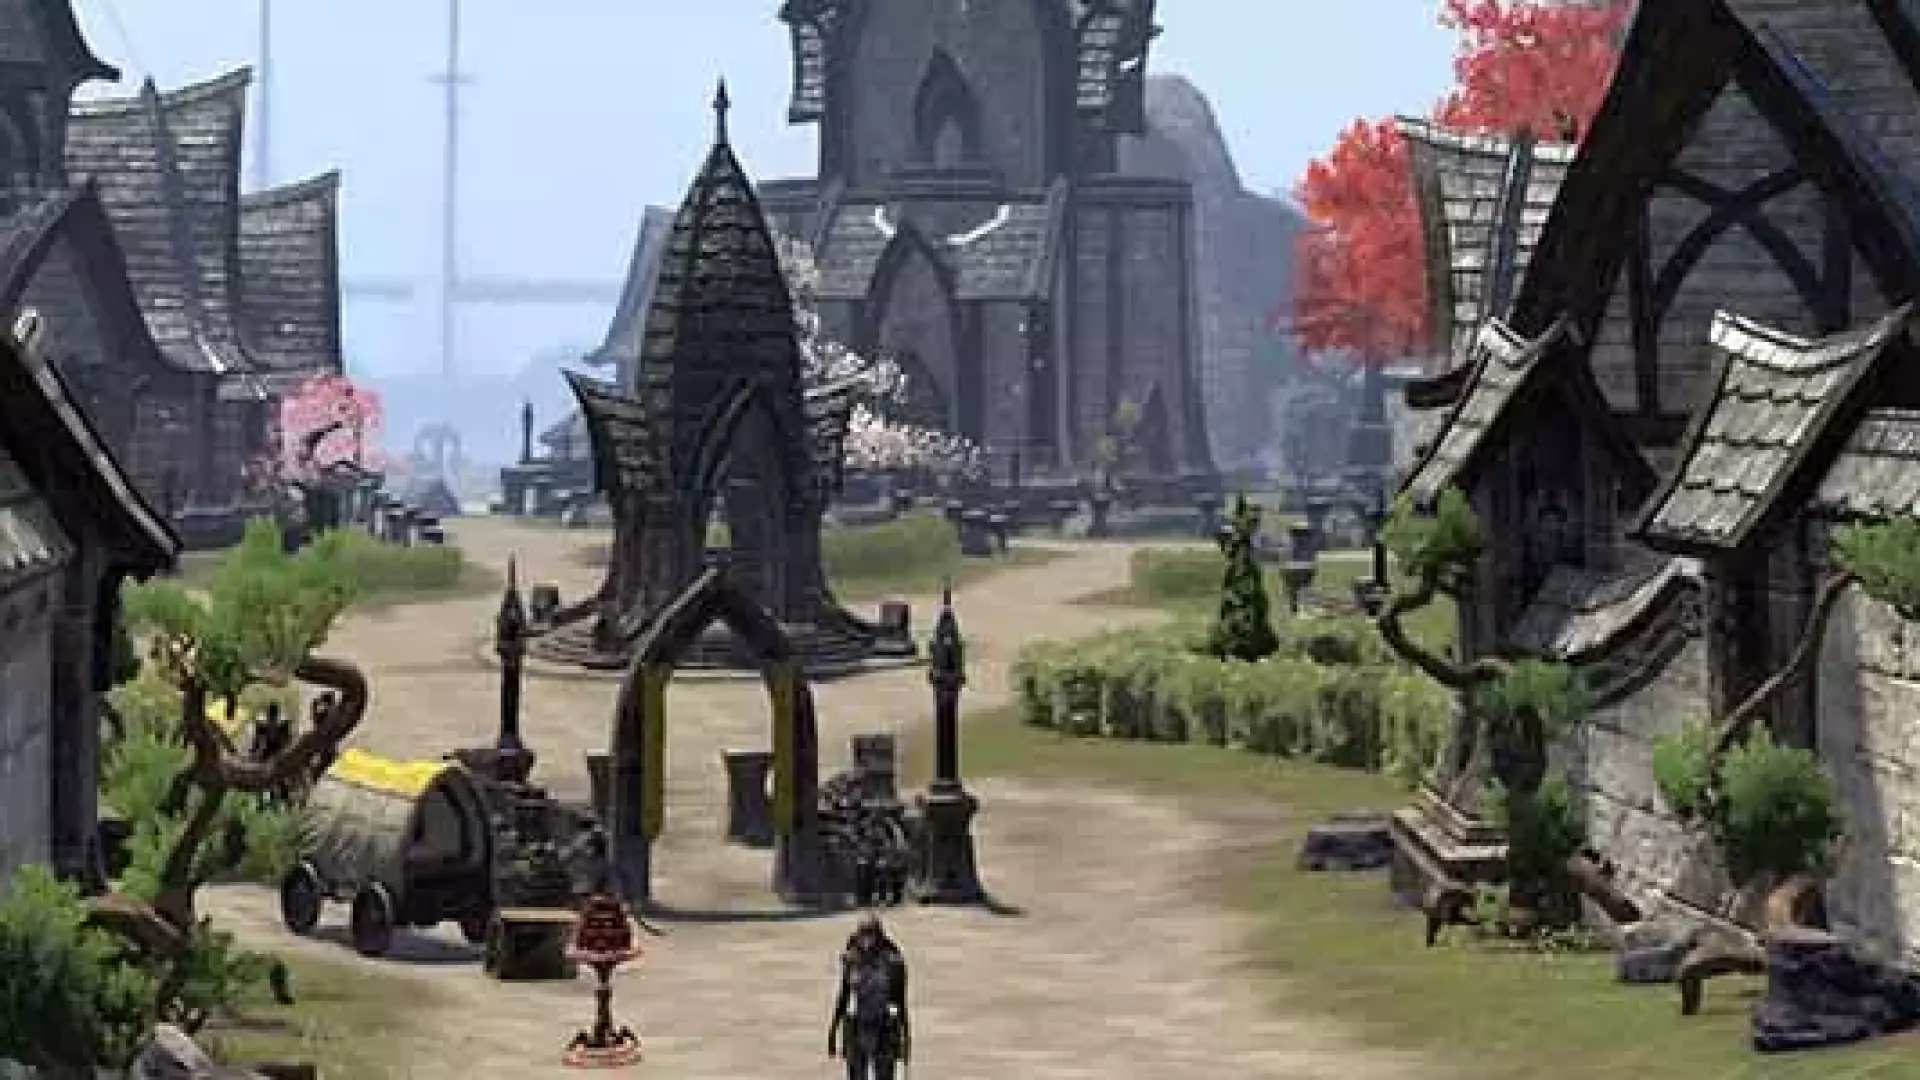
Discover Solstice: ESO's Newest Tropical Island Zone
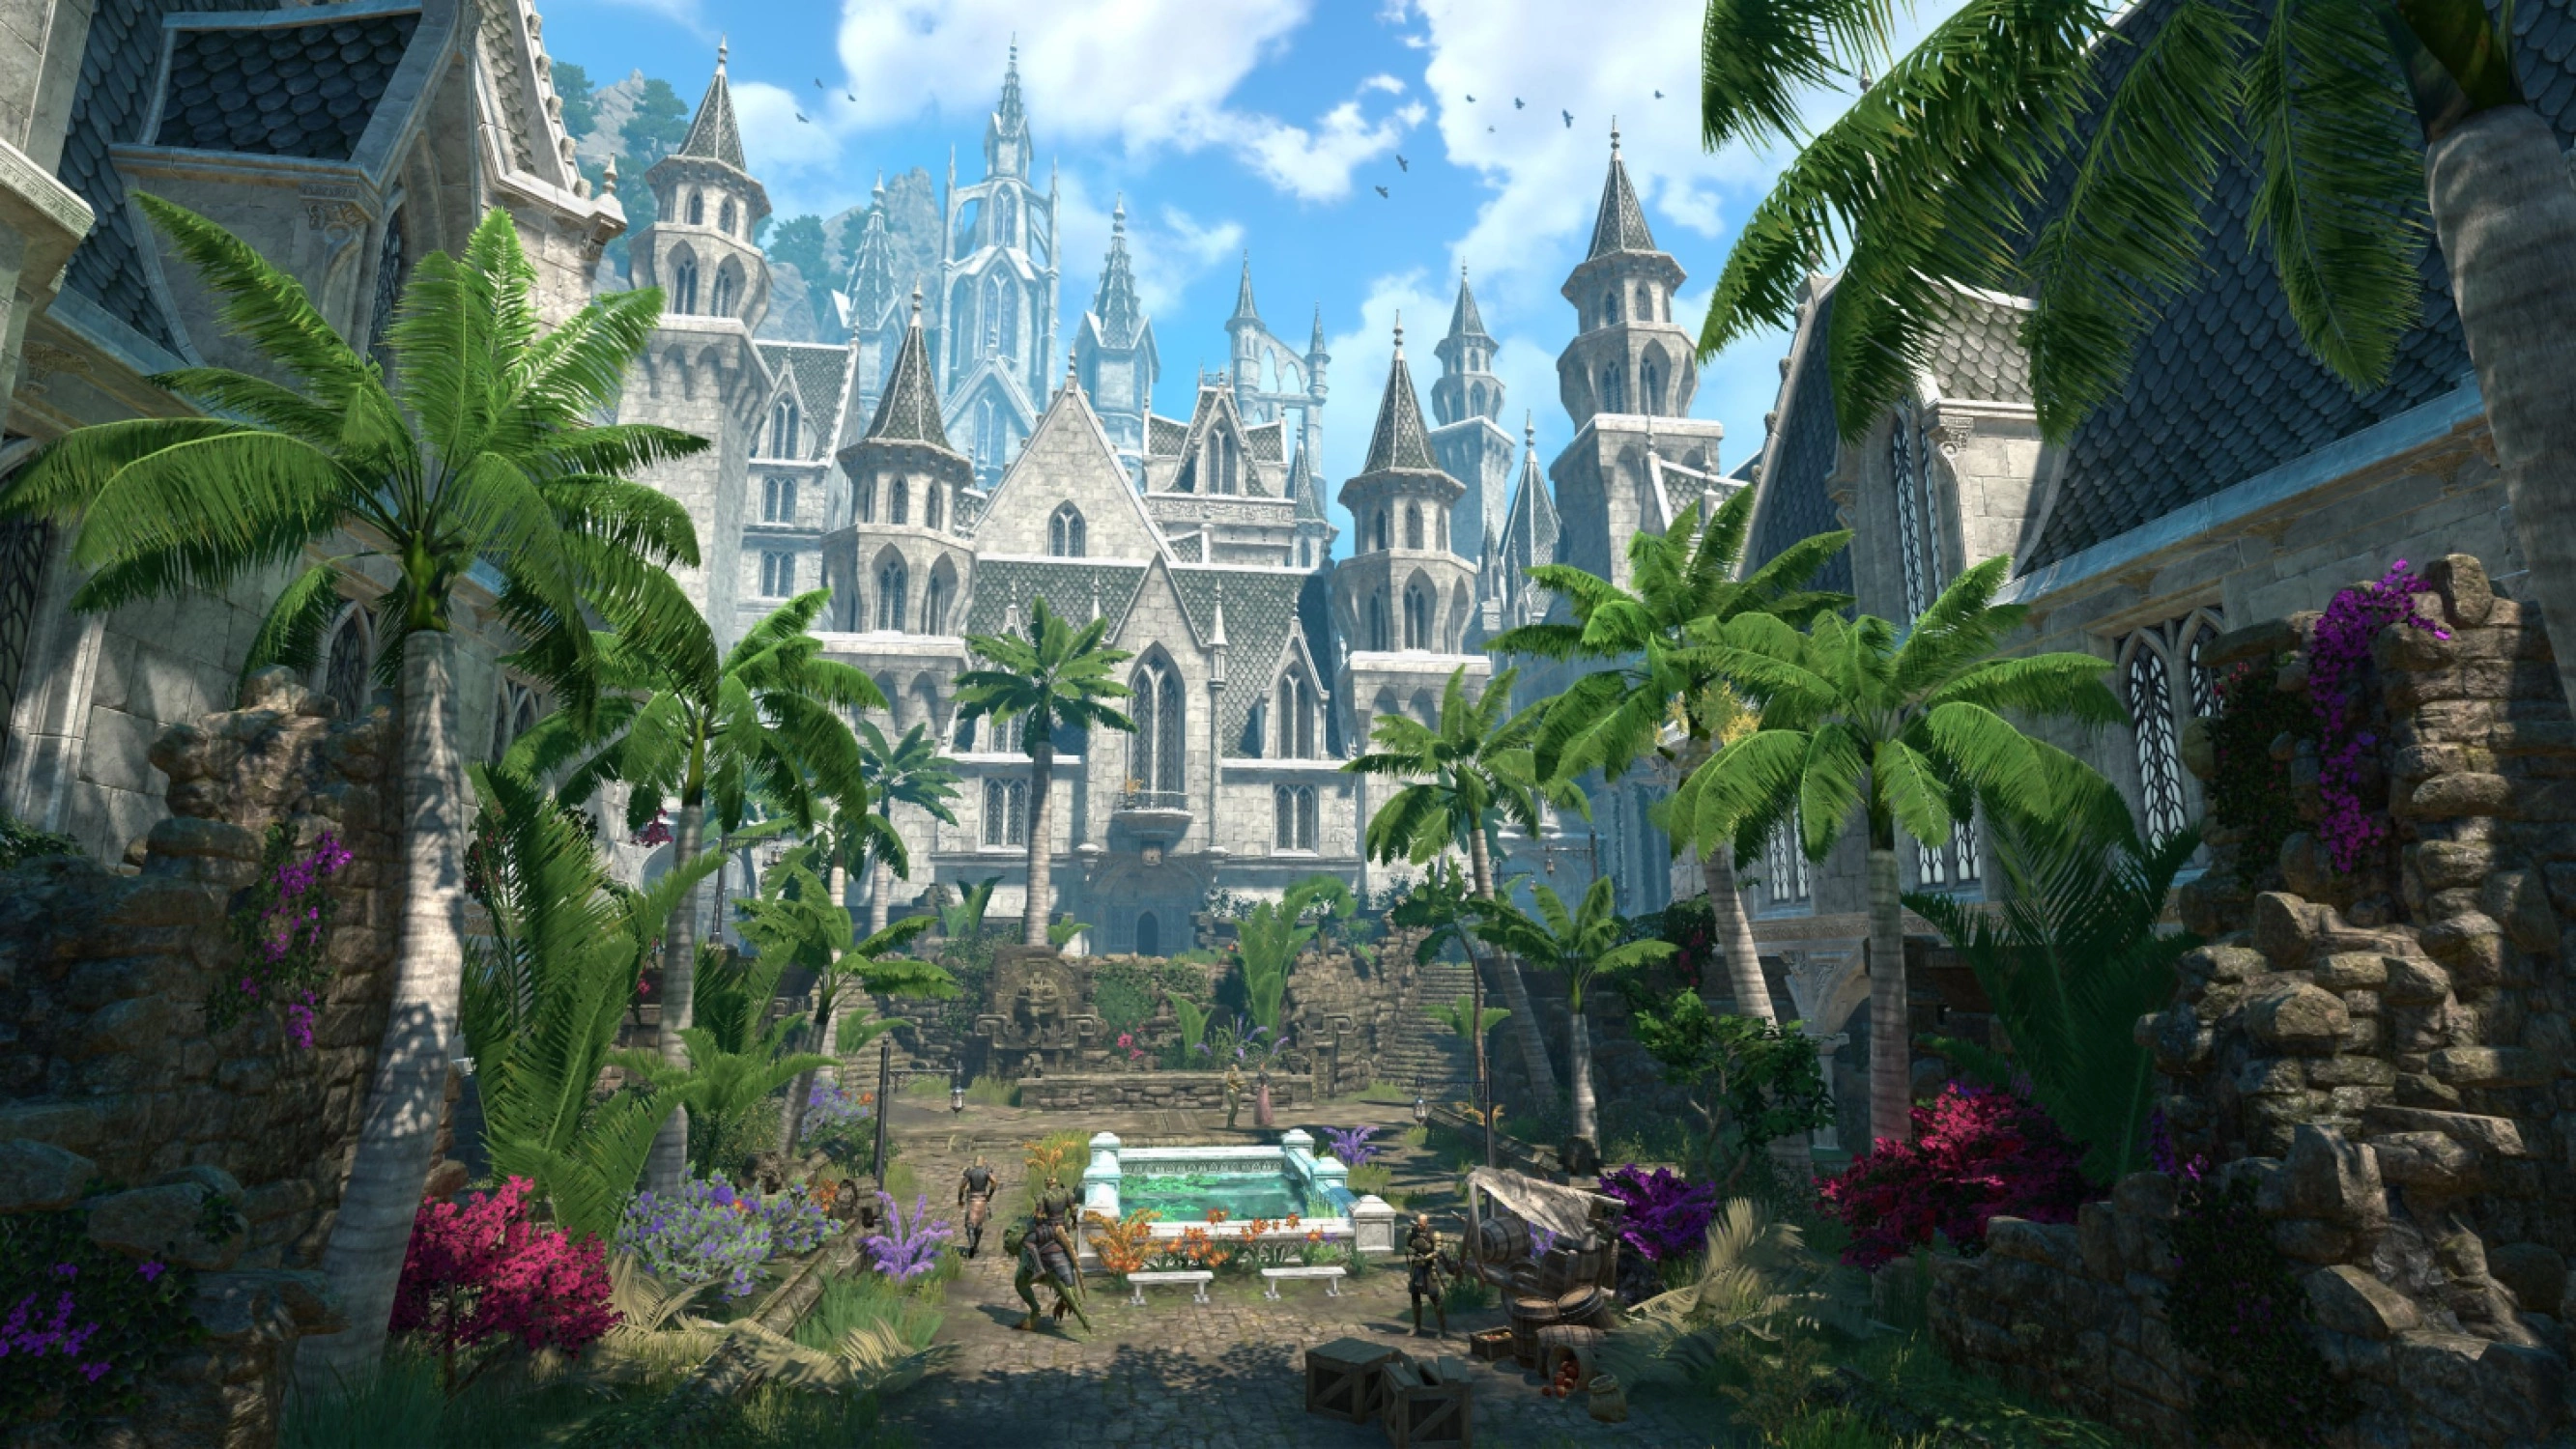
Situated in the remote Southern Sea, Solstice is a large, open-world zone central to the newest ESO storyline. The island's unique aesthetic comes from the intertwining of its original Argonian inhabitants and the exiled High Elf (Altmer) of the Corelanya Clan. You will explore the capital, Sunport, a city built atop ancient Argonian structures, symbolizing the island's fragile peace and deep history.
This new zone is the central setting for the Seasons of the Worm Cult year-long saga, a true sequel to the original ESO base game's main questline, and the first time the game's official timeline has advanced.
The Seasons of the Worm Cult Saga: A Necromantic Sequel
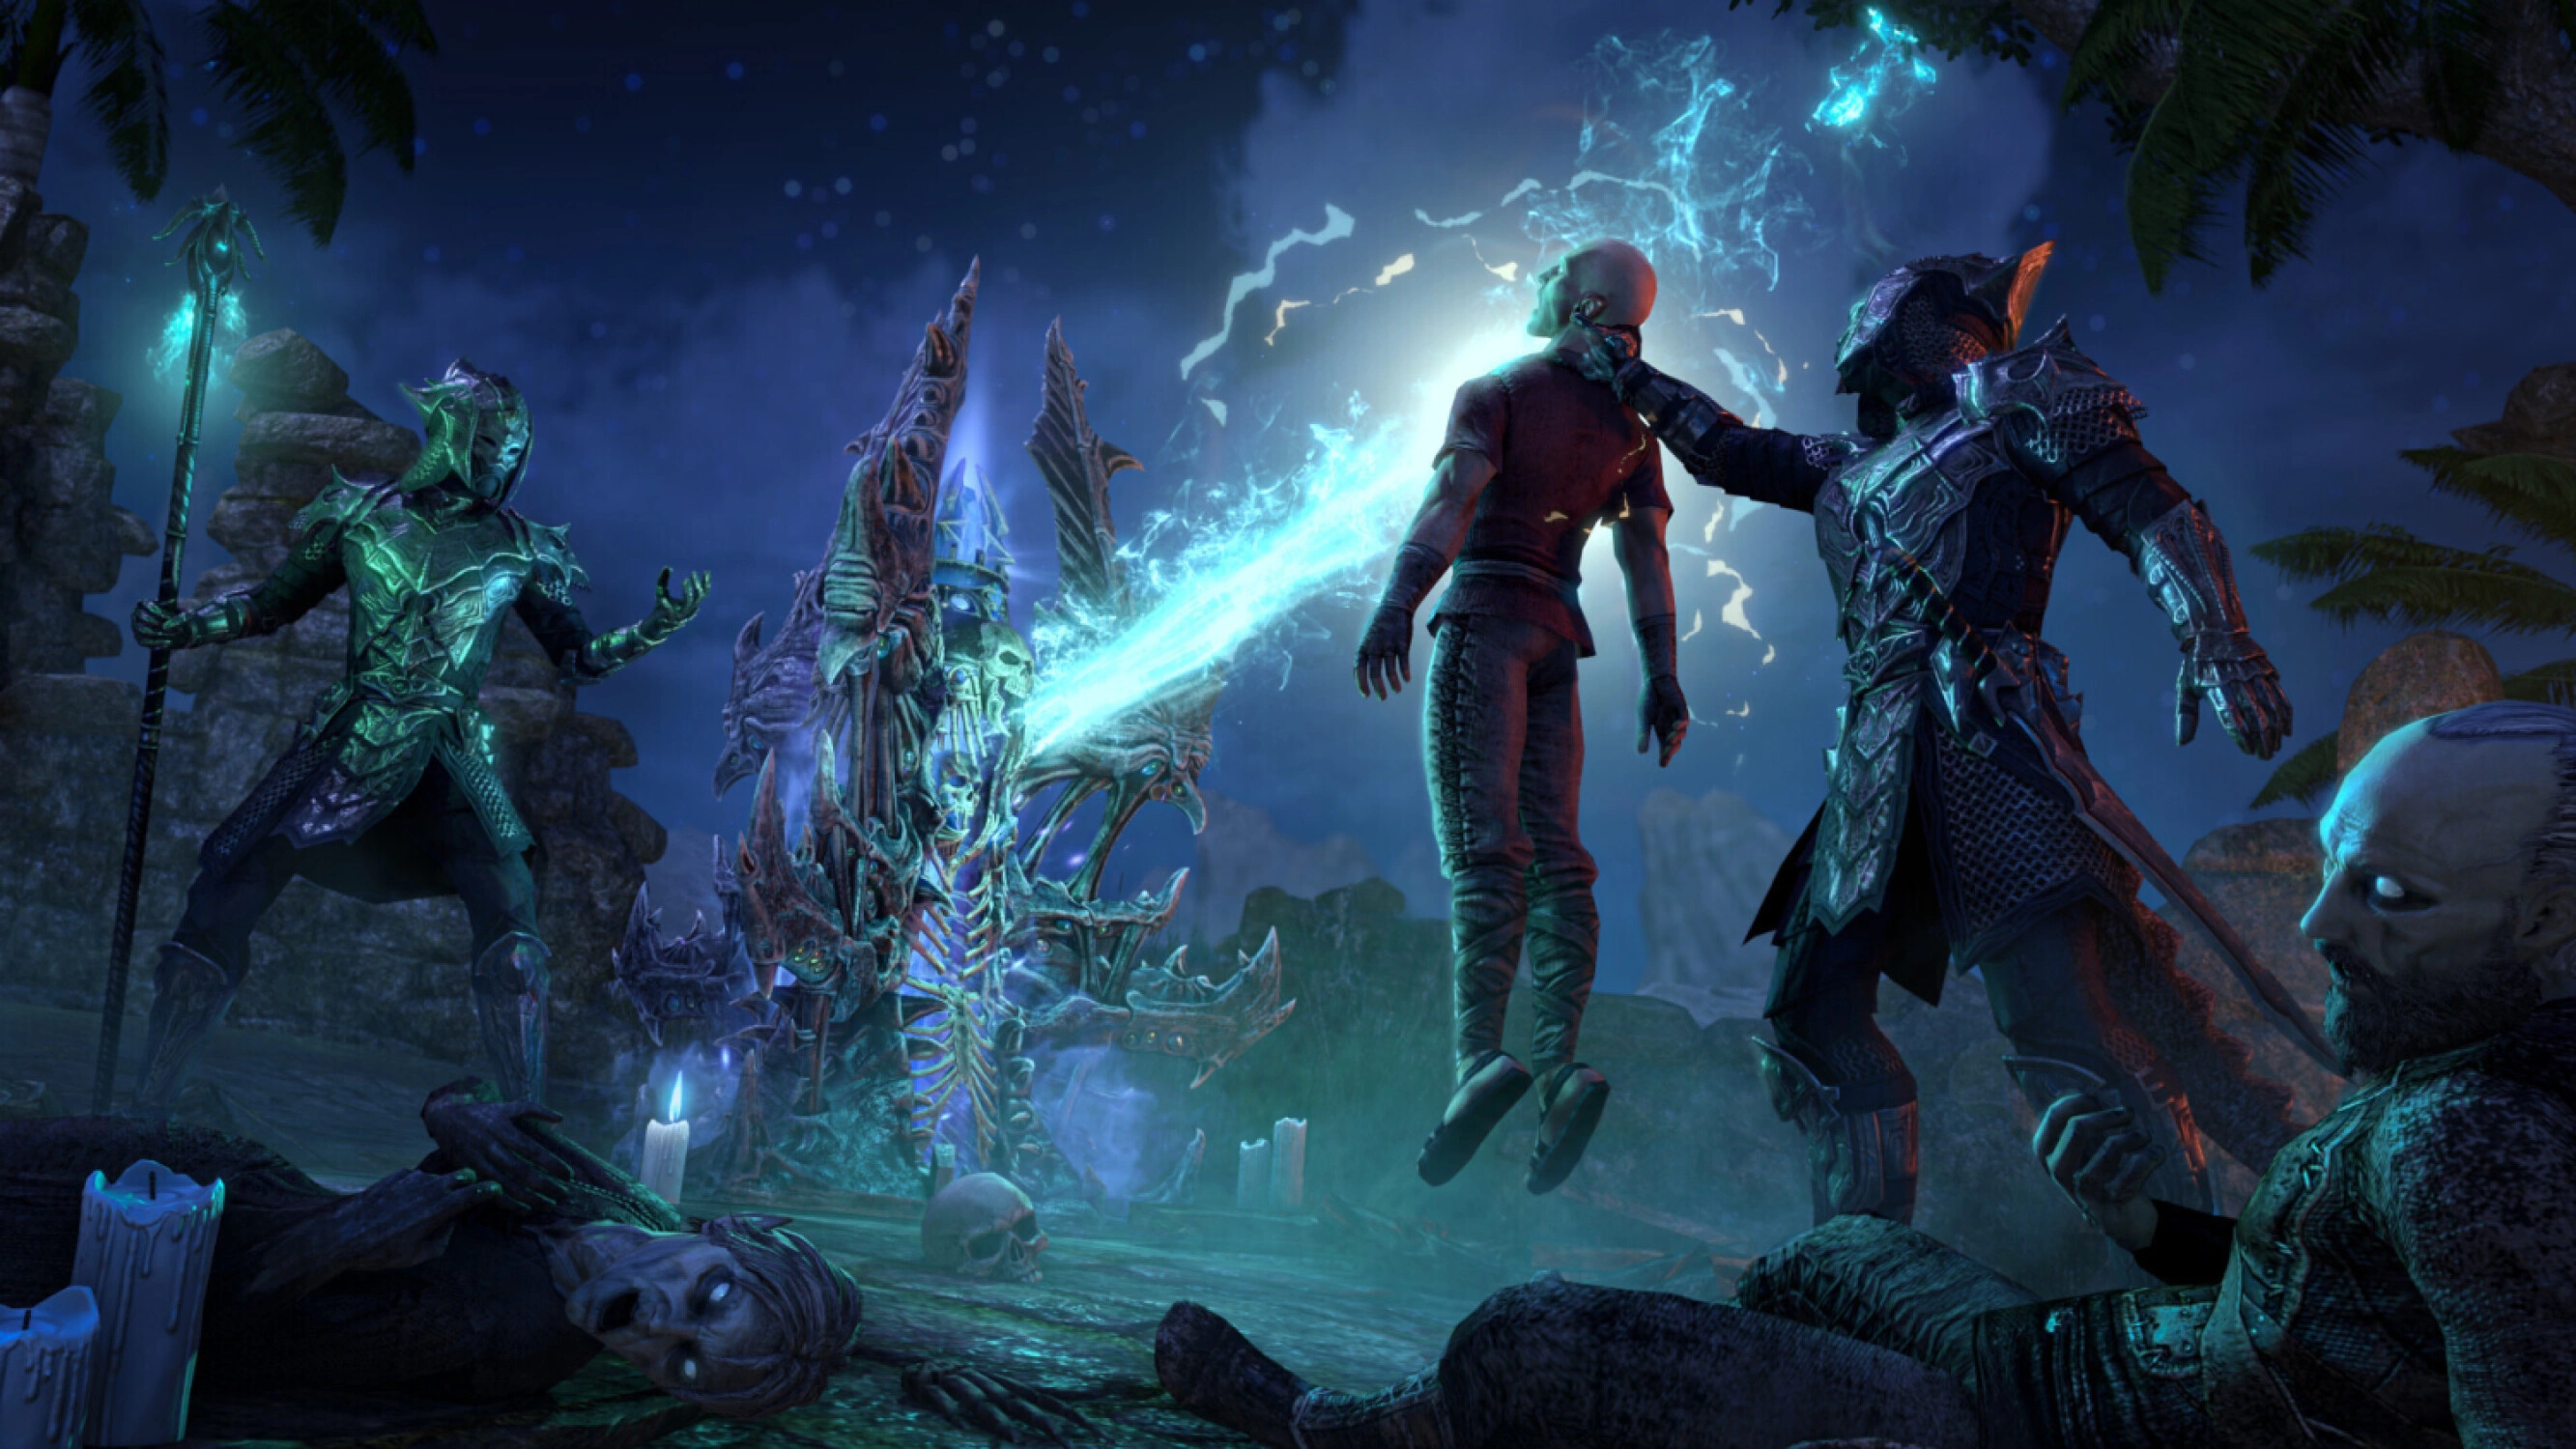
The story kicks off with the dramatic resurgence of the Worm Cult, now commanded by the formidable new necromancer known only as the Wormblood. Their dark goal: to harness immense power and blanket all of Tamriel in a great "soul net."
Part 1: Western Solstice
The saga begins in Western Solstice as the Worm Cult stages devastating attacks and erects the colossal, ever-present Writhing Wall. This sinister, soul-forged magical barrier cuts the island in half, sealing off the eastern zone.
You will join the Stirk Fellowship, a coalition including fan-favorite characters like Razum-dar and Gabrielle Benele to reclaim control of Sunport, uncover the secrets behind the Wormblood's power, and learn how to breach the wall.
The Writhing Wall Event: A Server Wide Effort

The Writhing Wall was a colossal, soul-forged magical barrier, erected by the Worm Cult to seal off the eastern half of Solstice. Its destruction was the objective of a major, server-wide community event that served as the in-game catalyst to transition the Seasons of the Worm Cult saga from Part 1 to Part 2.
Accessing Eastern Solstice:
It is important to note that participation in the live, cooperative event was not mandatory to continue the story.
- During the Event: Players could travel to Solstice and join the climactic Phase 3 effort to physically break through the barrier.
- After the Event Concludes: As the wall's destruction is a permanent, server-wide change, all subsequent players who complete the Western Solstice questline will find the wall already breached. This allows you to freely enter Eastern Solstice and continue the main quest from the west, regardless of whether you were present for the initial event.
If you missed this historic moment, you can read about the, phases, and rewards of this one-time event on our Writhing Wall Event Guide.
Part 2: Eastern Solstice - The Final Confrontation
With the wall successfully breached, Part 2 will take the fight into the newly accessible Eastern Solstice zone. This area is believed to house the Worm Cult's central stronghold. The final chapter will see players pursue the Wormblood to the core of their dark operations, bringing the year-long saga to its thrilling and definitive climax.