PC • EU
100%
0%25%50%75%100%
Complete ESO Writhing Wall Event Guide & Rewards List. Learn how to progress through each phase and earn exclusive rewards. Writhing Wall Event Tracker included!
By Edenprime
This page updates automatically • Last updated: 8 months ago
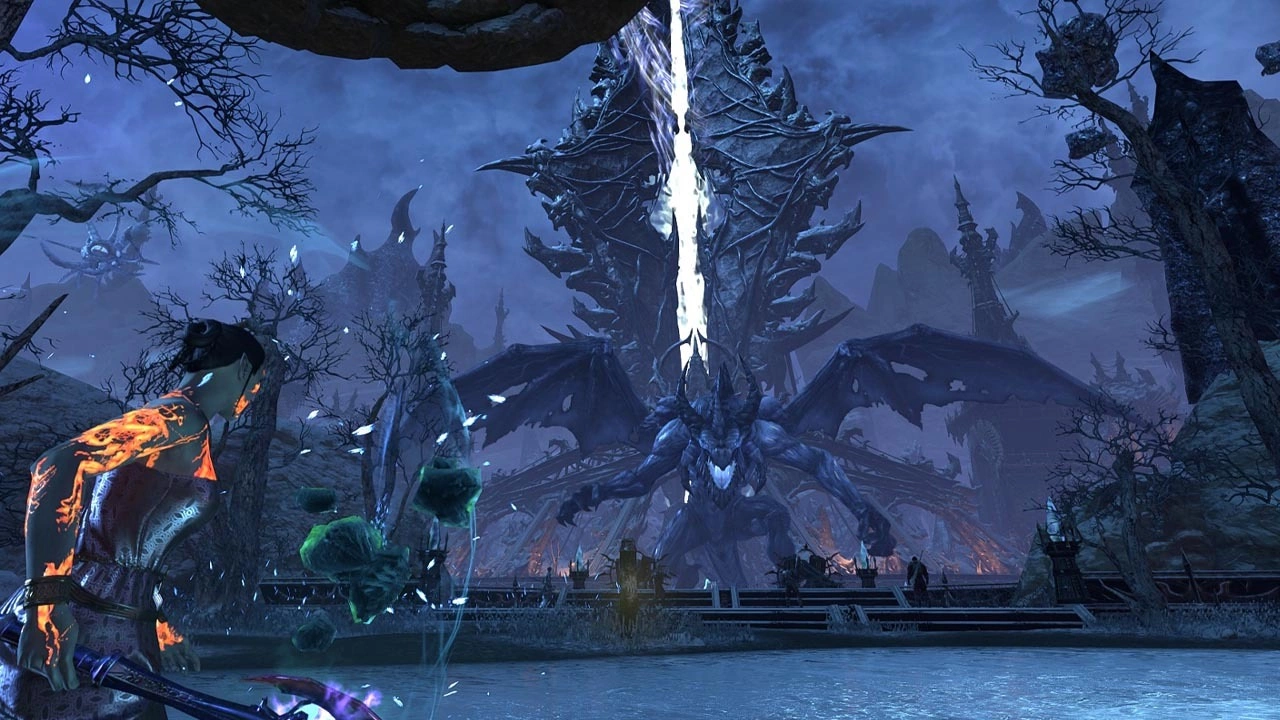
The Battle for the Writhing Wall is a massive, server-wide community event in The Elder Scrolls Online. Originally, it started on October 13, 2025. The event periodically returns so players can access the content again.
Your actions directly contribute to its progression, culminating in the permanent unlocking of the new Eastern Solstice zone for your entire megaserver!
This guide explains how to participate, progress through each phase, and earn unique rewards.
Keep in mind that this is not a typical in-game festival. The Writhing Wall event does not grant Event Tickets or feature an Impresario or other Event Merchants. Instead, it's a unique, lore-focused effort where the community works together to push back the encroaching Worm Cult.
Related Content: Interactive Map - Sets Database - Furniture Catalogue.
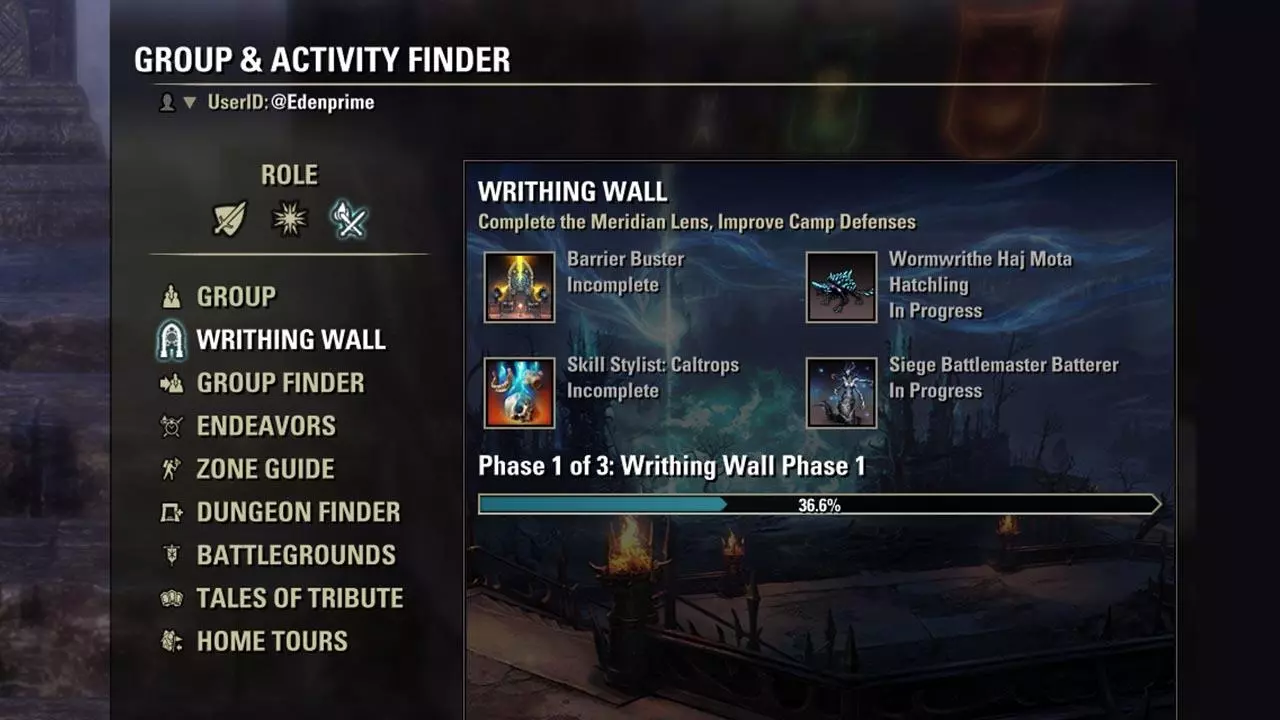
The Writhing Wall is a, live event that's part of the Seasons of the Worm Cult storyline. It continues until the community breaches the wall, permanently opening up the Eastern Solstice zone. You can check your server's progress at any time in the Group & Activity Finder.
No! While the 2025 Content Pass is required to access most of the Solstice zone and complete achievements, base game players can still participate and earn Writhing reward coffers. Your contributions on Stirk Island directly help the war effort and count toward your server's progress.
Confused about your role in the Writhing Wall event as a base game player? Here’s a breakdown of how you can contribute to the war effort, the rewards you can earn and what requires the ESO 2025 Content Pass.
Need help with ESO Builds? Check the ESO Community Builds Database and dedicated ESO Builds on Alcasthq.
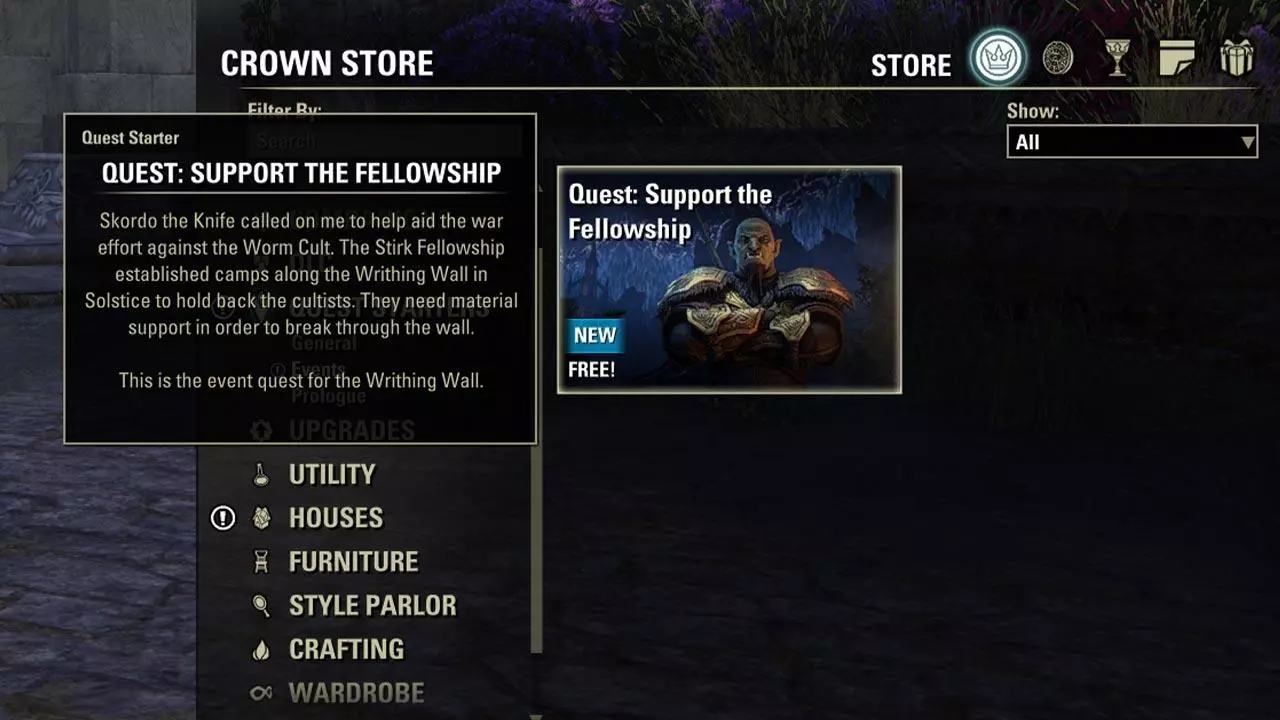
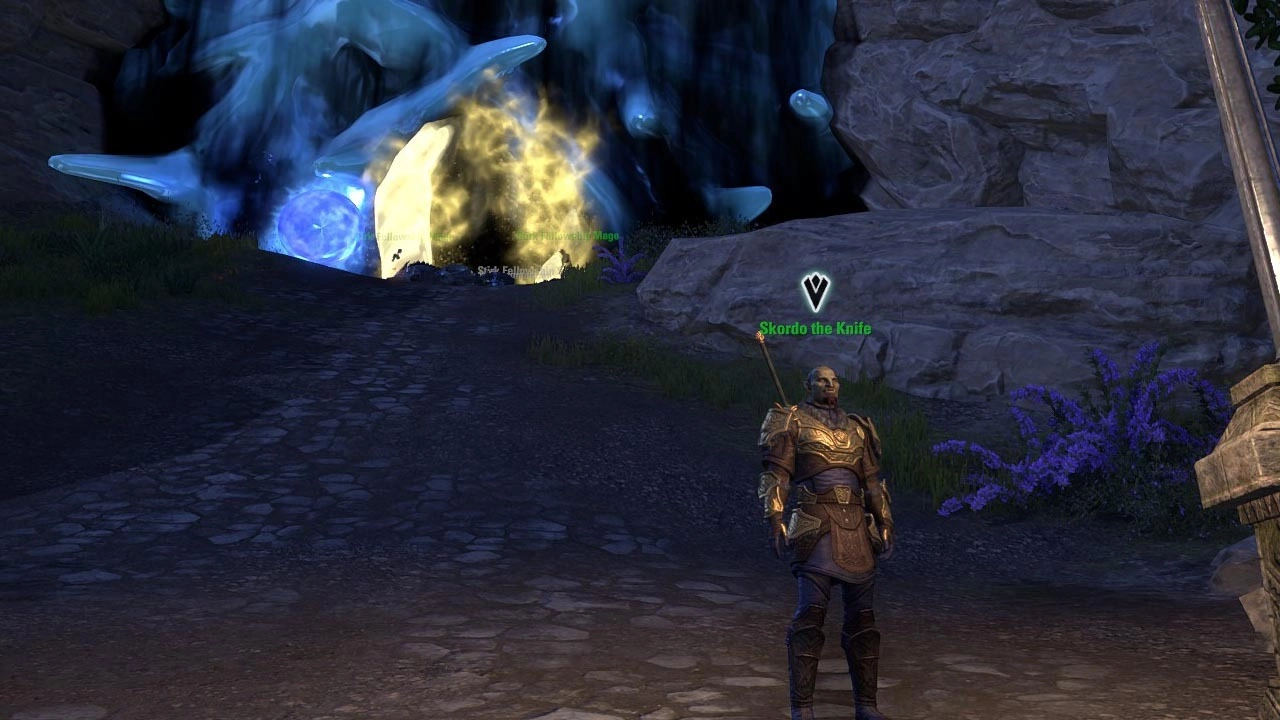
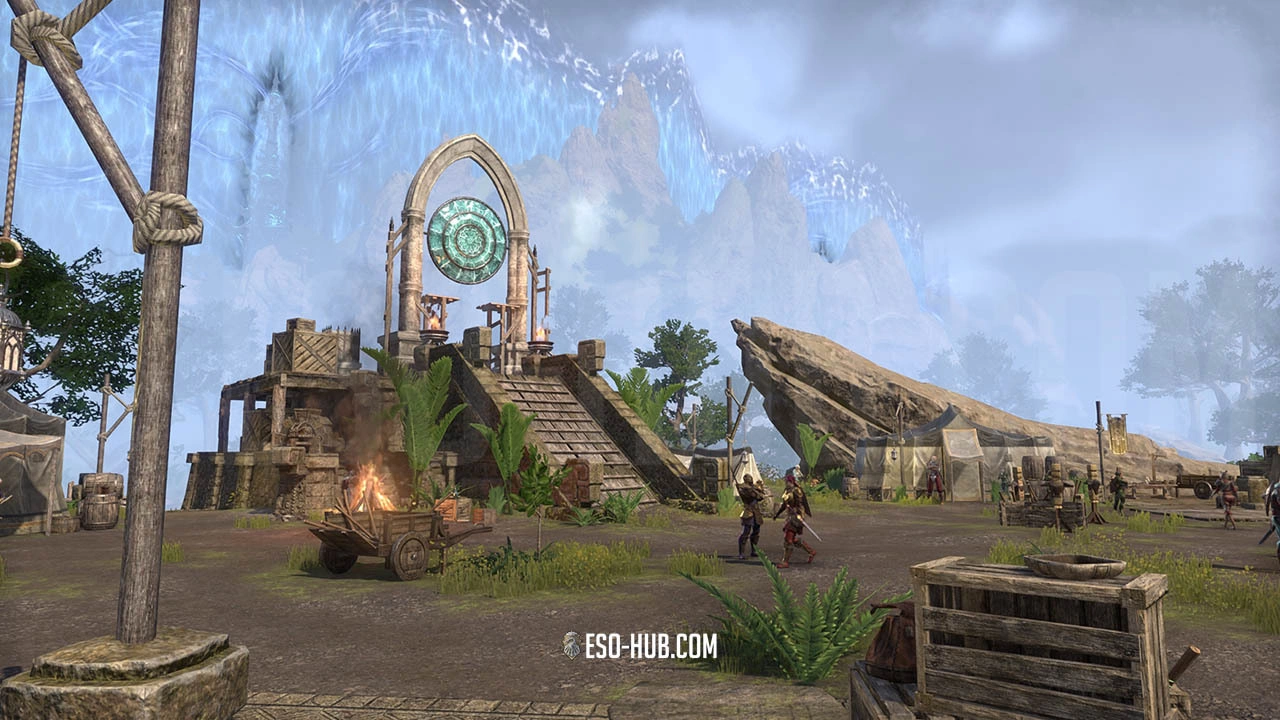
To begin your contribution to the Battle for the Writhing Wall, follow these steps to join the front lines and access the event-specific quests:
While the event is active, you can also find Prince Azah outside the Solstice camp to pick up a new Zone Story Quest.
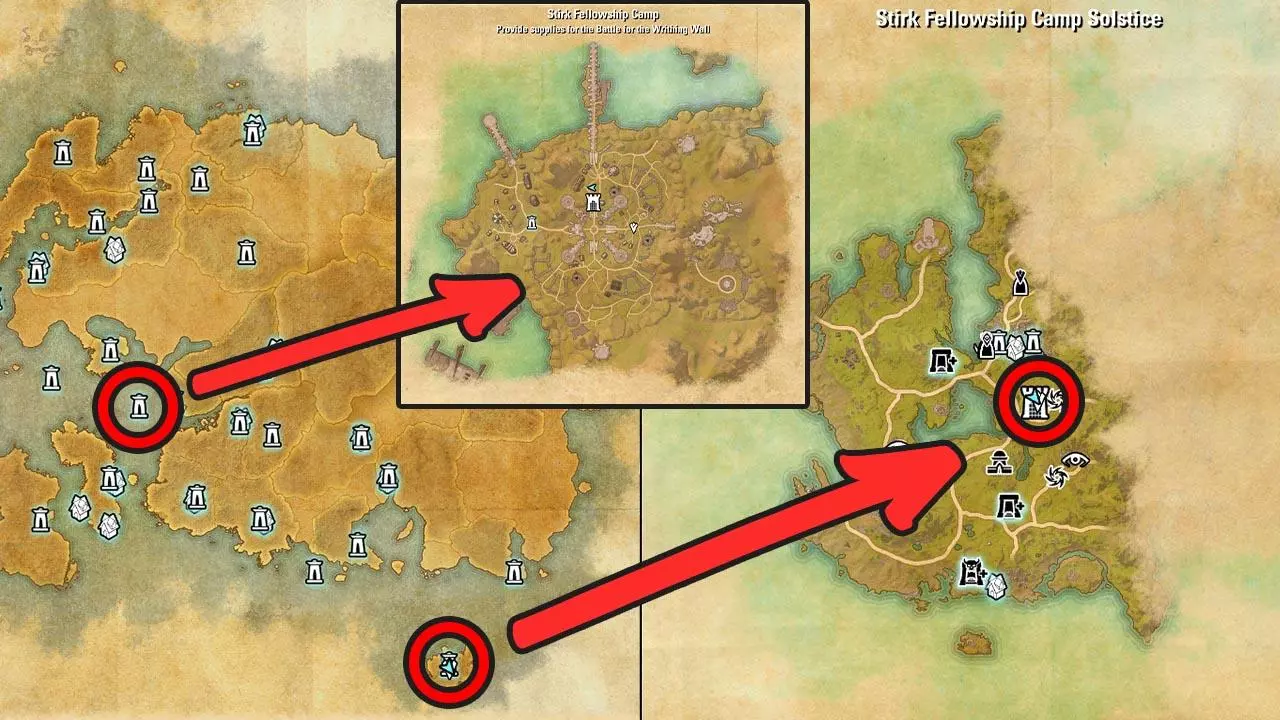
The Stirk Fellowship Camp exists in two locations. The easiest way to get there is by using a wayshrine on Stirk Island (Stirk is situated west of Gold Coast).
You can also travel by boat from your alliance's main port: Vulkhel Guard (Aldmeri Dominion), Davon's Watch (Ebonheart Pact) or Daggerfall (Daggerfall Covenant).
The event's progression relies entirely on the collective effort of your megaserver, meaning each server will progress and finish independently. The Walls Phase requirements are individually balanced for each megaserver, ensuring a fairer race to breach the wall.
Each phase adds something more to do
| Phase 1 | Phase 2 | Phase 3 | |
| Base Game Players | Complete daily quests on Stirk Island & fight Worm Cultists in delves and public dungeons (marked by a blue glow on the map icon). | 6 new Crafting Daily Quests from Armorer Reistaff | Nothing new |
| Content Pass Players | In addition to the tasks above, you get an additional Siege Camp Daily in Solstice. | 6 new Crafting Daily quests from Armorer Reistaff + you can kill the new World Boss Ghishzor in Solstice | Complete the Writhing Fortress (available for 7 days after your megaserver clears it for the first time) |
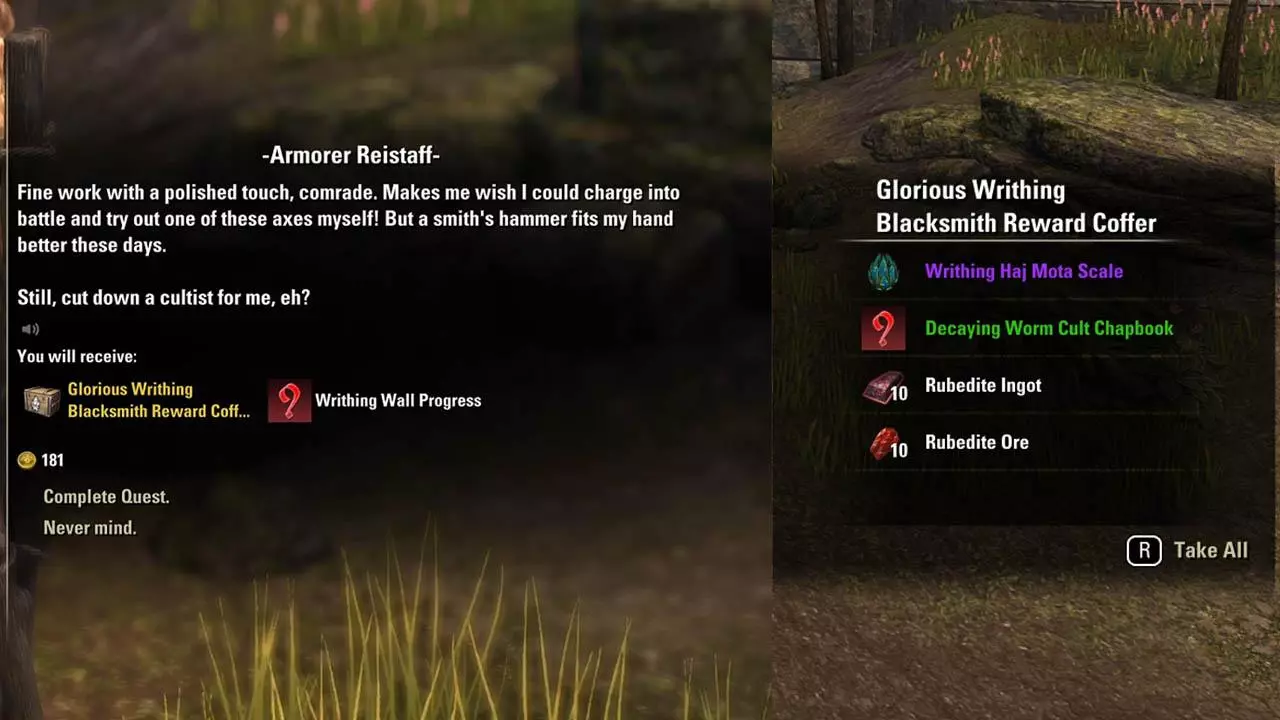
The main source of rewards is the Writhing Reward Coffer, earned by completing the repeatable daily quests. Your first completion each day awards a golden quality Glorious Writhing Coffer. You can complete these dailies multiple times per day on each of your characters to get normal blue quality coffers.
More details about the daily quests can be found further down the guide.
Images of all the Writhing Coffer and lists of other rewards can be found towards the end of this guide. Additionally Worm Cult Members will drop Worm Cult themed furnishings.
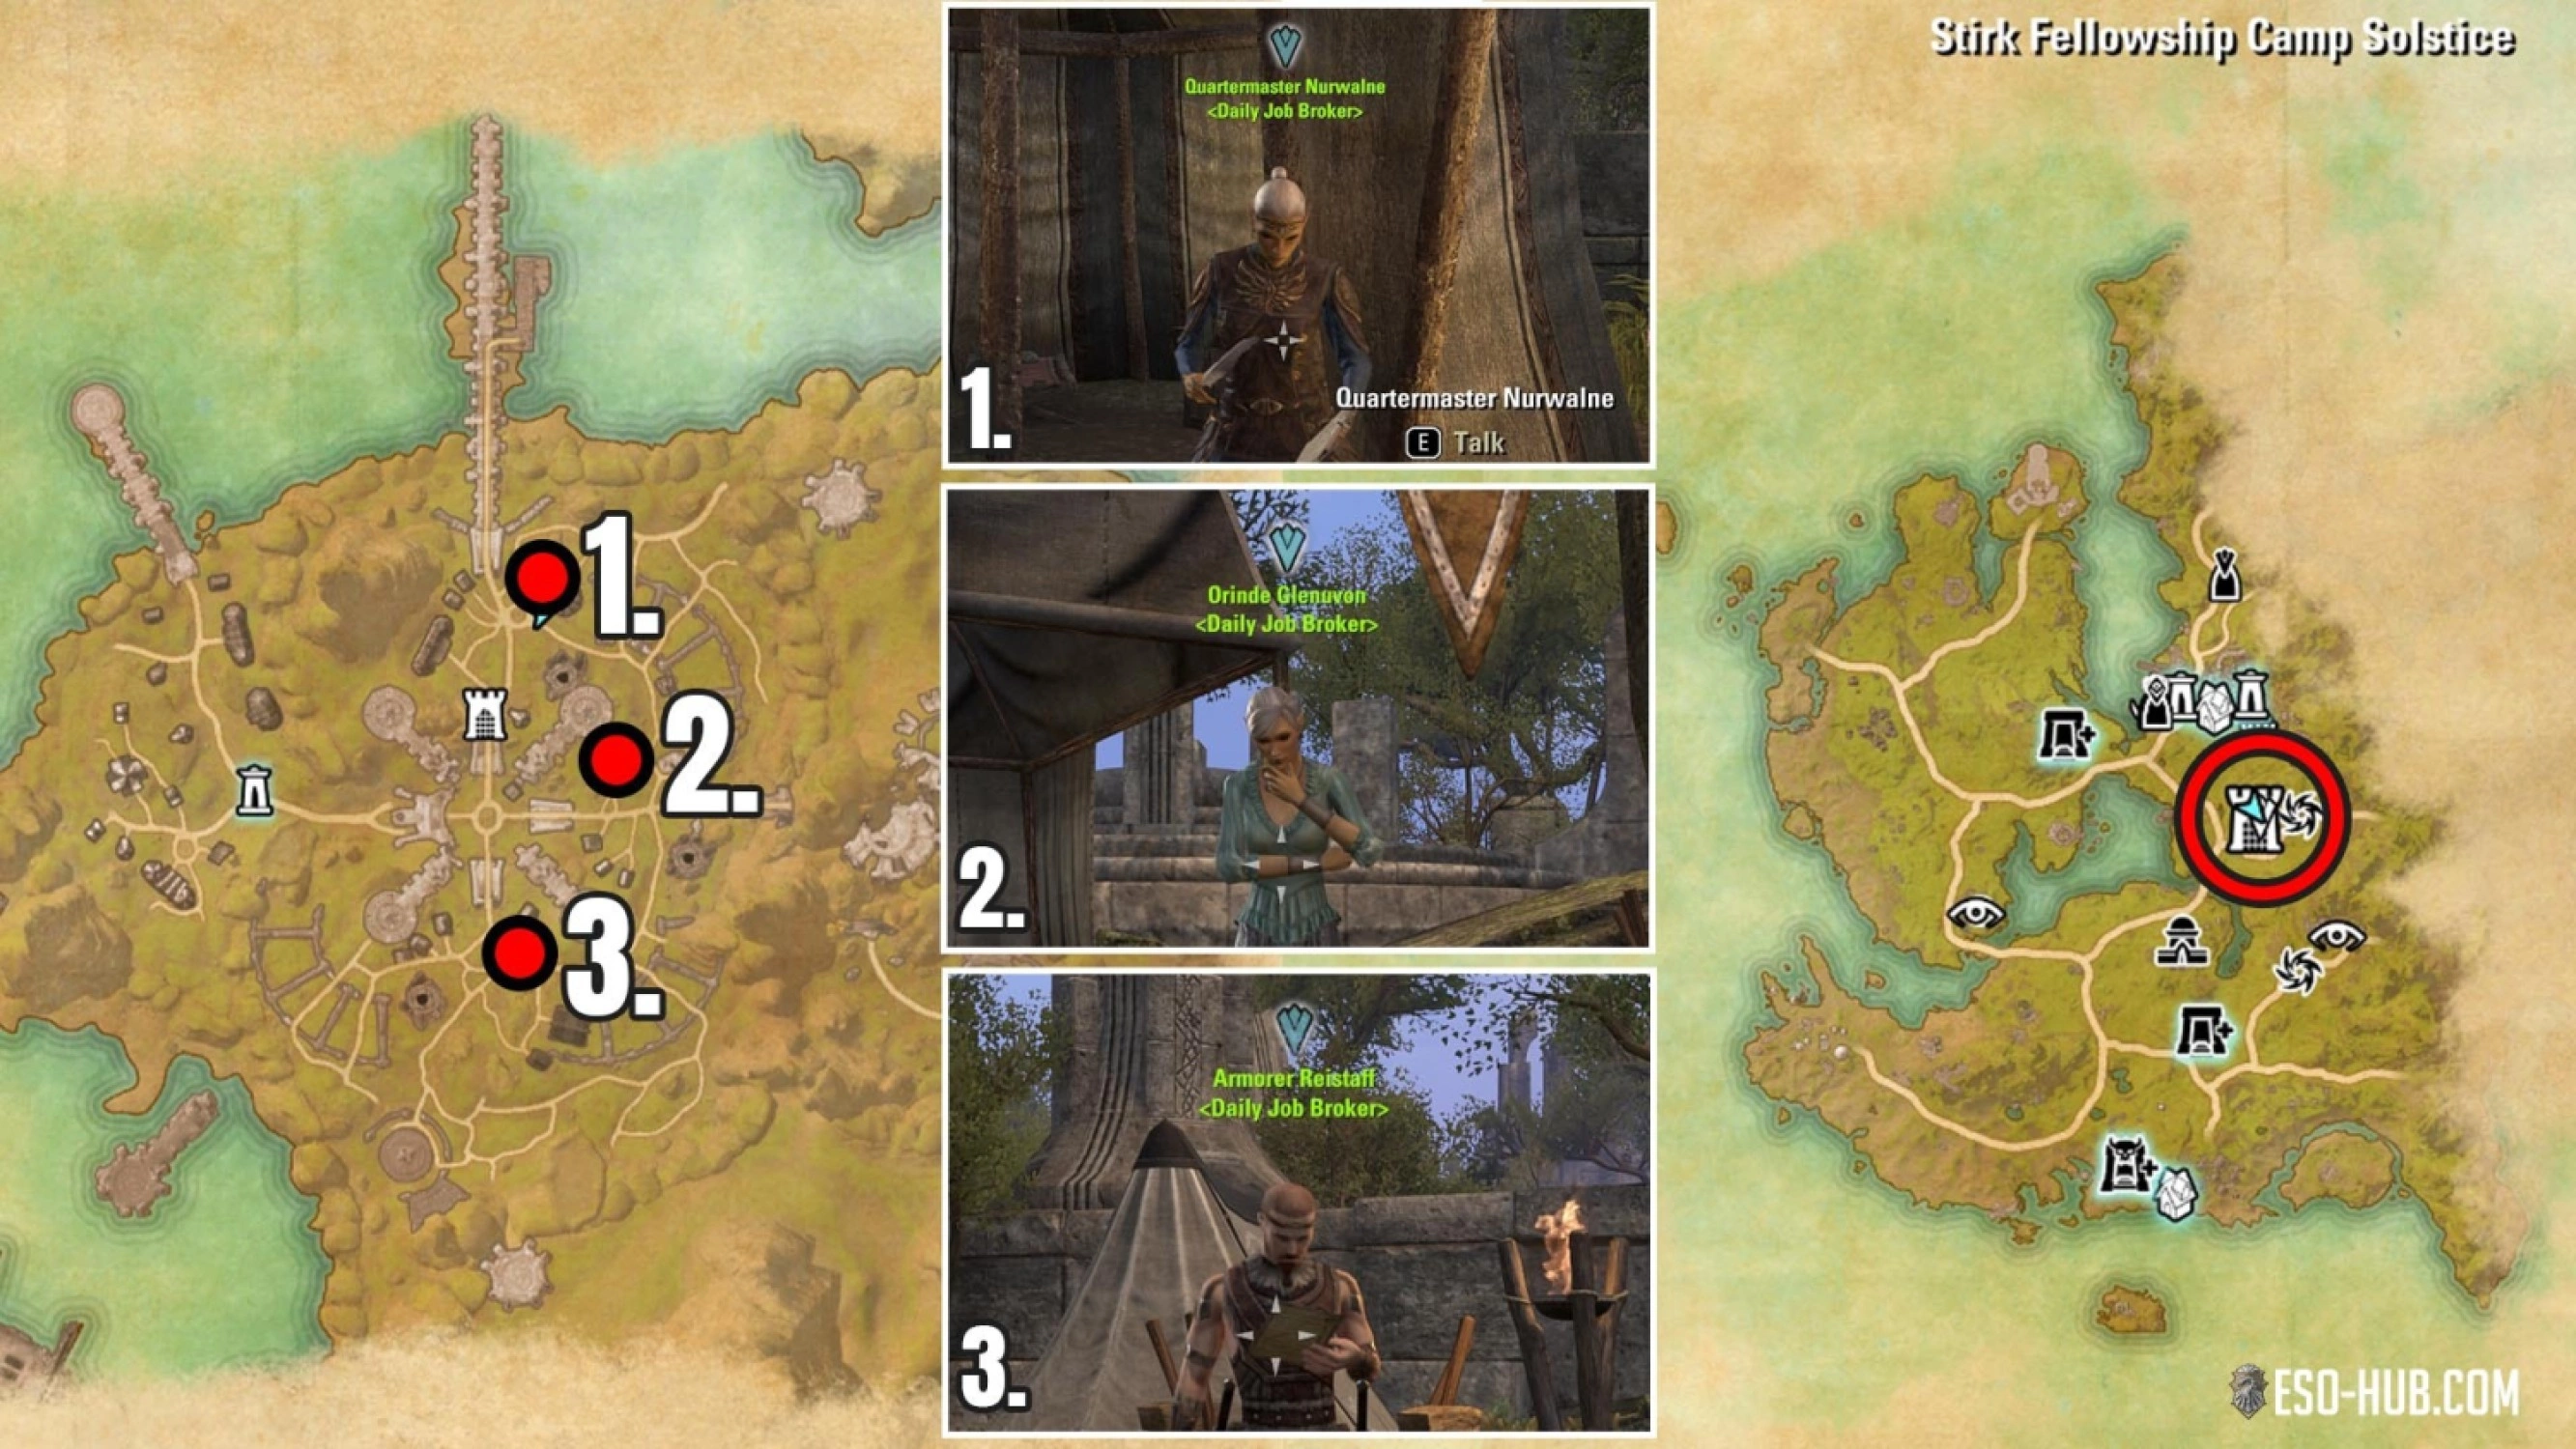
Golden Quality Glorious Writhing Coffers is earned on your first daily from the following quest givers:
Glorious Writhing Coffers are guaranteed to contain one of these rewards based on which quest you got it from (detailed lists further down):
Below you will find all Writhing Wall Event Rewards listed by source and in what phase they start dropping:
| Source | Phase 1 | Phase 2 and onward |
| Orinde Glenuvon & Quartermaster Nurwalne |
- A sellable treasure with a very low chance of the Coldharbour Surreal Estate house instead if you don't own it. - Western Solstice set piece, with a chance of a second - Wormwrithe Armor Style Pages - Wormwrithe Haj Mota Hatchling Pet fragments |
Everything from Phase 1 and: - Caltrops, Bone Skill Style Fragments - Wormwrithe Weapon Style Pages |
| General Zasimba (Solstice only) |
- A sellable treasure with a very low chance of the Coldharbour Surreal Estate house instead if you don't own it. -Stirk Fellowship motif pages and style items - Western Solstice set piece, with a chance of a second - Wormwrithe Armor Style Pages - Wormwrithe Haj Mota Hatchling Pet fragments |
Everything from Phase 1 and: - Caltrops, Bone Skill Style Fragments - Wormwrithe Weapon Style Pages |
| Armorer Reistaff |
- A sellable treasure with a very low chance of the Coldharbour Surreal Estate house instead if you don't own it. - Crafting materials - A chance for a Stirk Fellowship style item - A low chance for a Furnishing plan (list at towards the end of this page) - Western Solstice set piece, with a chance of a second - Wormwrithe Armor Style Pages - Wormwrithe Haj Mota Hatchling Pet fragments |
Everything from Phase 1 and: - Caltrops, Bone Skill Style Fragments - Wormwrithe Weapon Style Pages |
| Worm Cult Delve and Public Dungeon bosses | - A set item from the instance you killed the boss in and a low chance for Writhing Wall themed furnishing | Everything from Phase 1 |
| Siege Camp Incursion Chest |
- A set item from Solstice - Stirk Fellowship motif pages and style items - Sellable treasure - Wormwrithe Armor Style Pages - Wormwrithe Haj Mota Hatchling Pet fragments |
Everything from Phase 1 and: - Caltrops, Bone Skill Style Fragments - Wormwrithe Weapon Style Pages |
| Twitch Drop (Oct 13 to Nov 14 2025) | - Auroran Warhorse and a Imperial War Mastiff pet | |
| Golden Pursuit (Oct 13 to Nov 26, 2025) |
- Wormwrithe Bear-Lizard mount - Coldharbour Dremnaken Runt pet Tasks found on our Golden Pursuits Overview page |
|
| Writhing Fortress | Wall Breaker title in Phase 3 (no associated achievement) |
In Phase 1 you can take part in the intro quest, Prince Azah's story quest, four types of war effort supply and defense quests and Siege Camp World Events
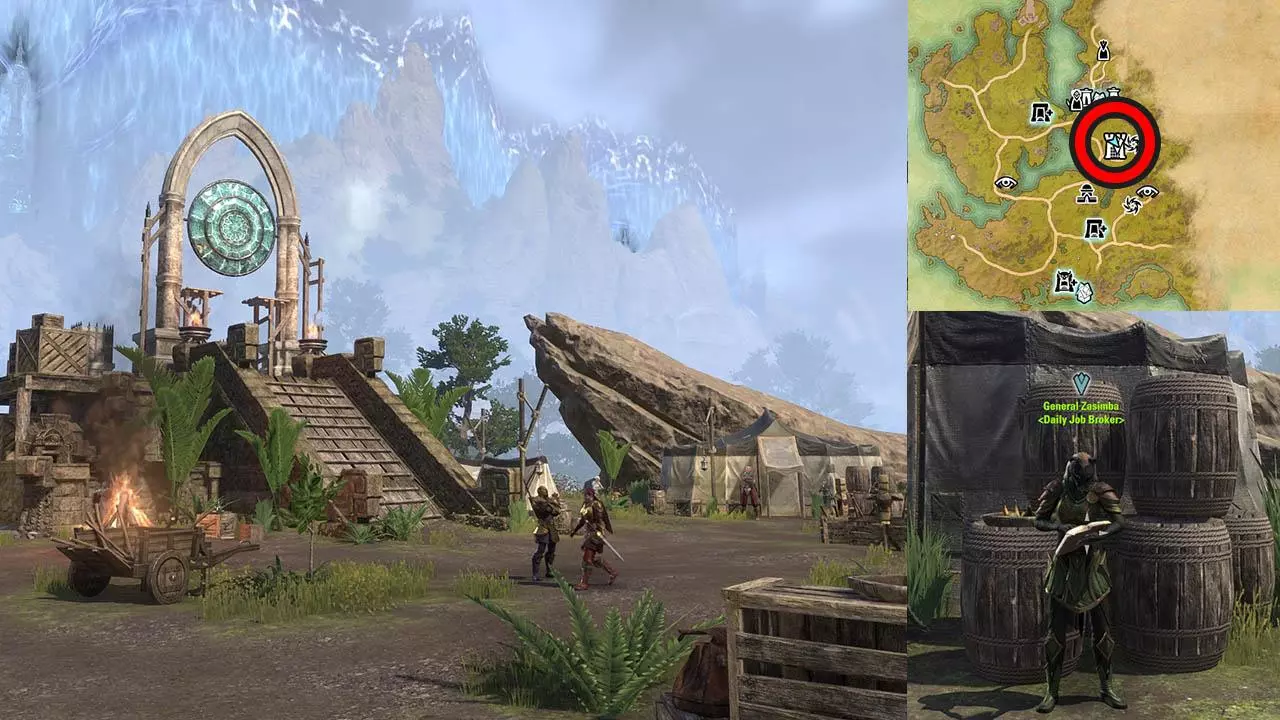
During the Battle for the Writhing Wall Phase 1, you'll focus on completing four types of daily quests to aid the war effort. While the three main daily quest givers can be found in both Solstice and Stirk, General Zasimba is exclusively located at the Solstice Fellowship Camp.
Each daily quest you complete rewards you with a Writhing Reward Coffer. You can complete these dailies multiple times per day on each of your characters.
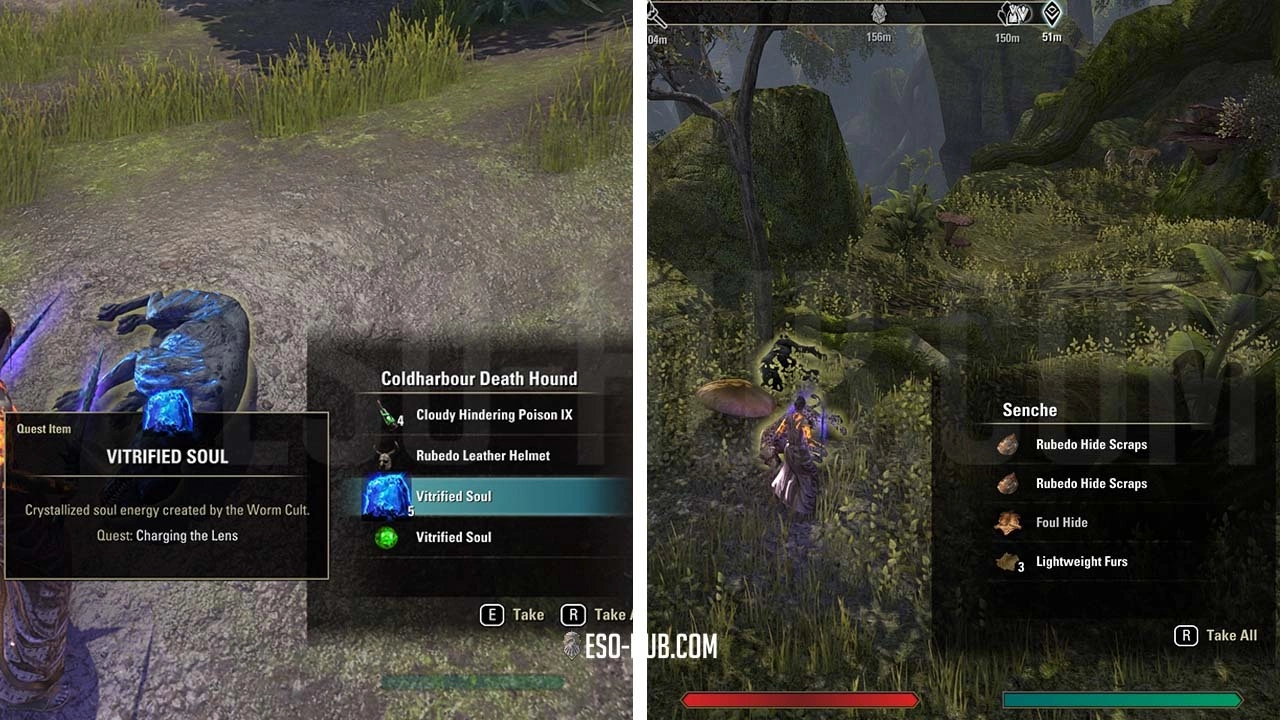
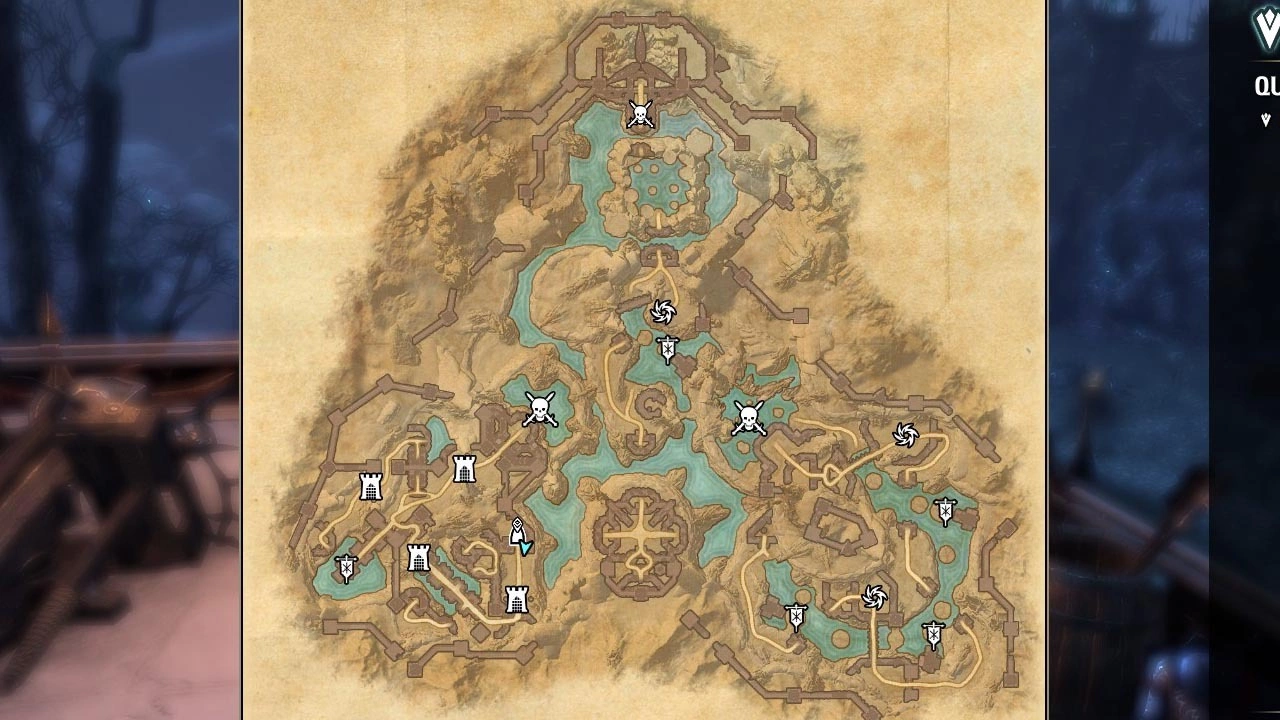
Worm Cult Members have temporarily invaded existing delves and public dungeons around Tamriel, marked by a blue glow on the map icon. Killing them advances your servers progression.
This also means you can not kill the regular bosses in these delves until the Writhing Wall Event Concludes. However, Antiquity leads that drop from delve bosses, will drop from the Worm Cult Field Marshals.
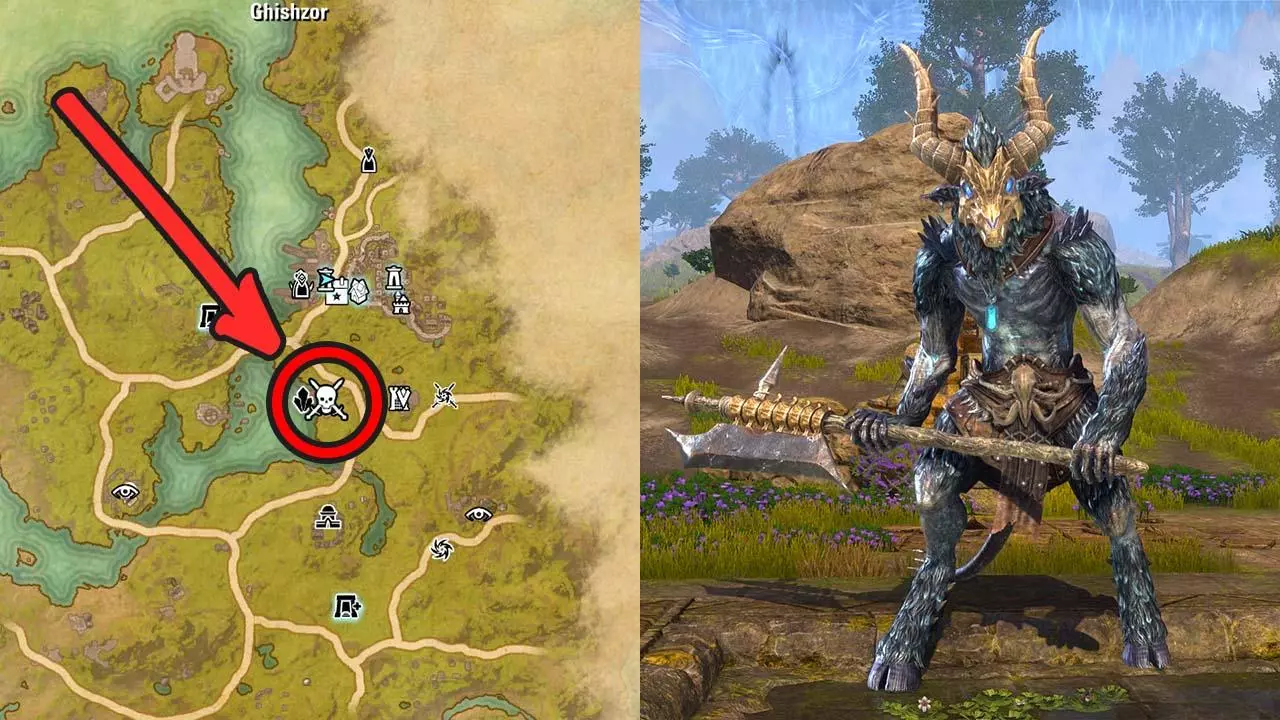
Six additional Crafting Daily quests will become available from Armorer Reistaff in Western Solstice and Stirk. Siege Camps will increase in difficulty and multiple will be active at the same time. A new World Boss Ghishzor appears.
In Phase 2 of the Writhing Wall Event, a new world boss called Ghishzor will appear on the Solstice map. Killing the boss advances your megaservers progress bar. This boss is only available for players that own the 2025 Content Pass.
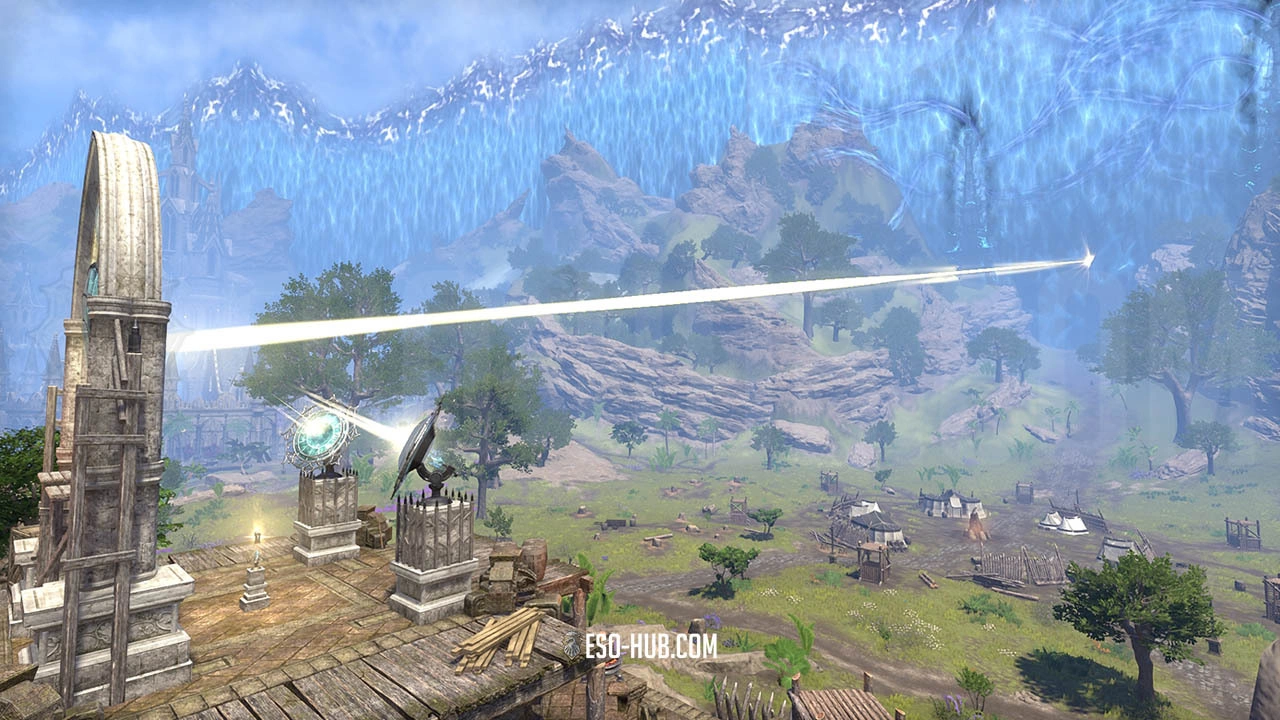
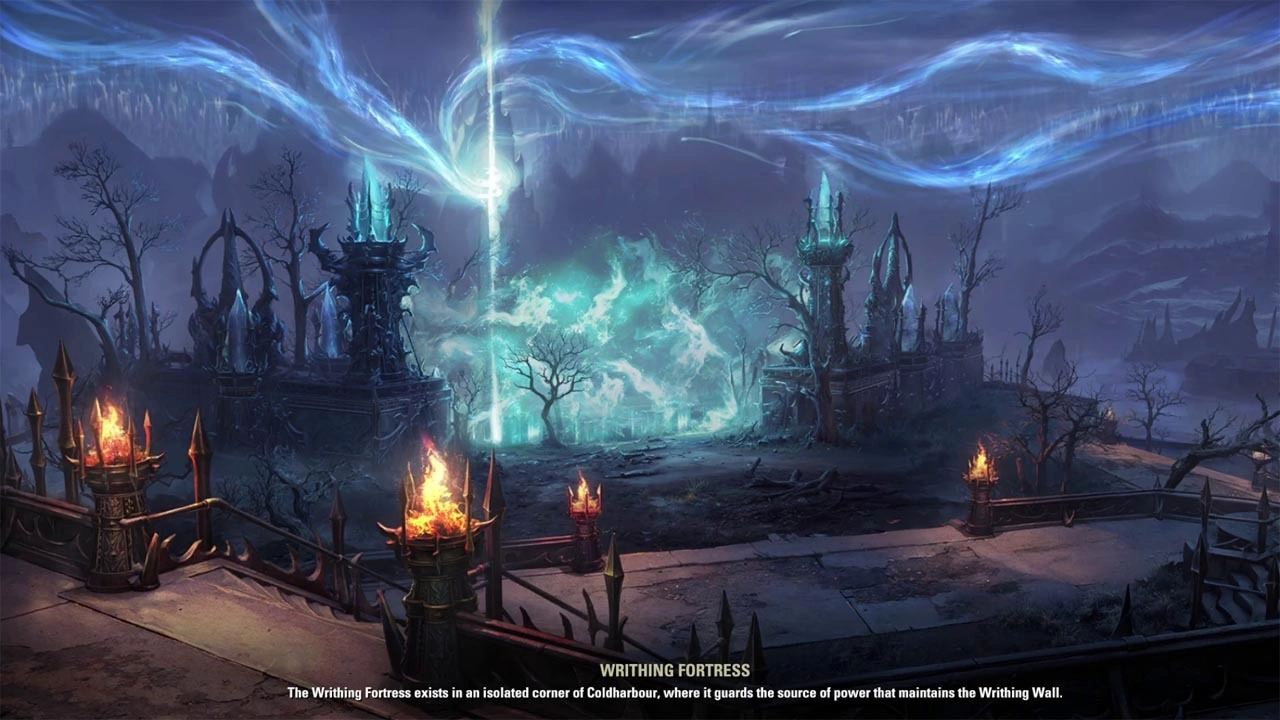
This stronghold of the Worm Cult is designed to test your teamwork and coordination. You need to work with other players to defeat daedric enemies and destroy the Soul Tower that powers the barrier blocking your access to the Eastern Solstice zone.
You will share progress on the Fortress instance with other players, allowing you to either start from the beginning or join an ongoing fight. While the Writhing Fortress can be completed multiple times, the associated quest can only be done once per character.
The Writhing Fortress is available for one week (7 days) after it has been cleared for the first time on your megaserver.
Once your server has progressed through the first two phases, the final assault on the Writhing Fortress begins. To join the fight:
This instance is designed for multiple players, and attempting it solo is nearly impossible. While a small, coordinated group of four players can make progress, a group of 12 or more will make the experience significantly easier and faster.
Throughout the fortress, your path will be blocked by powerful magical barriers. These must be destroyed to advance deeper into the Worm Cult's stronghold.
An overview of the Writhing Fortress in ESO, covering its core bosses and their main mechanics.
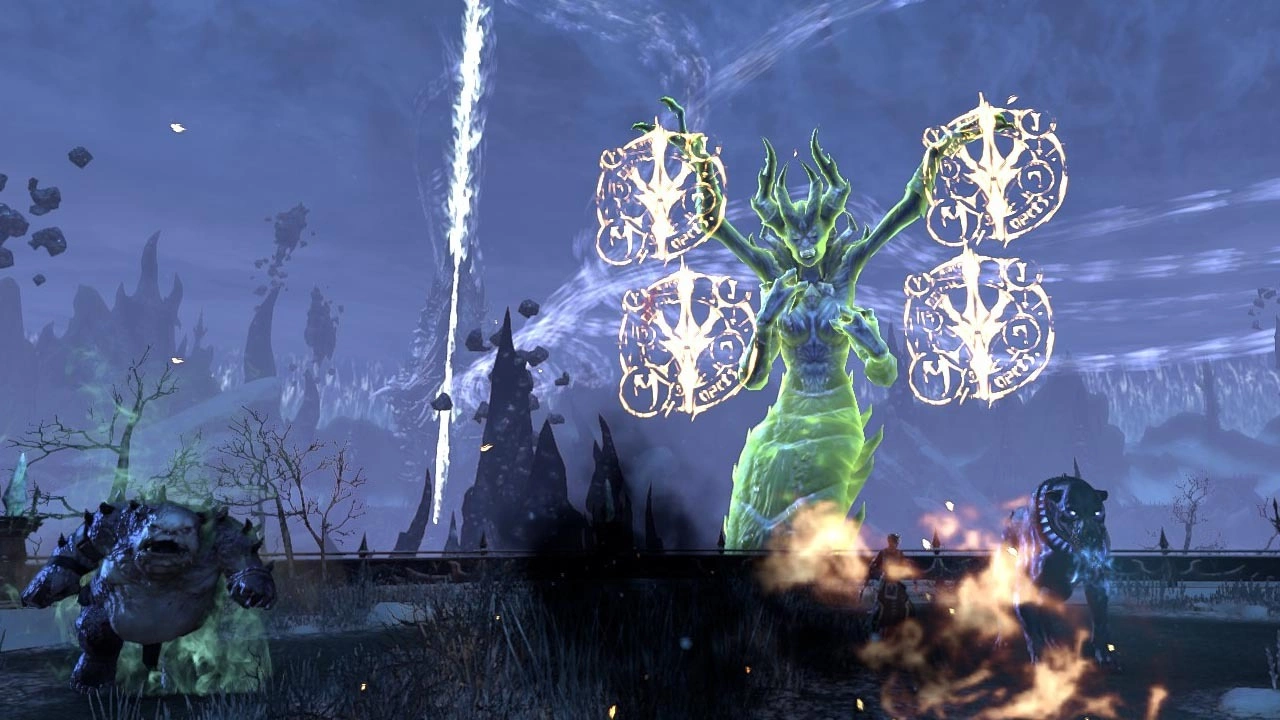
Gauztuul The Terror is a giant Bone Colossus that you do night fight directly. Instead you must kill three Champions to defeat the Bone Colossus. If you're familiar with Imperial City Sweepers, you'll know how to deal with the Champions as they cast the same skills.
Huge thank you to the content creator Ninja Pulls for providing this boss information!
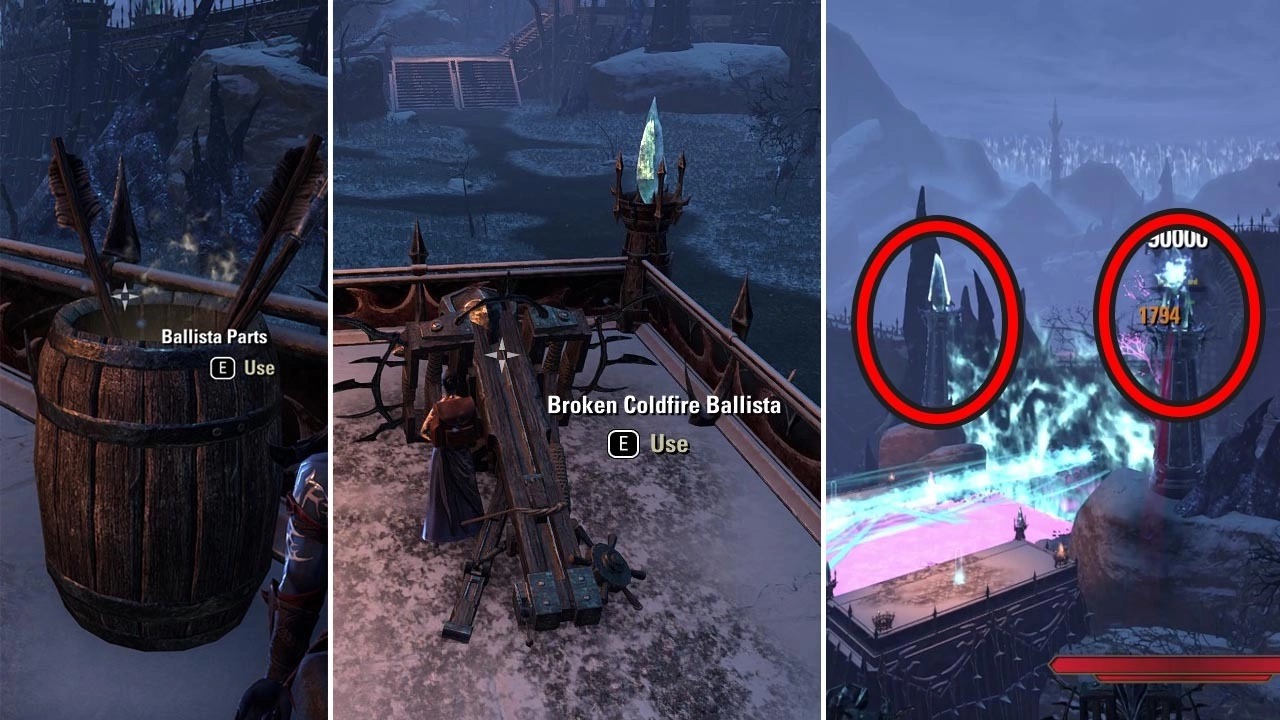
The final encounter is a battle against The Titan Zysax where you will be moving a lot between platforms, killing smaller enemies, all the while trying to shoot him with ballistas. You can damage the boss with your skills if he's close enough.
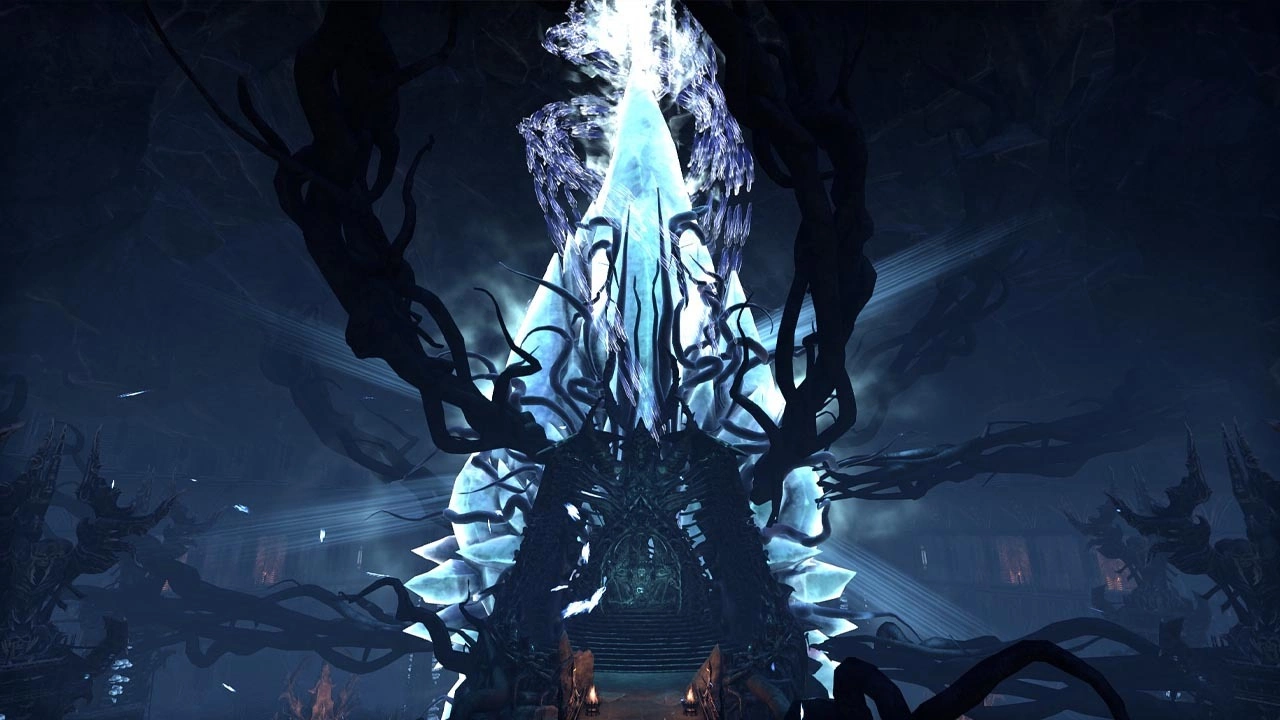
Defeating The Titan Zysax gives you access to the Monolith room that has the Soul Spire Core. The core absorbs souls flowing into the spire and is the origin of the Writhing Wall itself.
When you destroy the Soul Spire Core, the Writhing Wall will be permanently breached for your megaserver. This grants all players on that server access to the Eastern Solstice zone through a hole in the wall.
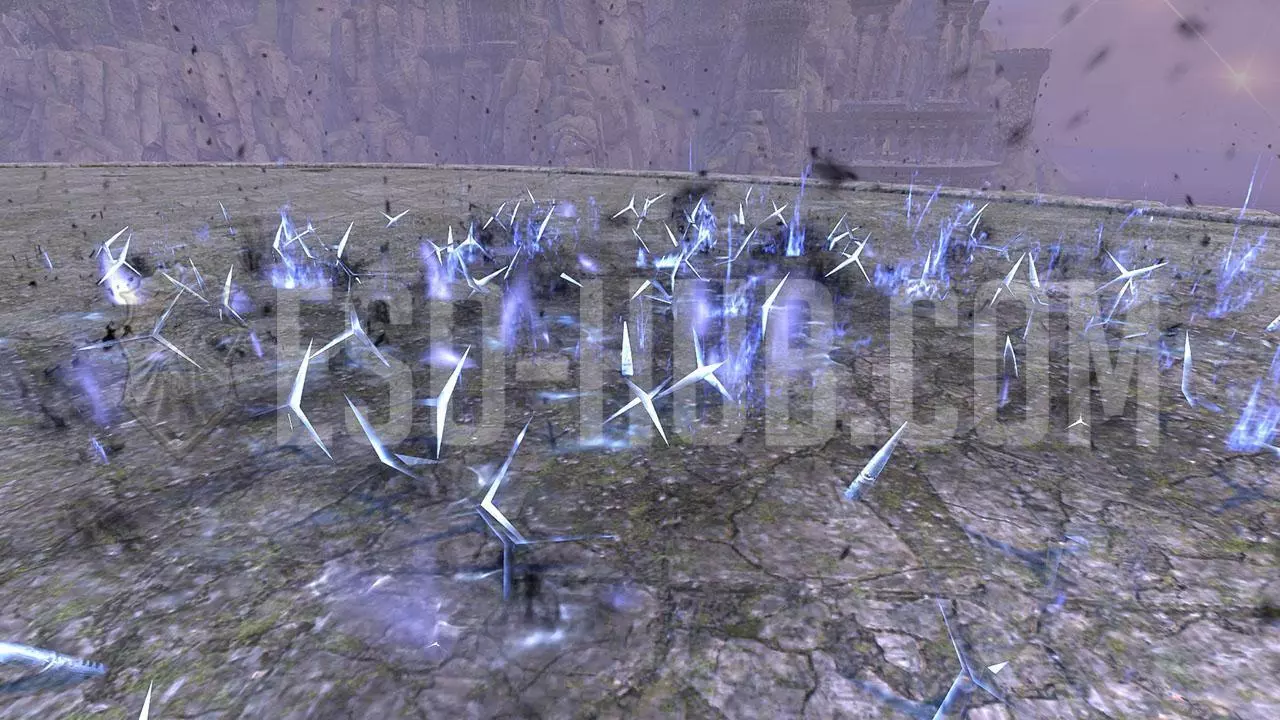
Acquire and use 25 Shards of Writhing Bone to unlock the Caltrops, Bone skill style. Shards of Writhing Bone can be found in Writhing Wall daily quest coffers. Also awards you with the [Skill Stylist: Caltrops] achievement. The Skill Style will drop from Phase 2 onward.
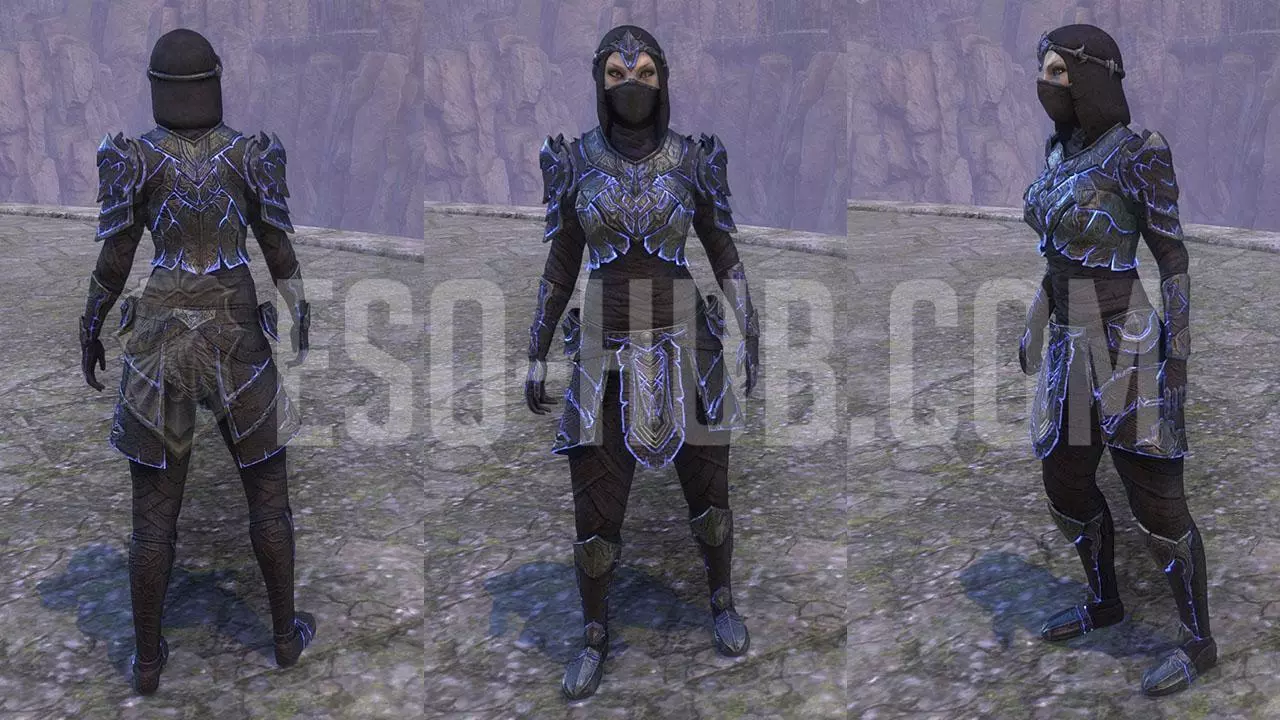
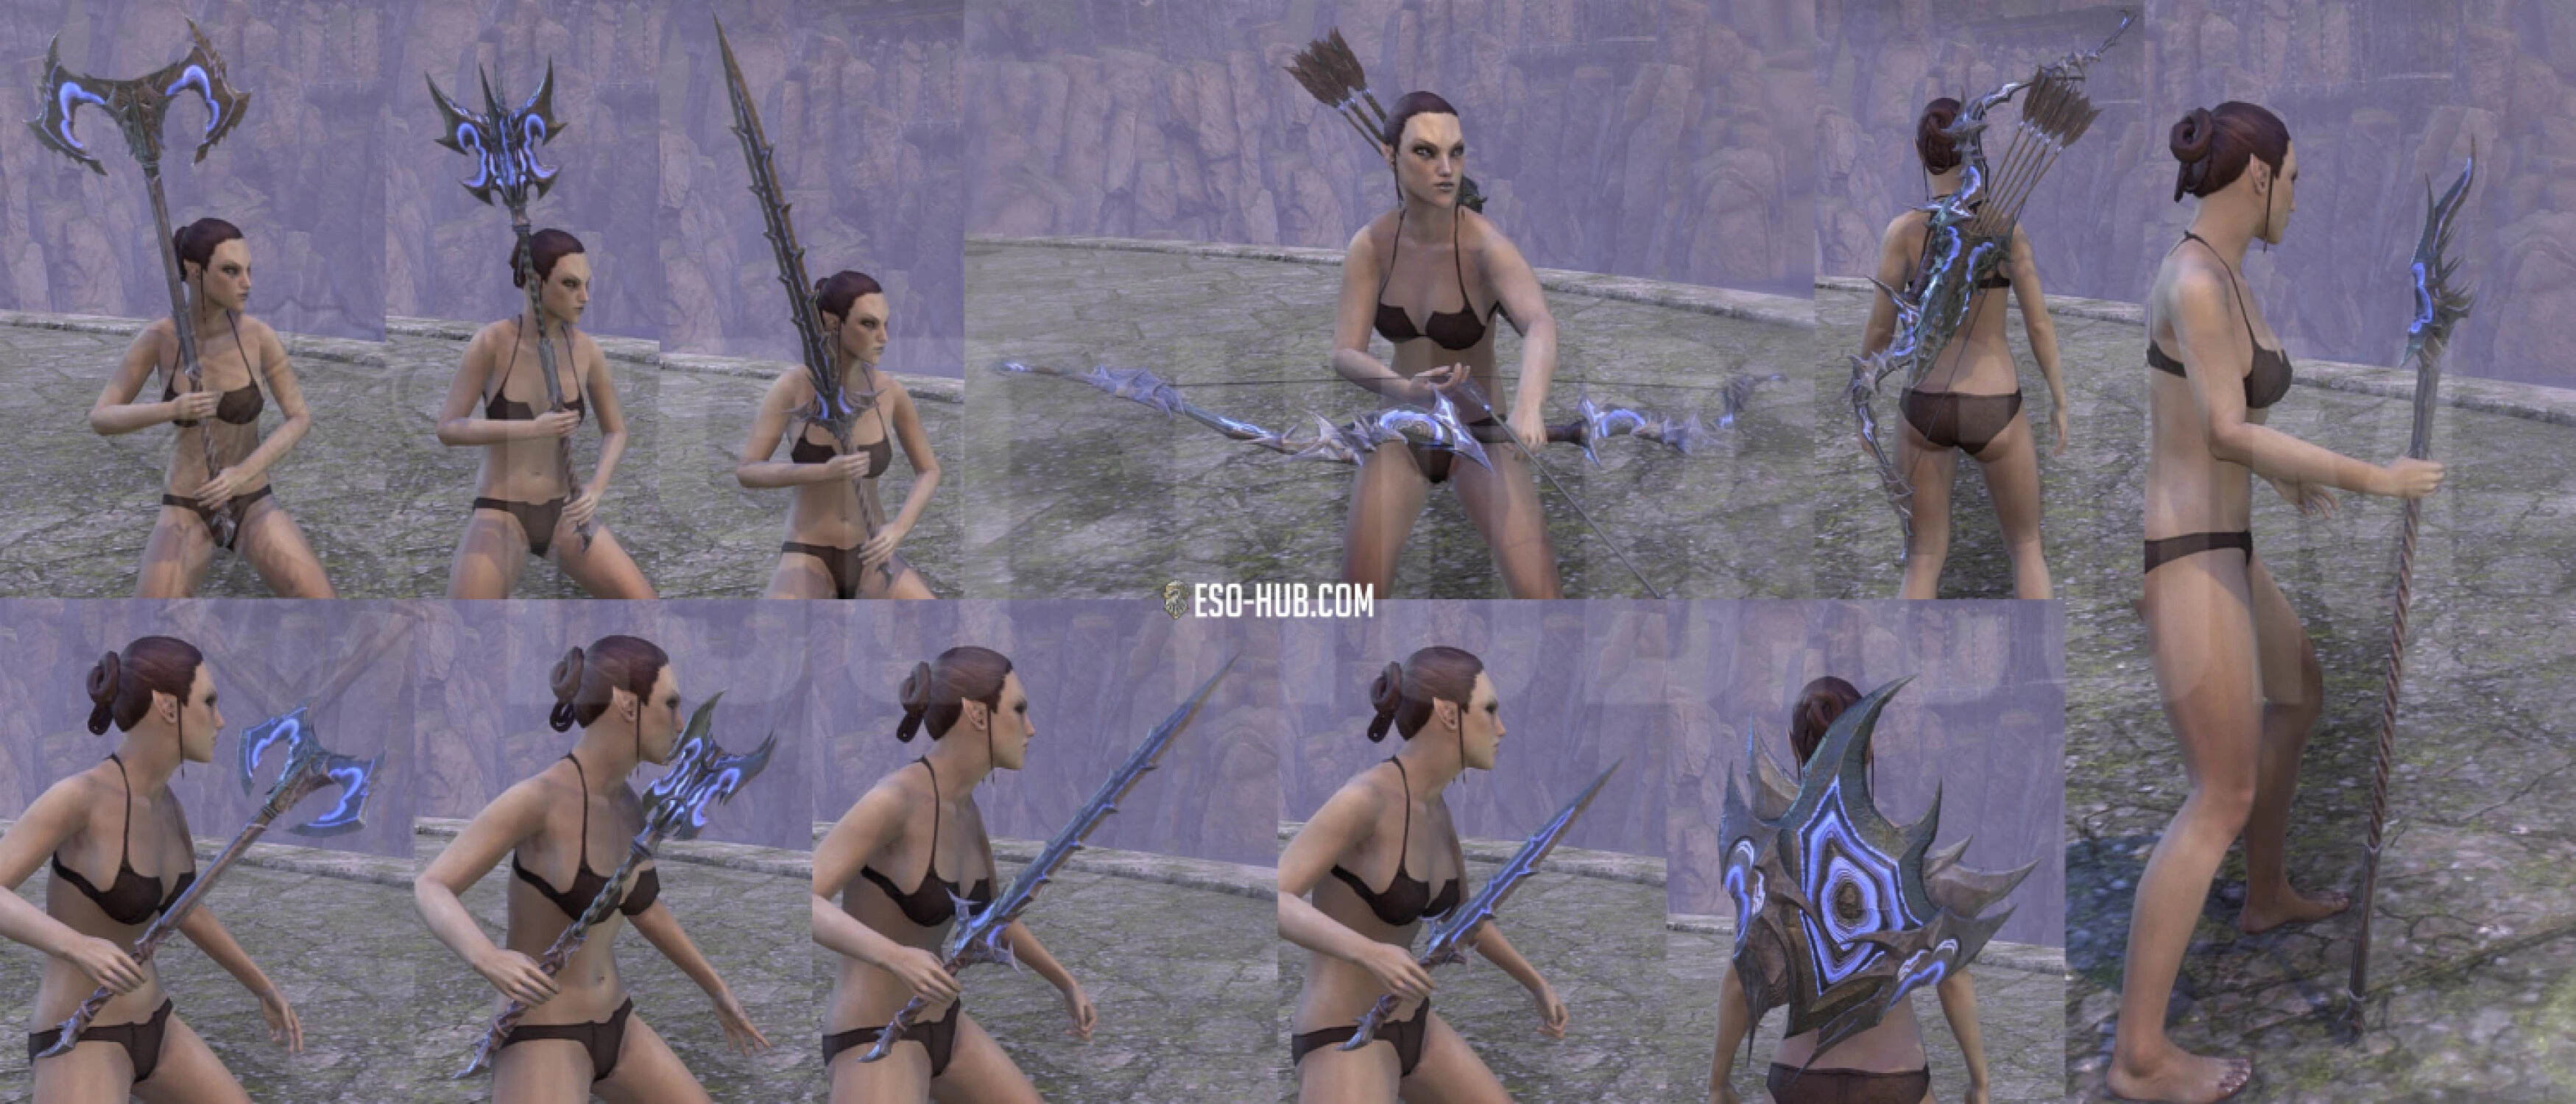
Wormwrithe Outfit Style Pages can be found in Writhing Wall daily quest coffers. Wormwrithe Armor pages drop from all Writhing Coffers and Siege Camp chest in all phases. Wormwrite Weapon Pages drop from all Writhing Daily quest coffers and Siege Camp chests starting from Phase 2 and onward. This style has the following pages available:
| Wormwrithe Armor Style pages |
Wormwrithe Arm Cops Wormwrithe Belt Wormwrithe Boots Wormwrithe Bracers Wormwrithe Guards Wormwrithe Helmet Wormwrithe Jack |
| Wormwrite Weapon Style Pages |
Wormwrithe Axe & Wormwrithe Battle Axe Wormwrithe Bow Wormwrithe Dagger Wormwrithe Sword & Wormwrithe Greatsword Wormwrithe Mace & Wormwrithe Maul Wormwrithe Shield Wormwrithe Staff |
Acquire and use 25 Writhing Haj Mota Scales to unlock the Wormwrithe Haj Mota Hatchling pet. Writhing Haj Mota Scales can be found in Writhing Wall daily quest coffers. Awards you with the Wormwrithe Haj Mota Hatchling achievement.
Stirk Fellowship Motif Pages only drop from the Writhing Siege Camp Reward Coffers obtained by completing General Zasimba's daily quest and the Siege Camp Incursion chests in in Solstice.
Coldharbour Death Hound mount and "Savior of Solstice" title are granted after completing the meta-achievement Savior of Solstice.
Writhing Wall Remnant memento is granted to your character after completing the "Crossing the Wall" quest in Western Solstice (Barrier Buster achievement).
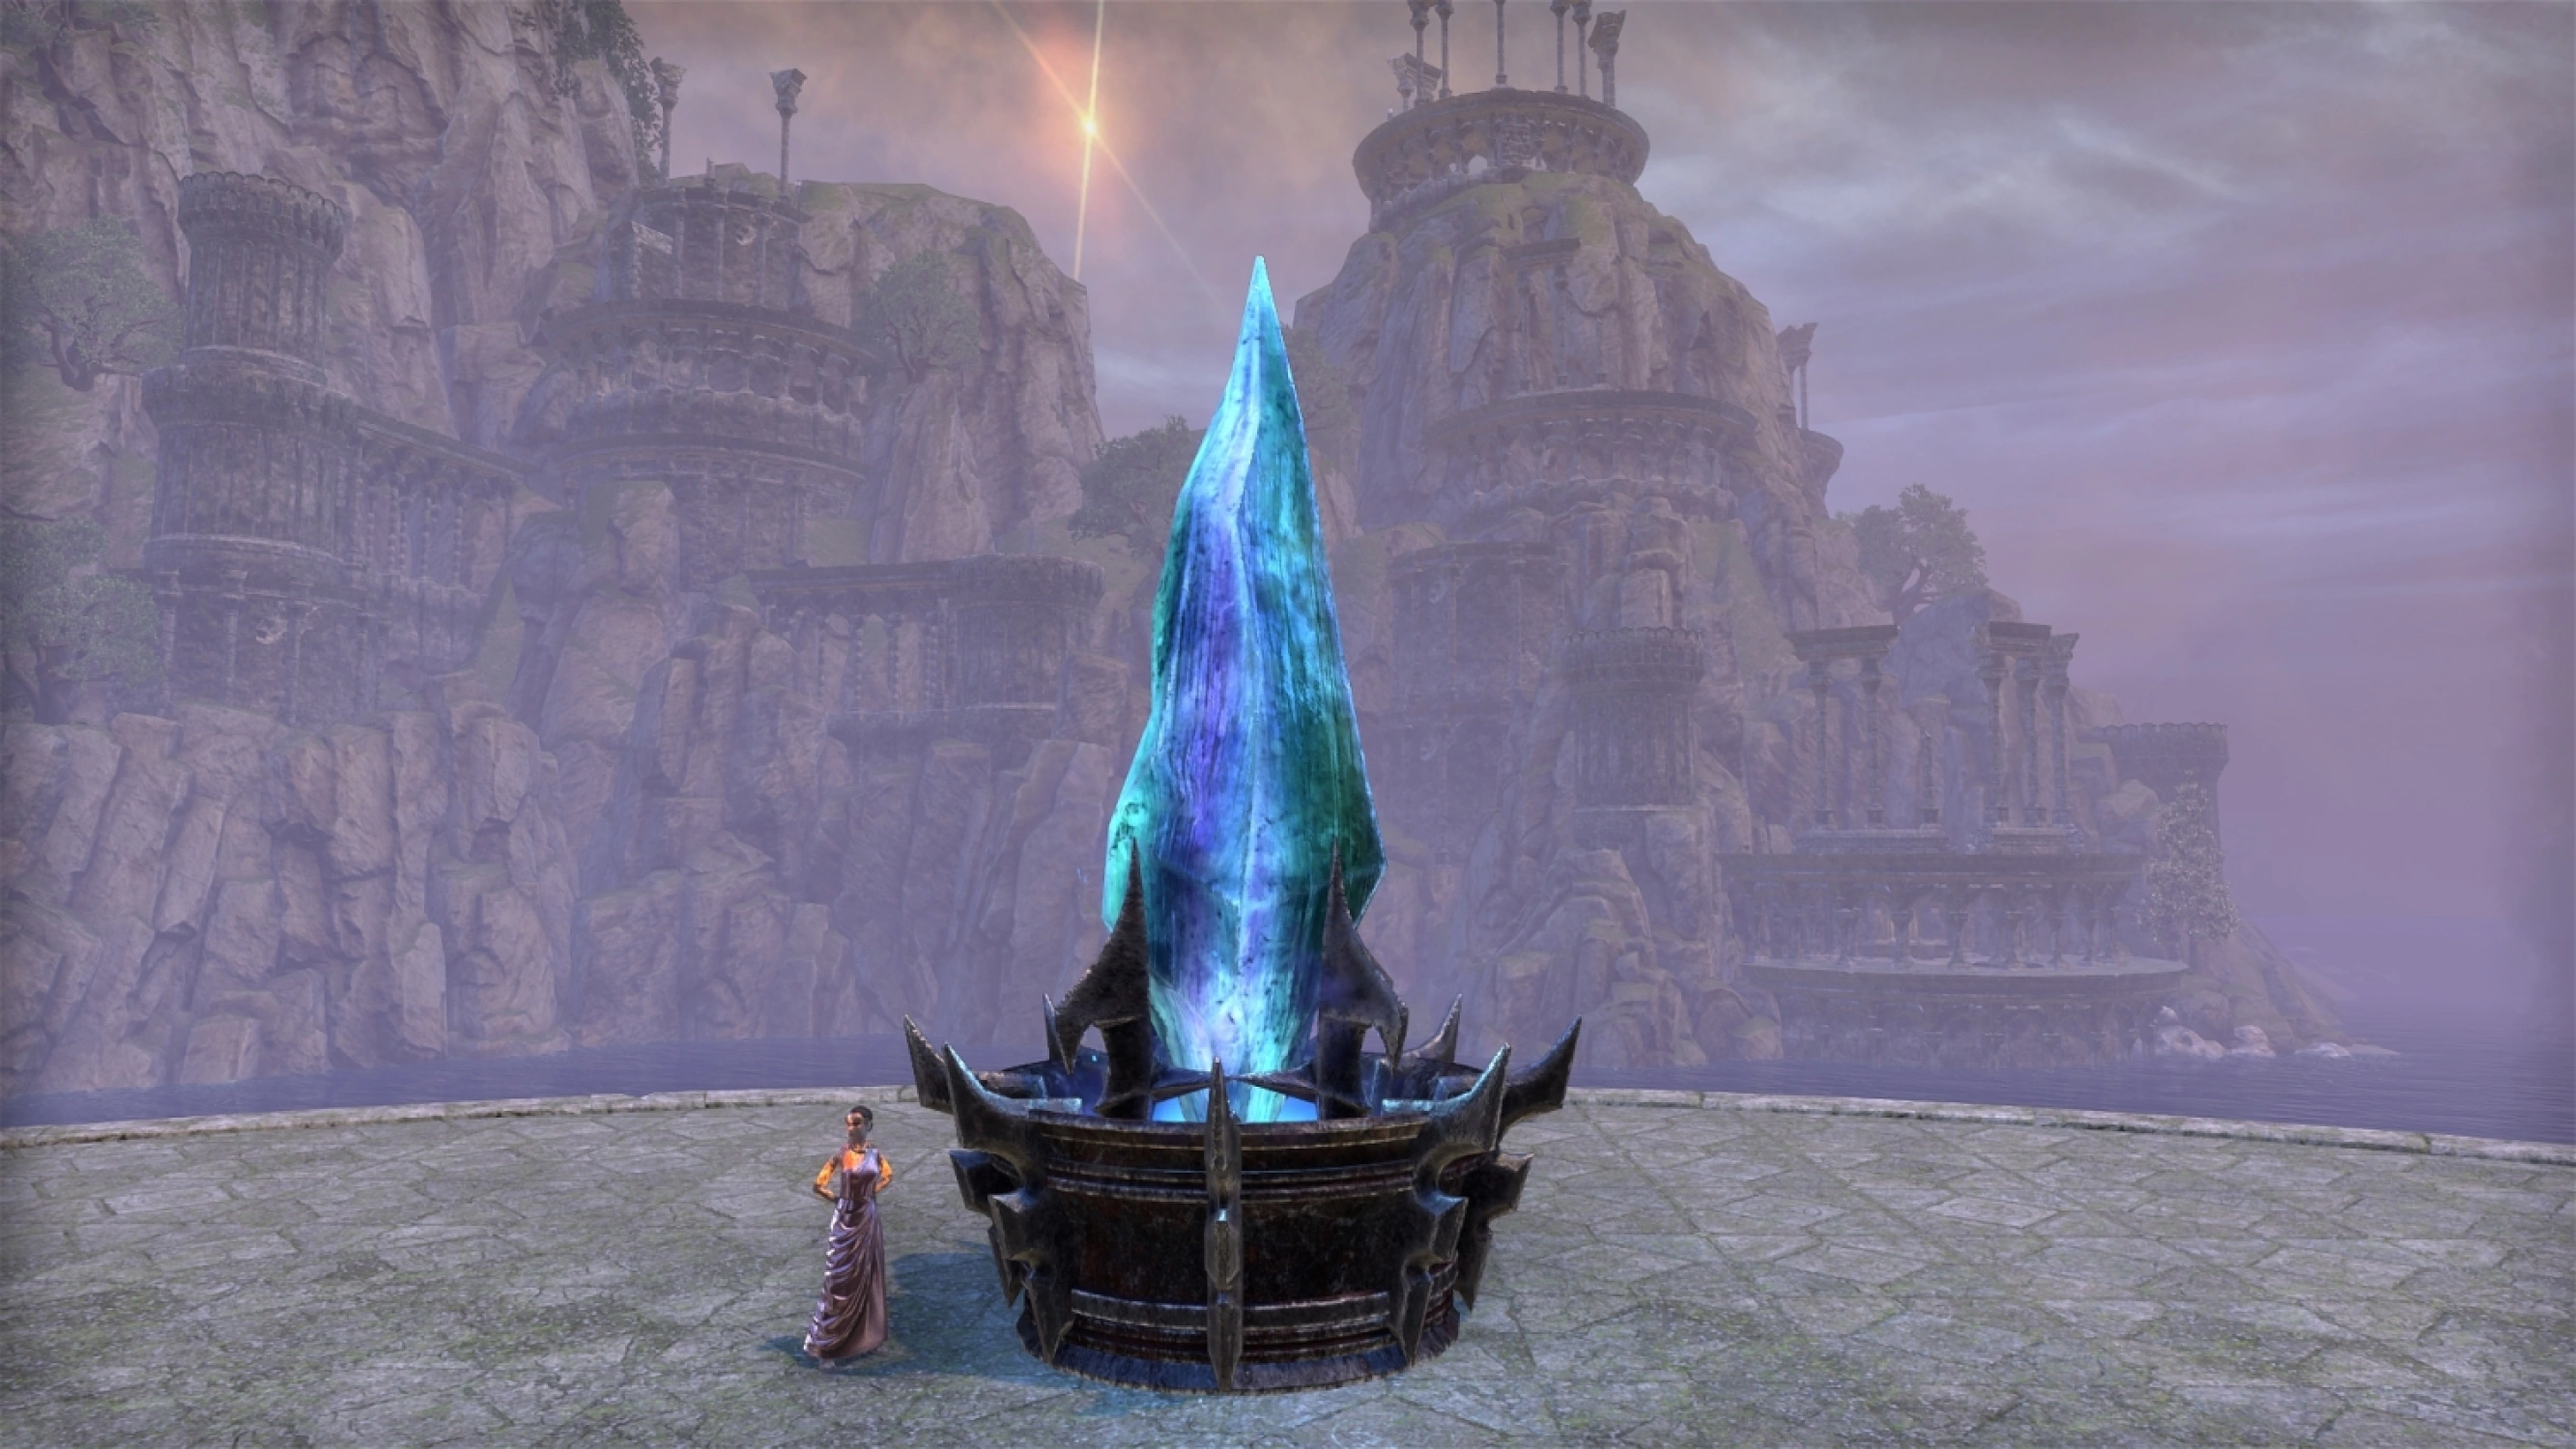
Worm Cult Crystal Pylon furnishing can be bought from Wanam-Teemeetta in Solstice for 50,000 Gold (View on map) after completing the "Crossing the Wall" quest.
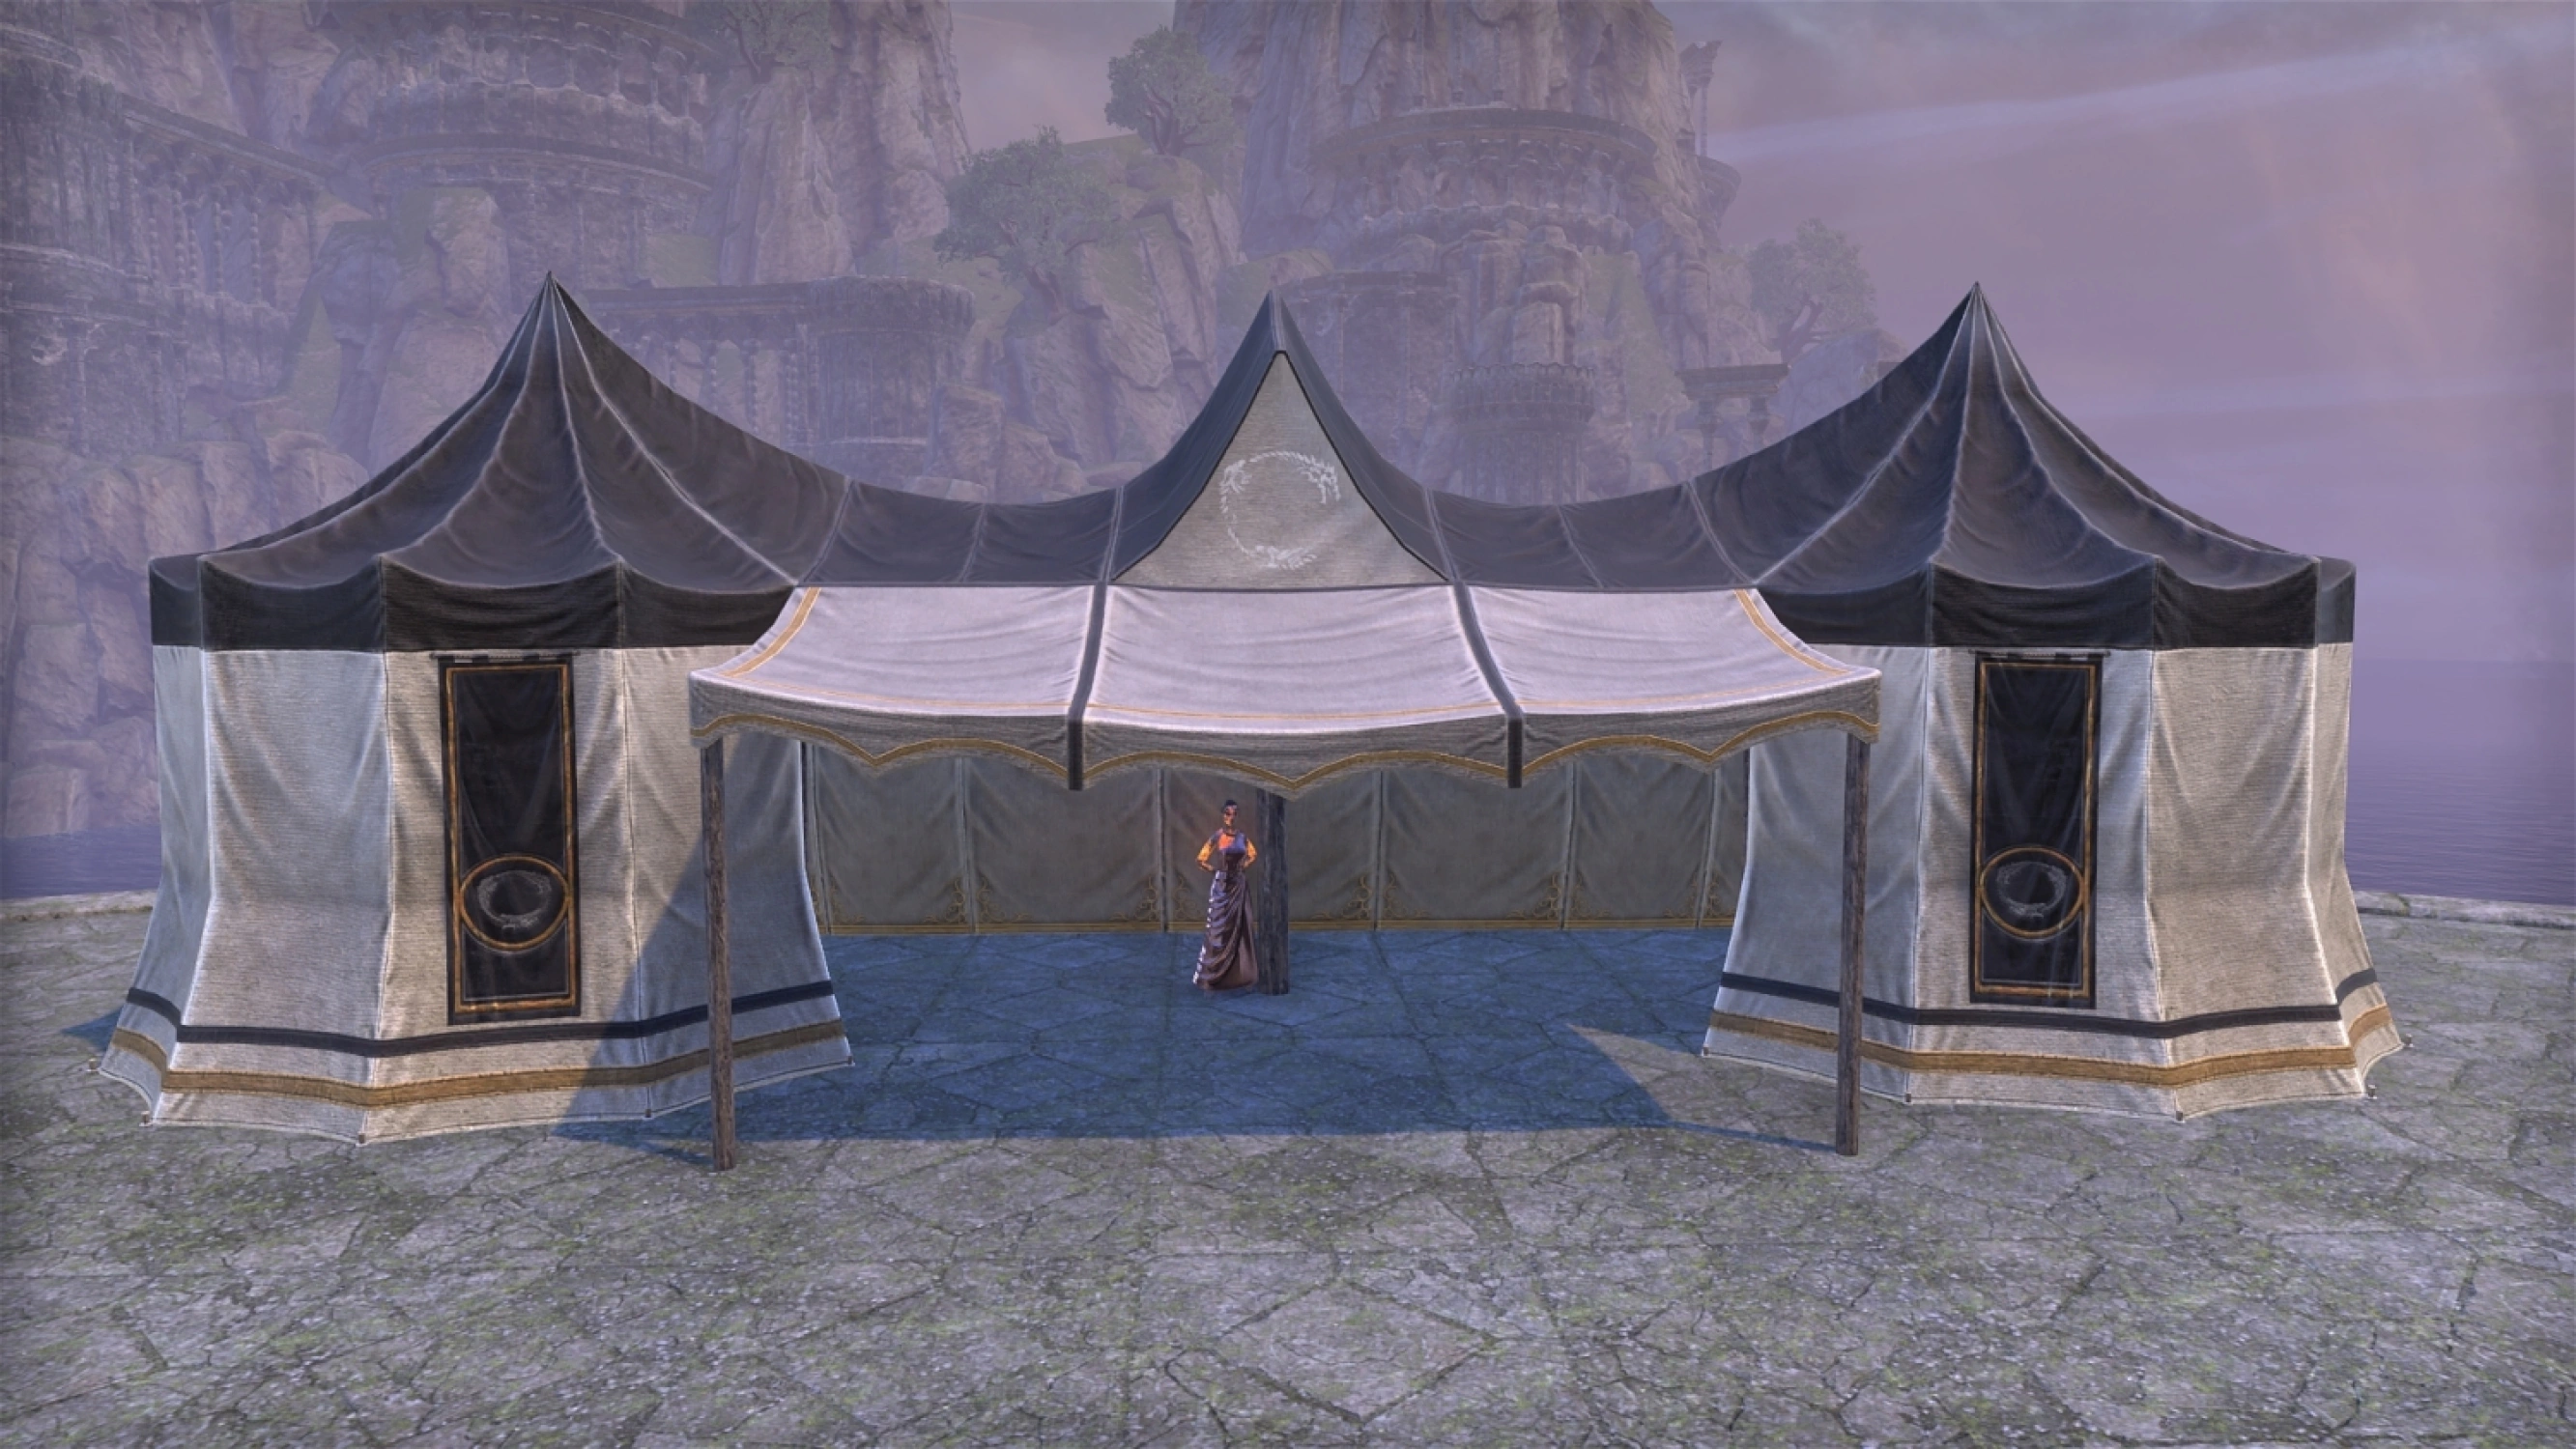
Stirk Fellowship Command Tent achievement furnishing can be bought from Wanam-Teemeetta in Solstice for 100,000 Gold (View on map) after completing 30 siege camp daily jobs for General Zasimba in Western Solstice.
Worm King's Crown adornment is granted after completing the "Support the Fellowship" quest in Solstice.
Listed below are the Writhing Wall themed furnishing that have a chance to drop from the Writhing Wall coffers in ESO. Additionally, you are able to get the furnishing plans from Armorer Reistaffs daily quest, with the golden coffer having the highest drop chance.
If you are missing a specific crafting plan, you can simply exit the quest dialogue and talk to Armorer Reistaff again until he gives you the quest you want your golden box from.
| Blacksmithing Diagrams | Clothing Patterns | Woodworking Blueprints | Alchemy Formulas | Enchanting Praxis | Provisioning Design |
| Breton Spyglass & Cage Wall, Gated | Flag, Tattered Red & Stirk Fellowship Banner, Hanging | Stirk Fellowship Wall, Defensive & Stirk Fellowship Tower, Defensive | Meridian Lens & Meridian Lens Apparatus | Grave Marker, Soldier's & Bonfire, Alliance Camp | Puddle, Wax & Carnaval Fan |
Huge thank you to code65536 for figuring this out with his mates!
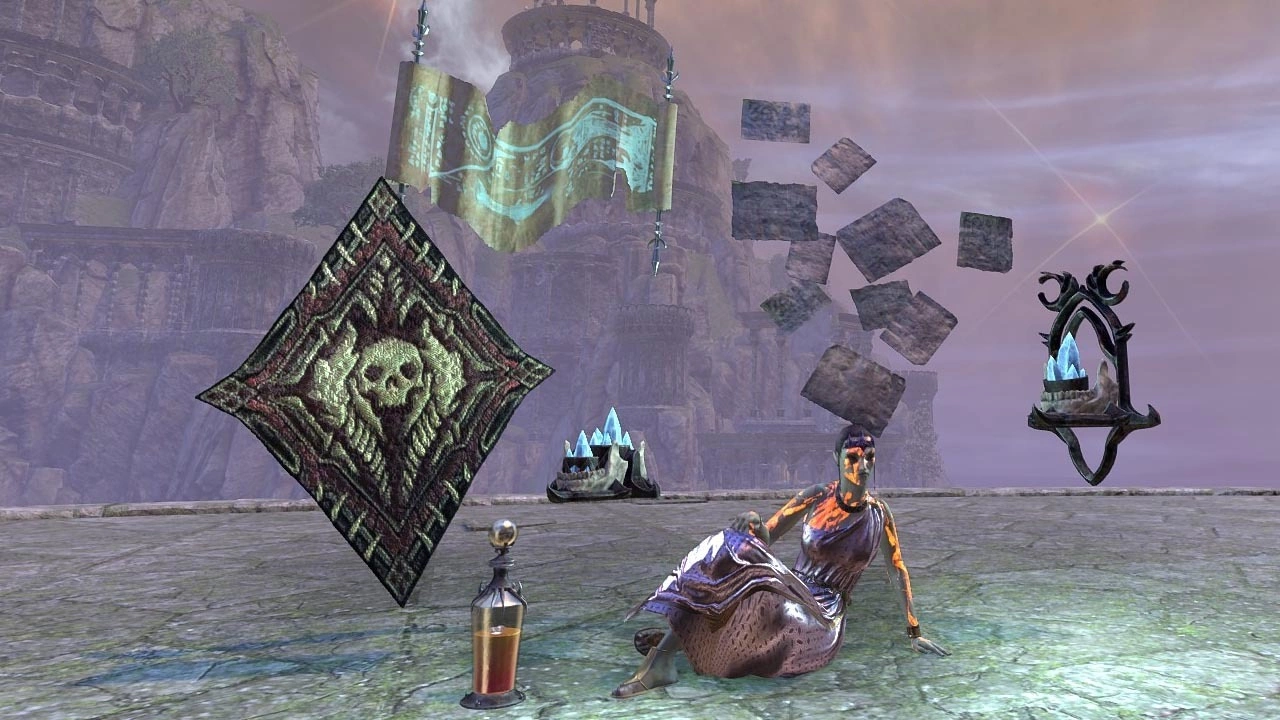
These Worm Cult themed furnishing will drop during the Writhing Wall event:
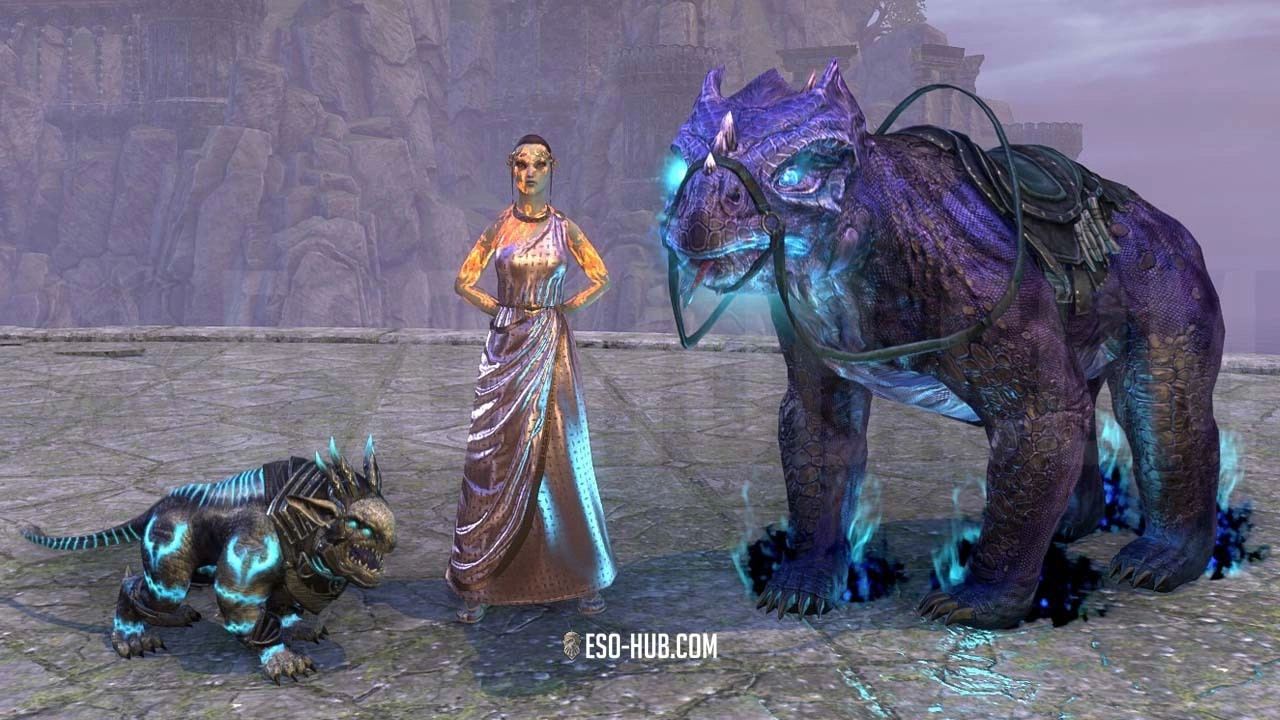
Wormwrithe Bear-Lizard mount and Coldharbour Dremnaken Runt pet can be earned through Golden Pursuits. Base game players are able to complete 21 of the total 41 available pursuits.
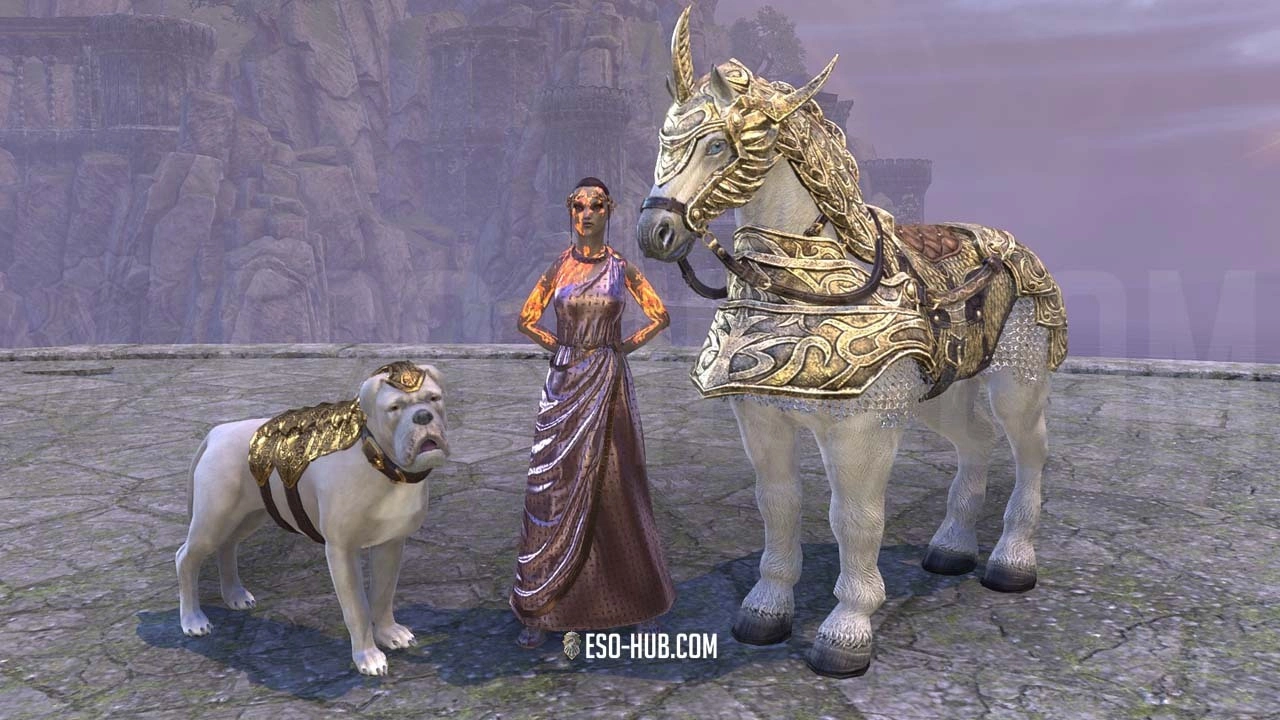
Auroran Warhorse mount and a Imperial War Mastiff pet can be earned from watching Twitch Streams:
Ready for the next major ESO event? Discover all upcoming holiday events and celebrations on our full ESO Events Calendar!
|
|
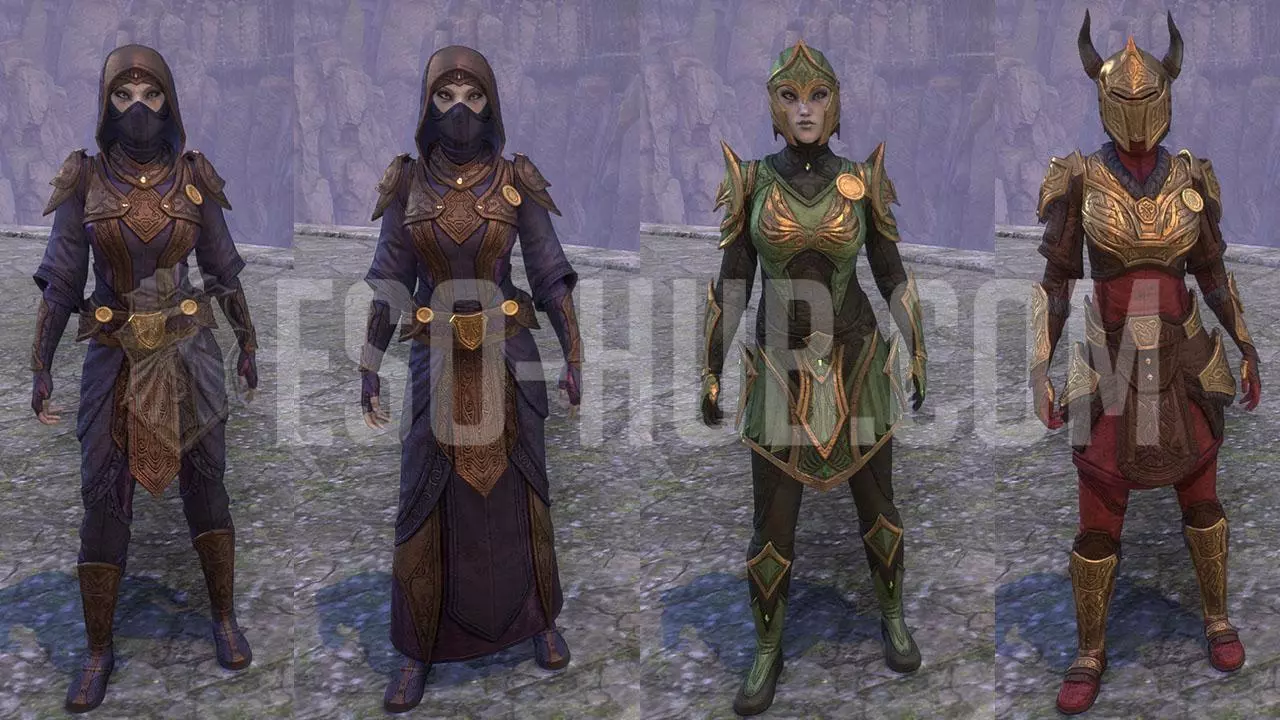
Stirk Fellowship | Stirk Fellowship outfit style pages have a chance to drop from the Siege Camp Writhing Wall Reward Coffers in Solstice. |
|
|
Wormwrithe | Style pages have a chance to drop from the Writhing Wall Event Daily Quest Coffers. |
|
|
Bonfire, Alliance Camp | This is a standard house item. |
|
|
Breton Spyglass | This is a small house item. |
|
|
Cage Wall, Gated | This is a standard house item. |
|
|
Flag, Tattered Red | This is a standard house item. |
|
|
Grave Marker, Soldier's | This is a standard house item. |
|
|
Meridian Lens | This is a large house item. |
|
|
Meridian Lens Apparatus | This is a standard house item. |
|
|
Puddle, Wax | This is a small house item. |
|
|
Stirk Fellowship Banner, Hanging | This is a standard house item. |
|
|
Stirk Fellowship Command Tent | Planning a foray against the Worm Cult with your temporary political allies? This spacious tent stands ready! |
|
|
Stirk Fellowship Tower, Defensive | This is a large house item. |
|
|
Stirk Fellowship Wall, Defensive | This is a standard house item. |
|
|
Worm Cult Brew, Bubbling | This is a small house item. |
|
|
Worm Cult Crystal Pylon | Once used as a component in the Writhing Fortress, this crystal now serves as a stylish - if volatile - light source. |
|
|
Worm Cult Lamp, Jaw | This is a small house item. |
|
|
Worm Cult Papers, Scattered | This is a small house item. |
|
|
Worm Cult Rug, Triangular Sigil | This is a small house item. |
|
|
Worm Cult Sconce, Jaw | This is a small house item. |
|
|
Worm Cult Scroll, Unfinished | This is a small house item. |
|
|
Auroran Warhorse | When one of Meridia's Auroran Knights manifests in Tamriel, and needs a mount, the knight has the ability to instantly summon a Daedric Warhorse from the Colored Rooms. Curiously, if the knight is banished to Oblivion, the mount sometimes stays behind. |
|
|
Caltrops, Bone | Applies to Caltrops, Anti-Cavalry Caltrops, and Razor Caltrops. Select in Skills menu. |
|
|
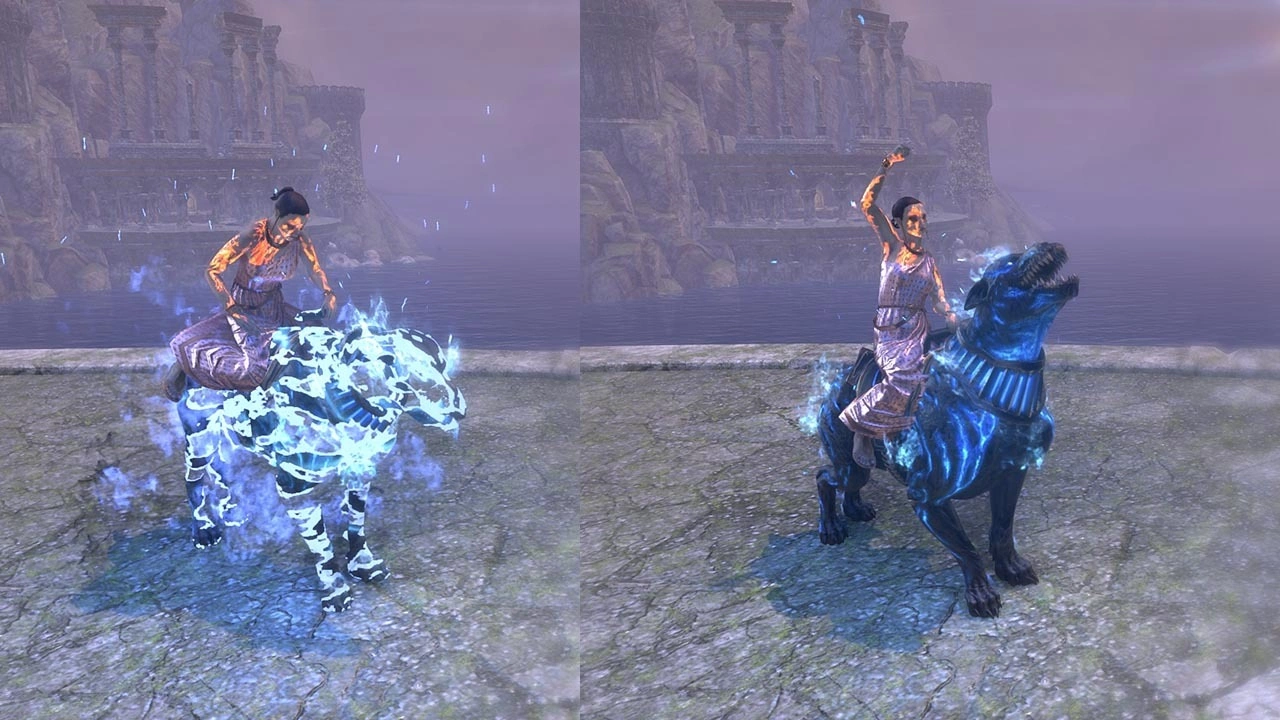
Coldharbour Death Hound | Molag Bal's domain is patrolled by vampiric hounds. Wrapped in the mists of Coldharbour, bones erupting from flesh, it strikes fear into the hearts of others, and sometimes the hearts of their riders as well. |
|
|
Coldharbour Dremnaken Runt | "Watch your fingers, now! It looks small, but this little bugger makes up for it with its bite. Come to think of it, that might actually be how it shows affection."—Tamer Gudleif |
|
|
Imperial War Mastiff | Mastiffs are the most common breed used by the Imperial Legions as battle dogs. The Imperial War Mastiff in particular is the mascot and symbol of the storied Second Legion, headquartered in peacetime in the vicinity of Bruma. |
|
|
Worm King's Crown | "My worship of the King of Worms did not end with his death. I craft this replica with dark morpholiths in reverence and fealty, in hopes one day I can join him at his side."—Croam's Journal |
|
|
Wormwrithe Bear-Lizard | "The guardians of the Writhing Wall were shaped, warped, and even twisted by the power of the souls contained within. We should care for the beasts and folk touched by the wall. What other choice do right-thinking folk have? "—Captain Meggrid |
|
|
Wormwrithe Haj Mota Hatchling | An odd creature first seen near the Writhing Wall, this hatchling exhibits a necromantic contamination that sets it beyond the natural order. It needs a good home, shunned by the other regional wildlife. |
|
|
Writhing Wall Remnant | When you free a vitrified soul, take a moment to solemnly observe their transition to Aetherius and beyond. |