 Discord Bot
 ESO Server Status
 AlcastHQ
 First Descendant





Lead: Worm Cult Wagon Bed - ESO
Worm Cult Wagon Bed is an antiquity lead in the Elder Scrolls Online
Lead

Furniture: Cult Blacksmithing Station
Dig zone: Solstice
Drop zone: Solstice
Location:
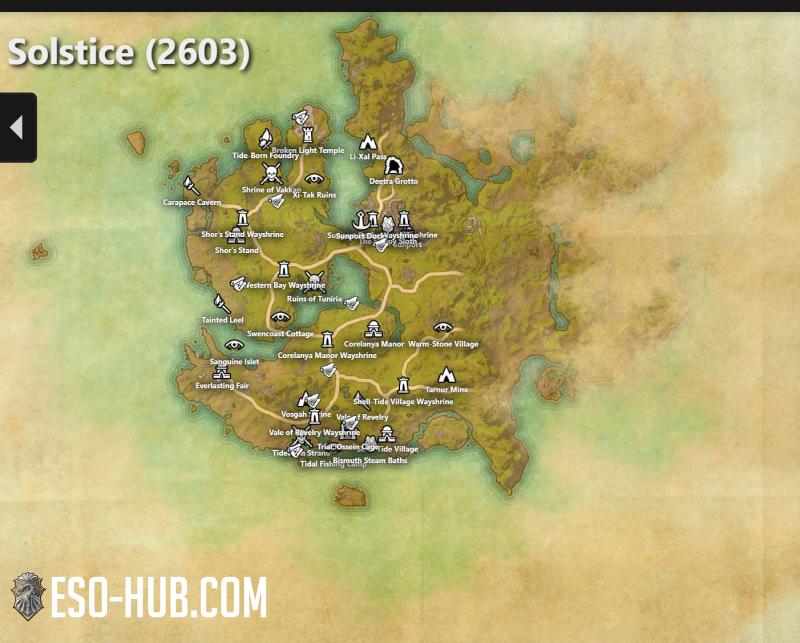
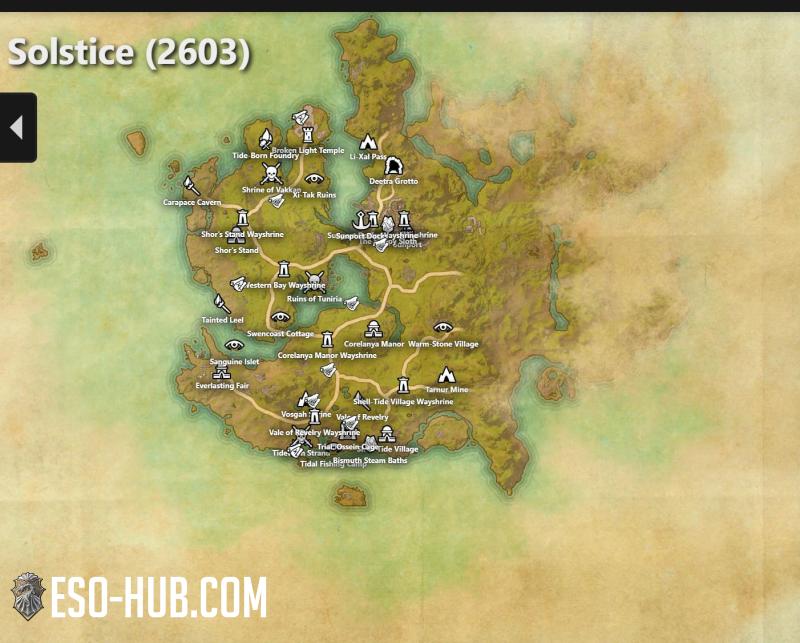
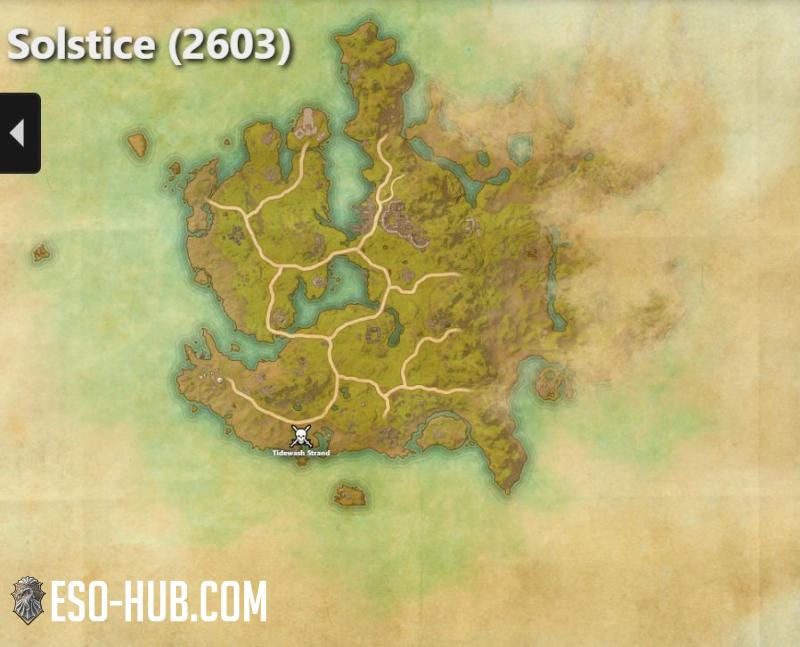
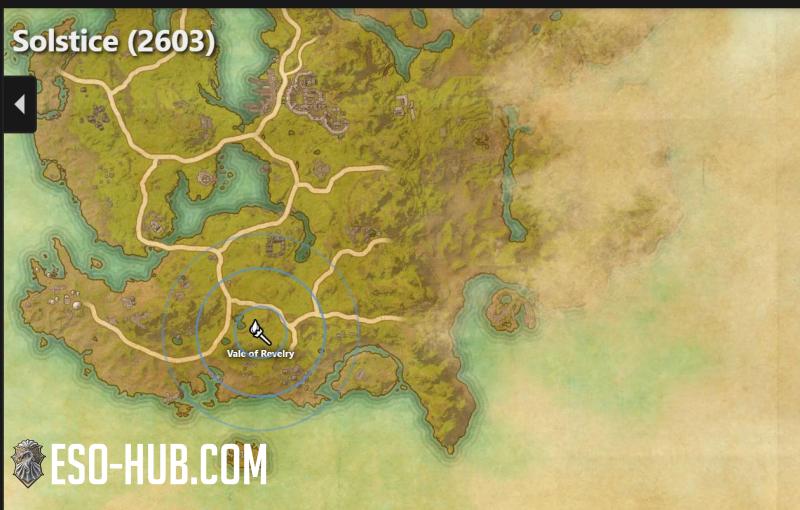
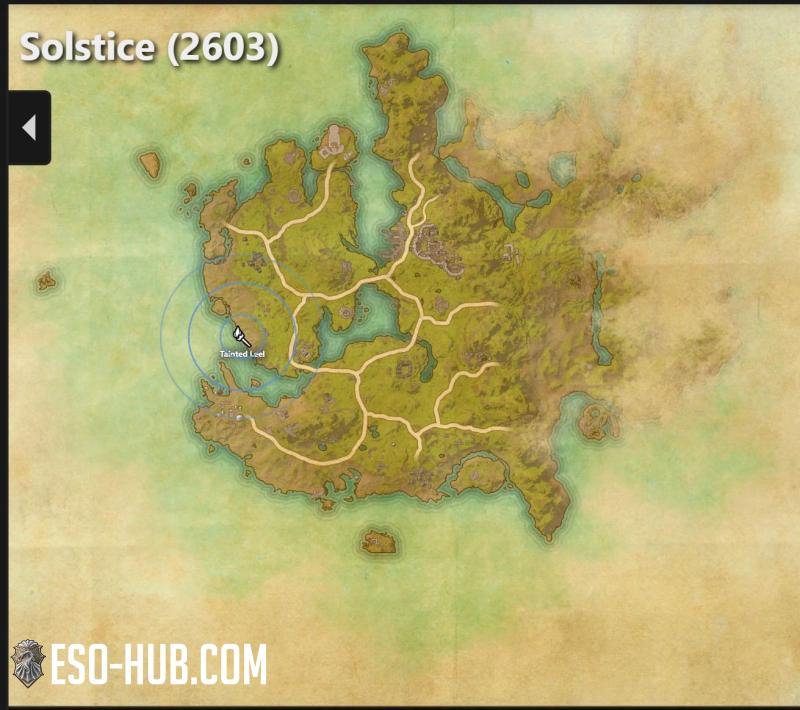
Soulcaller’s Haunt world boss in Solstice
Dig zone: Solstice
Drop zone: Solstice
Location:
Soulcaller’s Haunt world boss in Solstice
Furniture: Cult Blacksmithing Station
Dig zone: Solstice
Drop zones: Solstice
Location: Soulcaller’s Haunt world boss in Solstice
Leads for Cult Blacksmithing Station
Lead

Furniture: Cult Blacksmithing Station
Location:
Bosses in the Calindvale Gardens public dungeon
View on map
Location:
Bosses in the Calindvale Gardens public dungeon
View on map

Lead

Furniture: Cult Blacksmithing Station
Location:
Lector Fenworine, Sea and Sword Lodge delvbe boss in Eastern Solstice
Location:
Lector Fenworine, Sea and Sword Lodge delvbe boss in Eastern Solstice
Lead

Furniture: Cult Blacksmithing Station
Location:
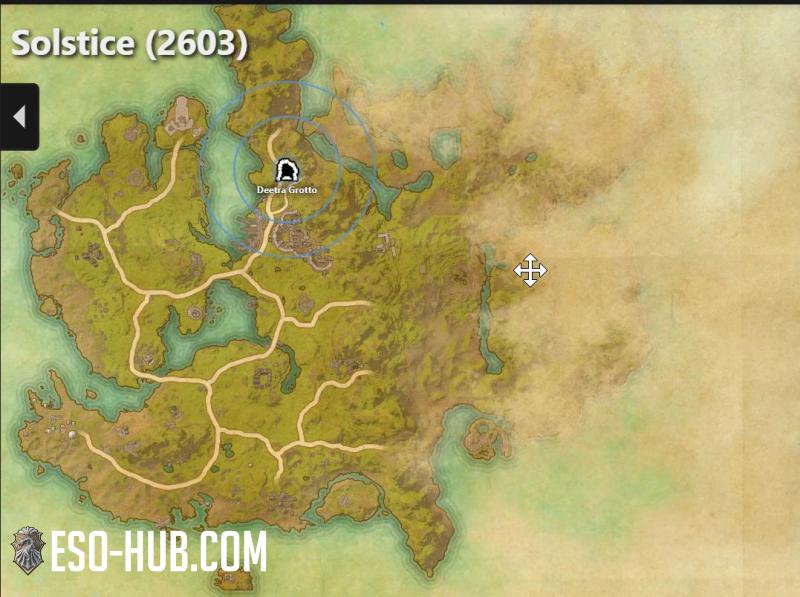
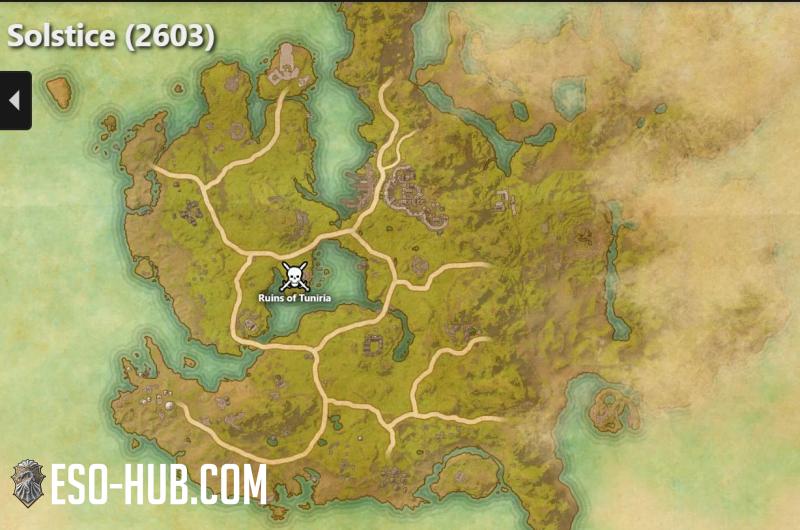
Lair of the Black Worm Delve Boss in Eastern Solstice
Location:
Lair of the Black Worm Delve Boss in Eastern Solstice
Listing data
Listing Price Graph EU
Loading
Listing Price Graph NA
Loading
Recent Sales EU
| Item | Amount | Price | Guild | Seller/Buyer | Sale time |
|---|---|---|---|---|---|
| 1x |
20,000 
|
Schildwacht-Handelsbund |
@Tesdervaron
@manukartofanu
|
3 days ago | |
| 1x |
25,000
|
KOMMEPCAHT |
@Exclusive_888
@dragocat
|
3 days ago | |
| 1x |
18,000
|
Daggerfall Traders |
@TypeRED
@manukartofanu
|
3 days ago | |
| 1x |
18,000
|
ClaudisClubhaus |
@schneerose1
@vladeshadow
|
4 days ago | |
| 1x |
11,200
|
Daedric Trade Centre |
@Pruone
@Exclusive_888
|
5 days ago | |
| 1x |
44,444
|
Golden Lion Trading |
@RORSCH4CH
@Elder-Grim
|
5 days ago | |
| 1x |
20,000
|
North Watch Order |
@KuraidamaSetsuro
@Carinna
|
5 days ago | |
| 1x |
23,000
|
KOMMEPCAHT |
@Seliena
@RunicForebear
|
6 days ago | |
| 1x |
20,000
|
North Watch Order |
@KuraidamaSetsuro
@FaBeQuiet
|
6 days ago | |
| 1x |
19,800
|
Twist It Sis |
@Eliahnus
@Ylfrik8
|
1 week ago | |
| 1x |
29,000
|
Daggerfall Traders |
@JustinSpada
@Zlaya_Feeya
|
1 week ago | |
| 1x |
23,999
|
The Unholy Legacy |
@DeadEnd9
@TheLegend272
|
1 week ago | |
| 1x |
26,000
|
Division-Morgendämmerung |
@danhtobi
@TheLegend272
|
1 week ago | |
| 1x |
24,000
|
Twist It Sis |
@jambulah
@gnomeimnot
|
1 week ago | |
| 1x |
25,000
|
Die-Götter-der-Schatten |
@posman010
@TheLegend272
|
1 week ago | |
| 1x |
30,000
|
Summer Rose |
@MindiAnChaen
@Thunderhawk97
|
1 week ago | |
| 1x |
18,000
|
North Watch Order |
@borko96
@NorbertLeMaroufleur
|
1 week ago | |
| 1x |
24,000
|
White Eagle Pact |
@SweepingShadowz
@Mikey_KZ
|
1 week ago | |
| 1x |
10,000
|
Sunfire's Sect |
@Alexel27
@Taptusha
|
1 week ago | |
| 1x |
24,000
|
Hallowed Dust Trading |
@ganqcan
@KANBOW
|
1 week ago |

Recent Sales NA
| Item | Amount | Price | Guild | Seller/Buyer | Sale time |
|---|---|---|---|---|---|
| 1x |
37,000
|
Redfur Trading Post |
@MelancholicLion
@Nik23m
|
12 hours ago | |
| 1x |
45,000
|
Blackbriar Barter Co |
@Hiens
@SerenaHashiba2021
|
2 days ago | |
| 1x |
35,000
|
Keep Kind |
@reptilian_overlord
@Primrose_21
|
3 days ago | |
| 1x |
45,000
|
Loots R Us Trading Guild |
@DibsDominus
@SpockoftheWoods
|
4 days ago | |
| 1x |
32,000
|
The Wandering Merchants |
@SuicidalPlatypus
@Frootyloop
|
6 days ago | |
| 1x |
25,000
|
The Wandering Wayshrine |
@Sevlevore
@Mouse.Fitzgerald
|
1 week ago | |
| 1x |
40,000
|
The Silver Foxes |
@Darius_Silverkin
@rjsmetal
|
1 week ago | |
| 1x |
50,000
|
Unstable Unicorns |
@Gluyn
@CatLawyer
|
1 week ago | |
| 1x |
50,000
|
Ankle Biters |
@Krymsyn_Panda
@Amunet
|
1 week ago | |
| 1x |
150,000
|
Lucian Allegiance |
@khanmorte
@ChaosB
|
1 week ago | |
| 1x |
40,000
|
Serenity's Haven |
@St_Michael93
@Mandragorane
|
1 week ago | |
| 1x |
50,000
|
Trusty Skeever Emporium |
@Mazthebro
@Artsy-Roo
|
1 week ago | |
| 1x |
40,000
|
The Skooma Emporium |
@CoffeeNLo-fi
@Artsy-Roo
|
1 week ago | |
| 1x |
45,000
|
Forever Trading |
@MemorialJordan
@xiannorthe
|
2 weeks ago | |
| 1x |
30,000
|
DragonDucks |
@prawndon
@lecia168
|
2 weeks ago | |
| 1x |
50,000
|
Lucian Allegiance |
@Scarlet_Witch9
@Aashiana
|
2 weeks ago | |
| 1x |
44,999
|
The Skooma Emporium |
@Overture17
@Rahzetta
|
2 weeks ago | |
| 1x |
30,000
|
Ethereal Traders Union II |
@Vaelunival
@Scarlet_Witch9
|
2 weeks ago | |
| 1x |
65,000
|
Silverlight Brotherhood |
@Duke-VIII
@Sahreet
|
2 weeks ago | |
| 1x |
39,999
|
Blackbriar Barter Co |
@sinnereso
@Fealm
|
2 weeks ago |
Sales data
Sales Price Graph EU
Loading
Sales Price Graph NA
Loading
Other leads to dig for in Solstice


Lead

Location:
Obtained after completing the Stone-Nest Soup Stone
Obtained after completing the Stone-Nest Soup Stone
Lead

Location:
Obtained after completing the Carved Conch Shell Necklace
Obtained after completing the Carved Conch Shell Necklace


Lead

Location:
Obtained after completing the Bismuth-laced Ceremonial Basin
Obtained after completing the Bismuth-laced Ceremonial Basin
Lead

Location:
Acquired by excavating the "Antique Xanmeer Carving Tools"
Acquired by excavating the "Antique Xanmeer Carving Tools"


Lead

Furniture: Solstice Giant Crocodile Skull
Location:
Can drop from anything in the Solstice zone
View on map
Location:
Can drop from anything in the Solstice zone
View on map
Lead

Furniture: Stone-Nest Gazebo
Location:
Calindvale Gardens group event, Xul-Katama Delve boss
View on map
Location:
Calindvale Gardens group event, Xul-Katama Delve boss
View on map


Lead
Furniture: Cult Blacksmithing Station
Location:
Bosses in the Calindvale Gardens public dungeon
View on map
Location:
Bosses in the Calindvale Gardens public dungeon
View on map


Lead
Furniture: Cult Blacksmithing Station
Location:
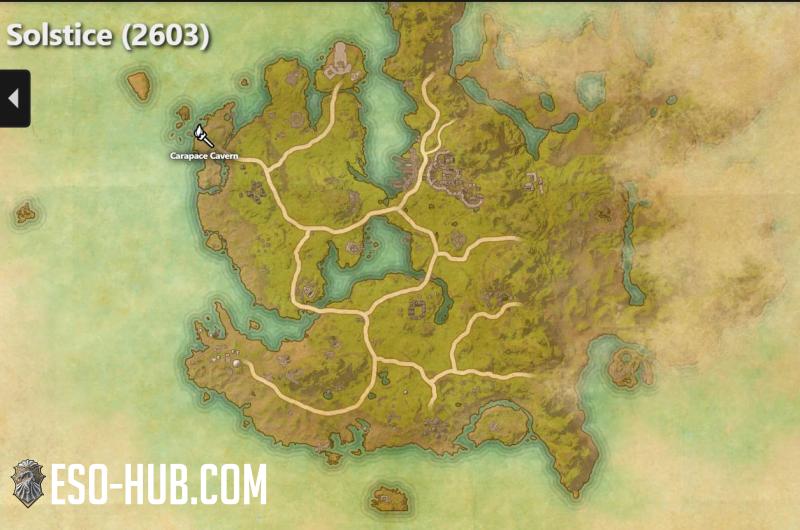
Lector Fenworine, Sea and Sword Lodge delvbe boss in Eastern Solstice
Location:
Lector Fenworine, Sea and Sword Lodge delvbe boss in Eastern Solstice


Lead
Furniture: Cult Blacksmithing Station
Location:
Lair of the Black Worm Delve Boss in Eastern Solstice
Location:
Lair of the Black Worm Delve Boss in Eastern Solstice
Lead

Armor set: Monomyth Reforged
Location:
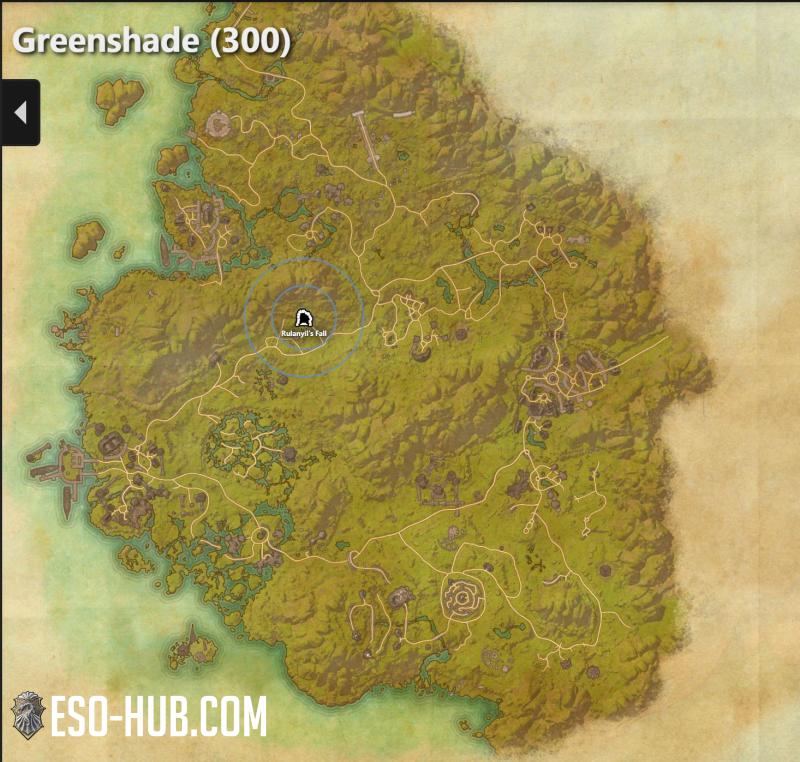
Greeenshade zone, Rulanyil's Fall Public Dungeon Group Event Boss
View on map
Location:
Greeenshade zone, Rulanyil's Fall Public Dungeon Group Event Boss
View on map


Lead

Armor set: Huntsman's Warmask
Location:
Hodrek's Hunting Grounds - Western Skyrim World Boss
View on map
Location:
Hodrek's Hunting Grounds - Western Skyrim World Boss
View on map


Lead

Armor set: Rakkhat's Voidmantle
Location:
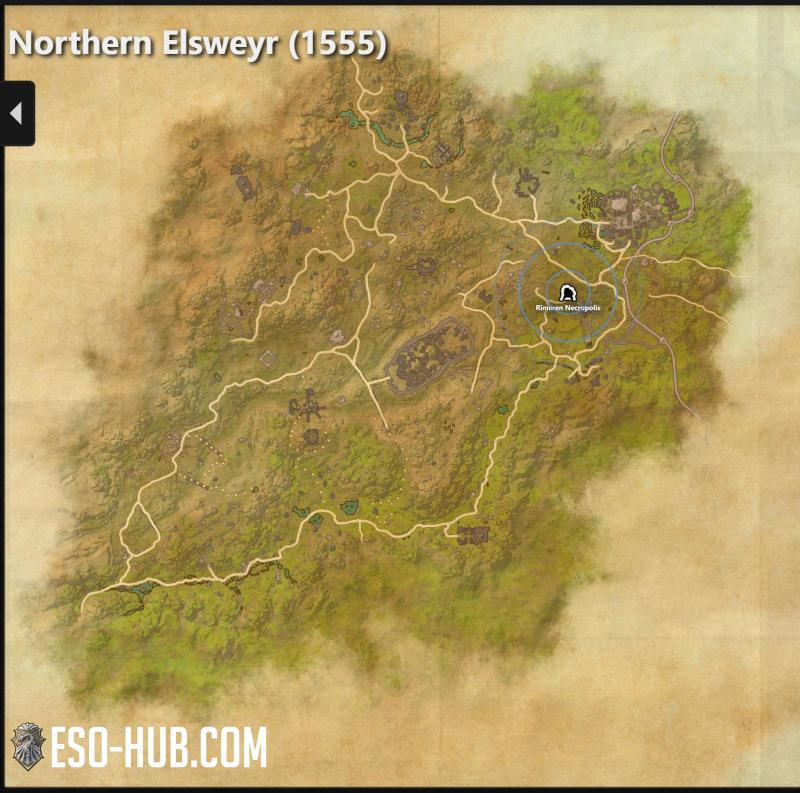
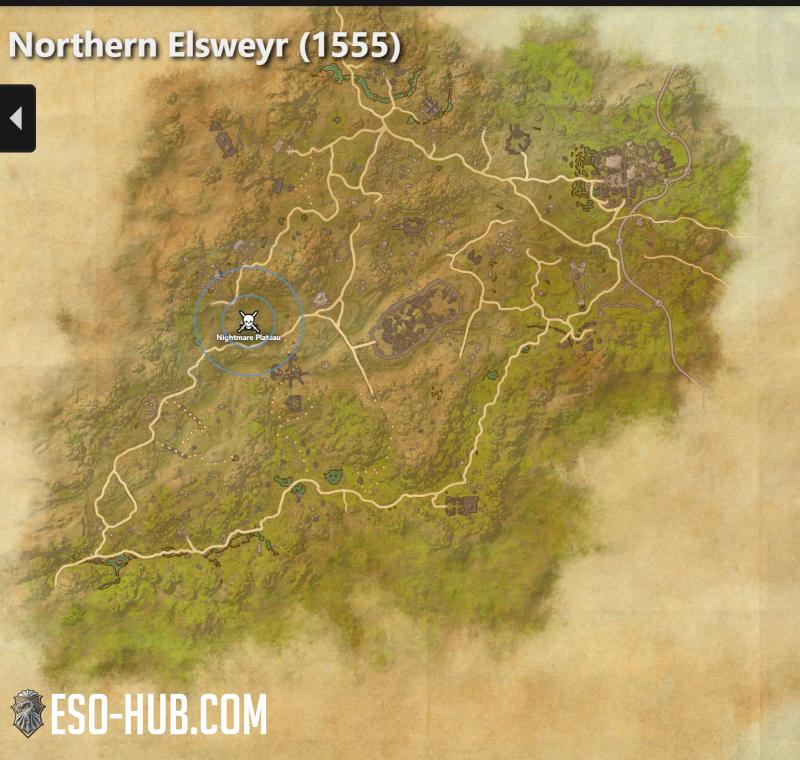
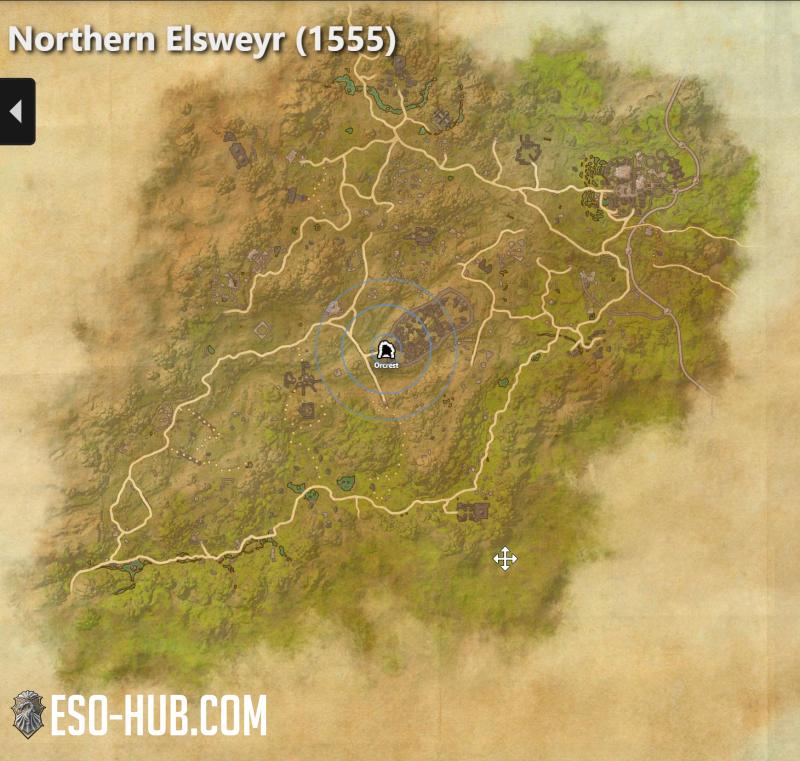
Northern Elsweyr zone, Public Dungeon Orcrest Bosses
View on map
Location:
Northern Elsweyr zone, Public Dungeon Orcrest Bosses
View on map


Lead

Armor set: Huntsman's Warmask
Location:
Magnar Child-Eater, delve boss in Argent Mine, Wrothgar.
View on map
Location:
Magnar Child-Eater, delve boss in Argent Mine, Wrothgar.
View on map