Lead: Solstice Giant Crocodile Tail - ESO
Solstice Giant Crocodile Tail is an antiquity lead in the Elder Scrolls Online
Lead
Furniture: Solstice Giant Crocodile Tail
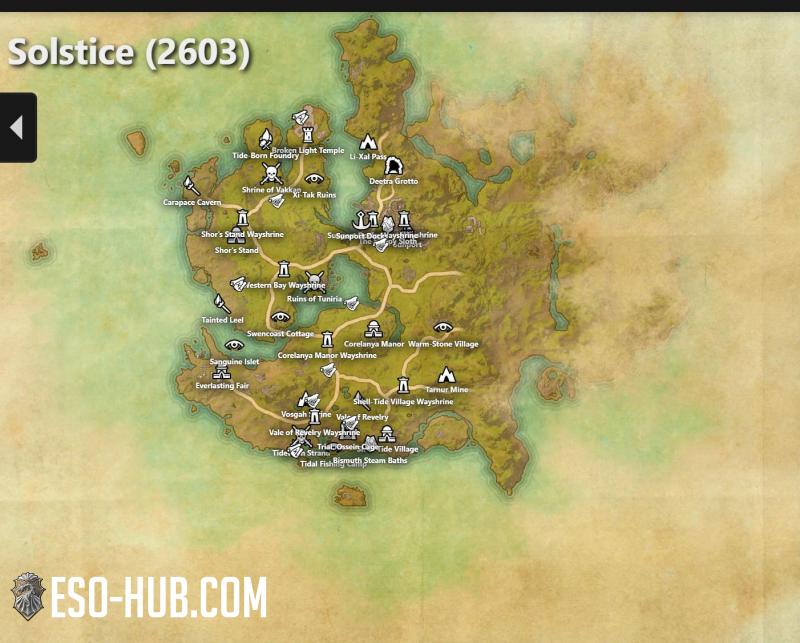
Dig zone: Solstice
Drop zone: Solstice
Location:
Treasure Map Chests in Solstice zone
Dig zone: Solstice
Drop zone: Solstice
Location:
Treasure Map Chests in Solstice zone
Furniture: Solstice Giant Crocodile Tail
Dig zone: Solstice
Drop zones: Solstice
Location: Treasure Map Chests in Solstice zone
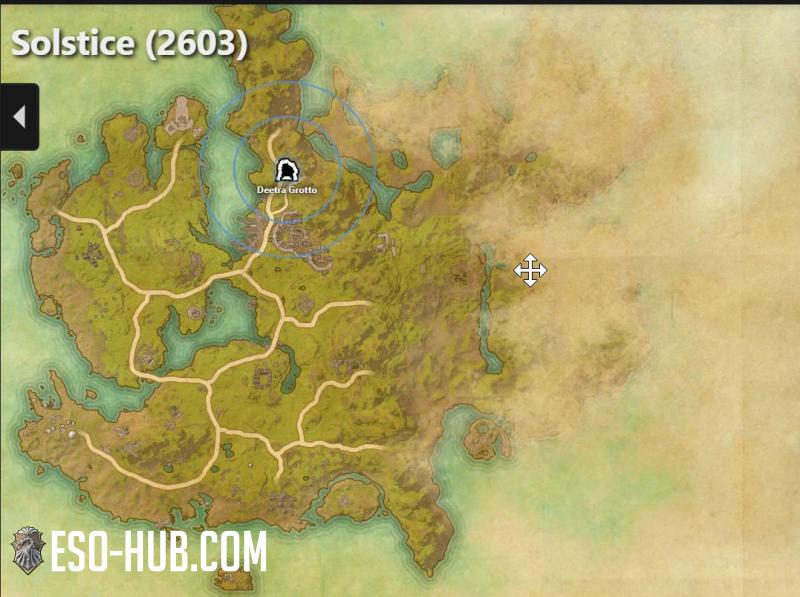
Other leads to dig for in Solstice
Lead
Location:
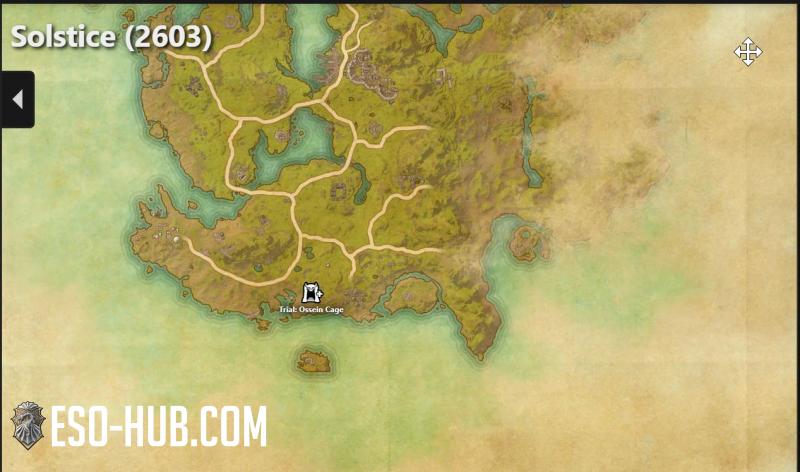
Obtained after completing the Stone-Nest Soup Stone
Obtained after completing the Stone-Nest Soup Stone
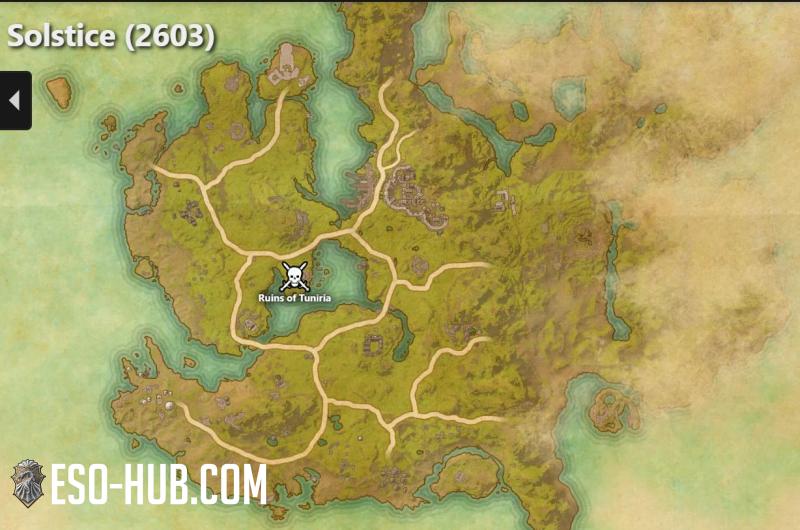
Lead
Location:
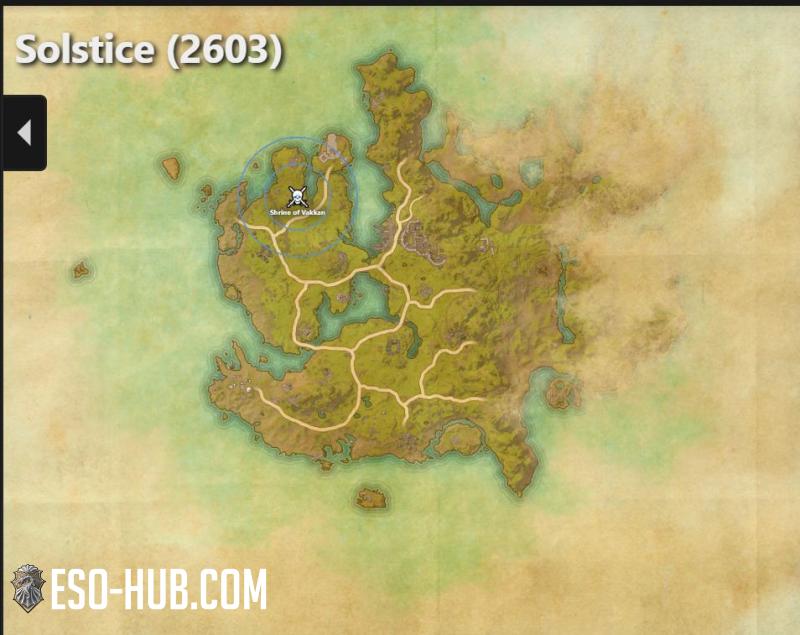
Obtained after completing the Carved Conch Shell Necklace
Obtained after completing the Carved Conch Shell Necklace
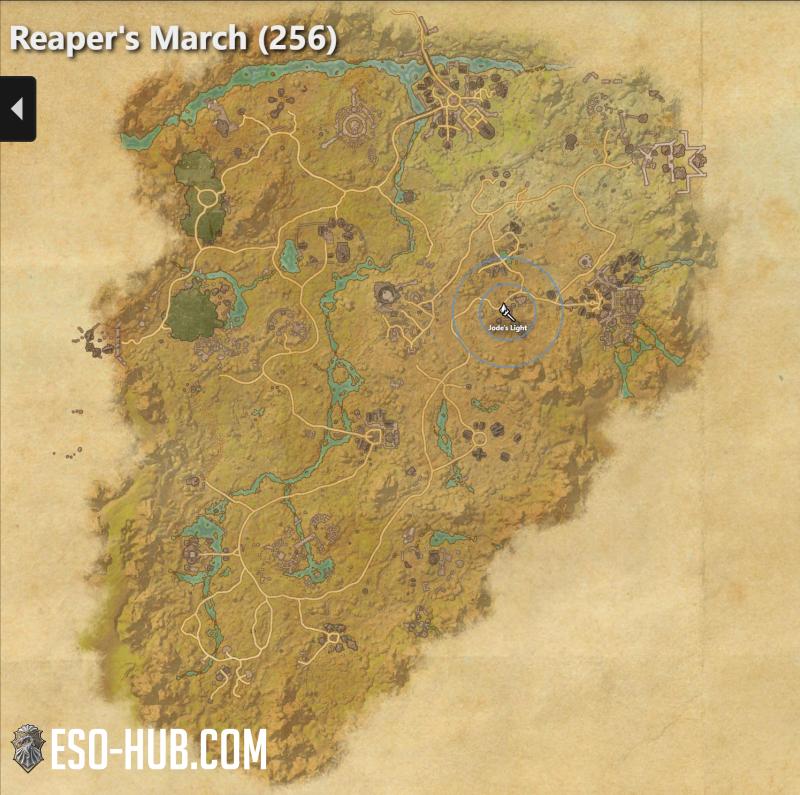
Lead
Location:
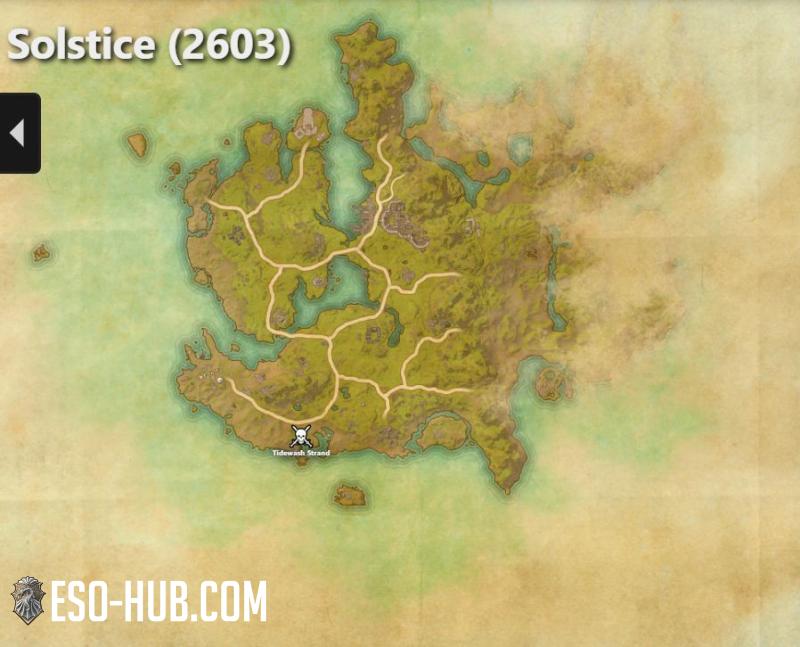
Obtained after completing the Bismuth-laced Ceremonial Basin
Obtained after completing the Bismuth-laced Ceremonial Basin
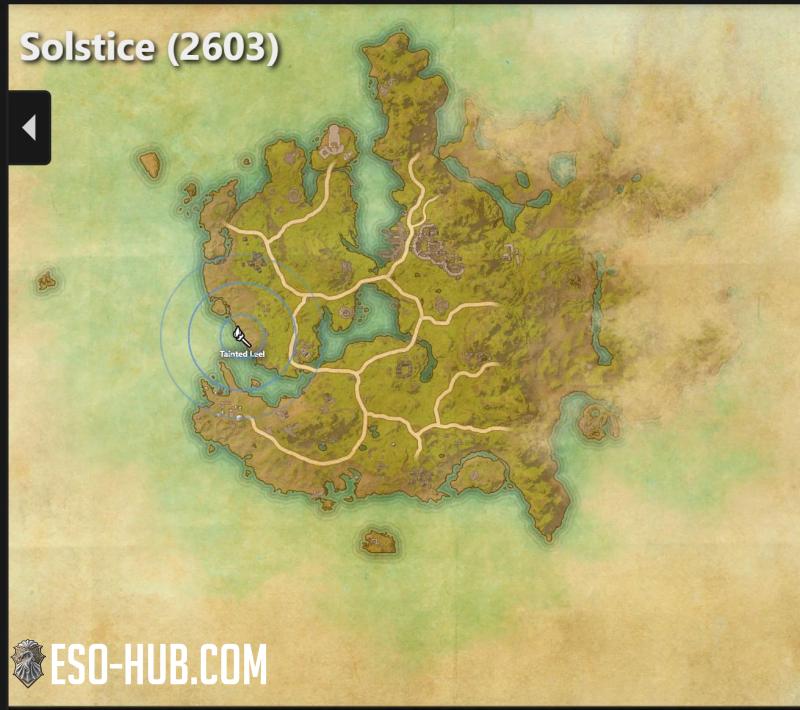
Lead
Location:
Acquired by excavating the "Antique Xanmeer Carving Tools"
Acquired by excavating the "Antique Xanmeer Carving Tools"
Lead
Furniture: Solstice Giant Crocodile Skull
Location:
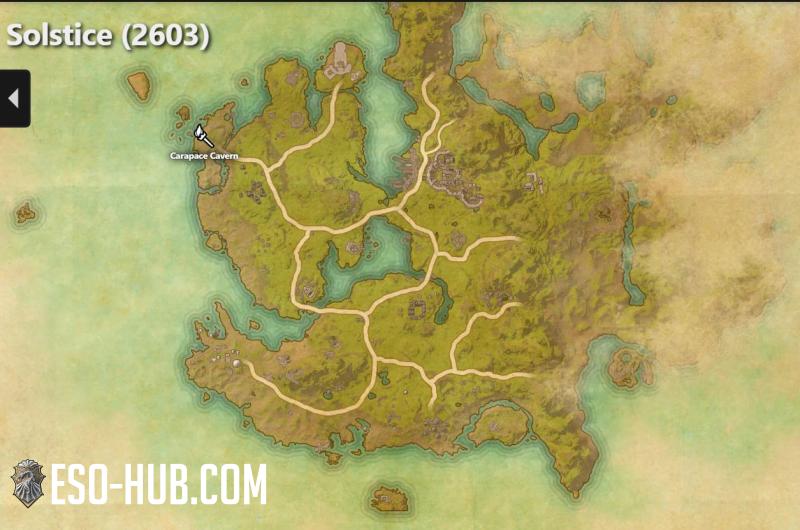
Can drop from anything in the Solstice zone
View on map
Location:
Can drop from anything in the Solstice zone
View on map
Lead
Furniture: Stone-Nest Gazebo
Location:
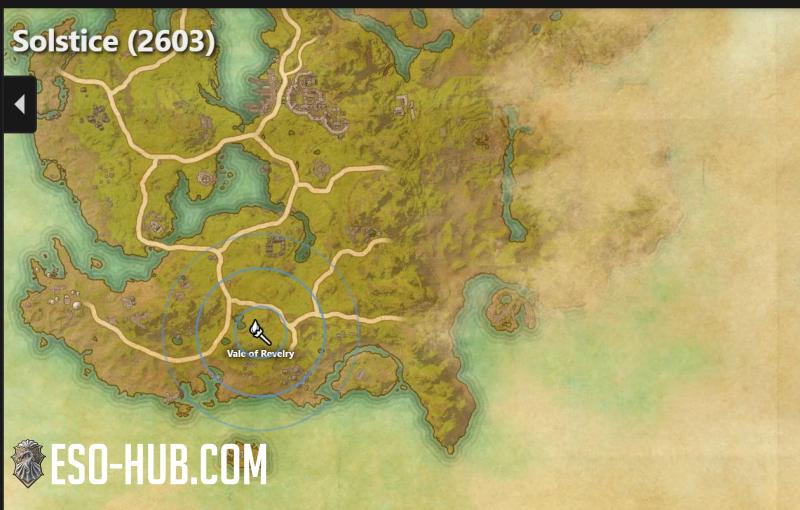
Calindvale Gardens group event, Xul-Katama Delve boss
View on map
Location:
Calindvale Gardens group event, Xul-Katama Delve boss
View on map
Lead
Furniture: Cult Blacksmithing Station
Location:
Bosses in the Calindvale Gardens public dungeon
View on map
Location:
Bosses in the Calindvale Gardens public dungeon
View on map
Lead
Furniture: Cult Blacksmithing Station
Location:
Lector Fenworine, Sea and Sword Lodge delvbe boss in Eastern Solstice
Location:
Lector Fenworine, Sea and Sword Lodge delvbe boss in Eastern Solstice
Lead
Furniture: Cult Blacksmithing Station
Location:
Lair of the Black Worm Delve Boss in Eastern Solstice
Location:
Lair of the Black Worm Delve Boss in Eastern Solstice
Lead
Armor set: Monomyth Reforged
Location:
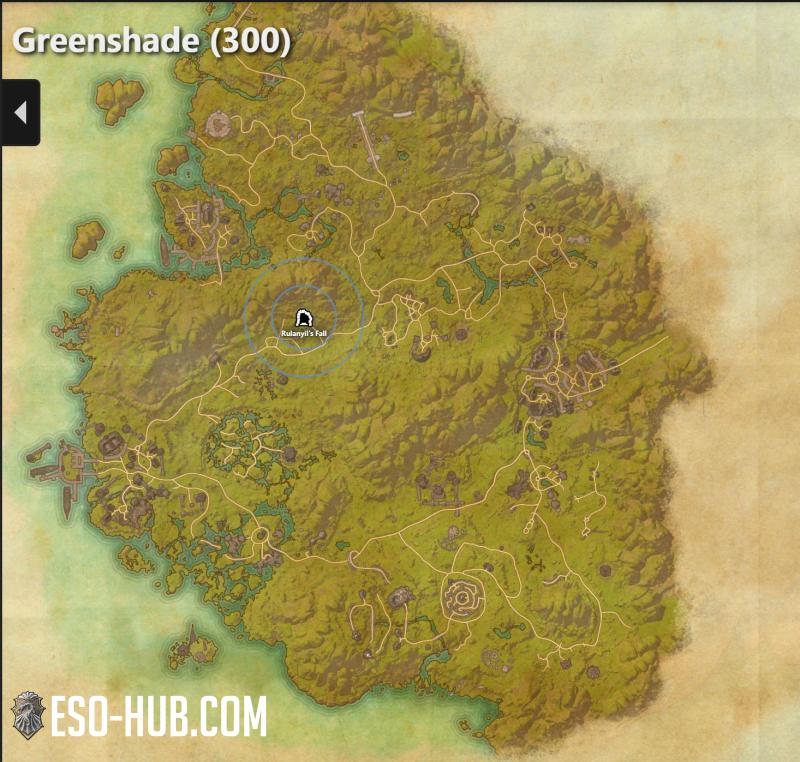
Greeenshade zone, Rulanyil's Fall Public Dungeon Group Event Boss
View on map
Location:
Greeenshade zone, Rulanyil's Fall Public Dungeon Group Event Boss
View on map
Lead
Armor set: Huntsman's Warmask
Location:
Hodrek's Hunting Grounds - Western Skyrim World Boss
View on map
Location:
Hodrek's Hunting Grounds - Western Skyrim World Boss
View on map
Lead
Armor set: Rakkhat's Voidmantle
Location:
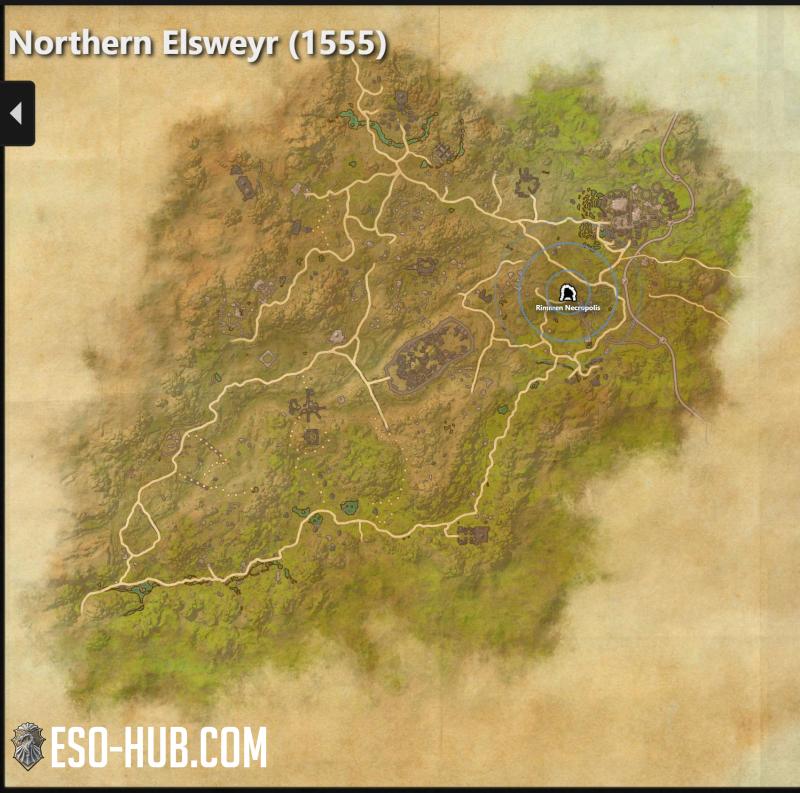
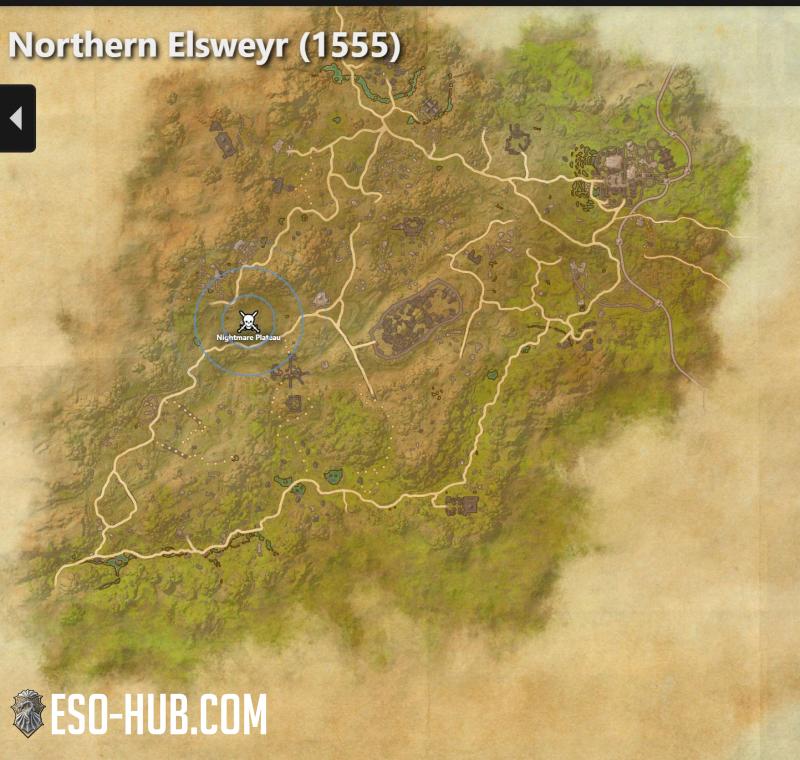
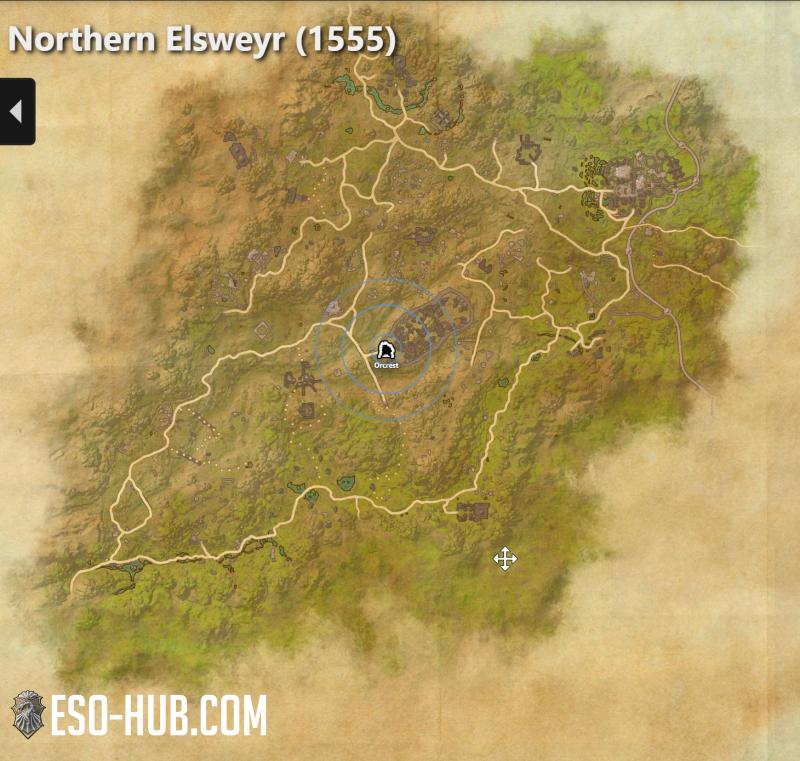
Northern Elsweyr zone, Public Dungeon Orcrest Bosses
View on map
Location:
Northern Elsweyr zone, Public Dungeon Orcrest Bosses
View on map
Lead
Armor set: Huntsman's Warmask
Location:
Magnar Child-Eater, delve boss in Argent Mine, Wrothgar.
View on map
Location:
Magnar Child-Eater, delve boss in Argent Mine, Wrothgar.
View on map