 Discord Bot
 ESO Server Status
 AlcastHQ
 First Descendant





Lead: Stone-Nest Gazebo - ESO
Stone-Nest Gazebo is an antiquity lead in the Elder Scrolls Online
Lead

Furniture: Stone-Nest Gazebo
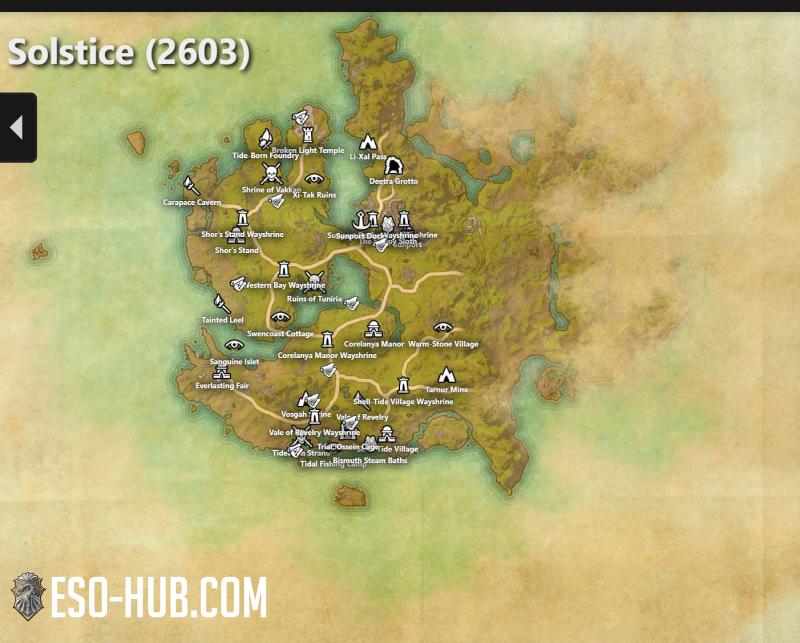
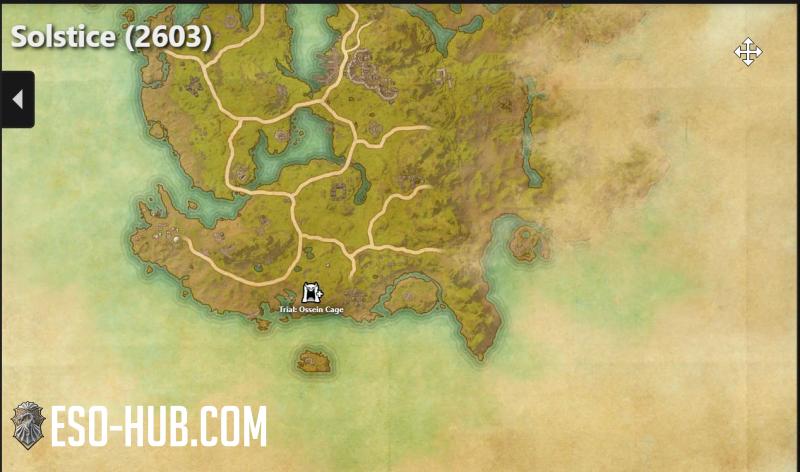
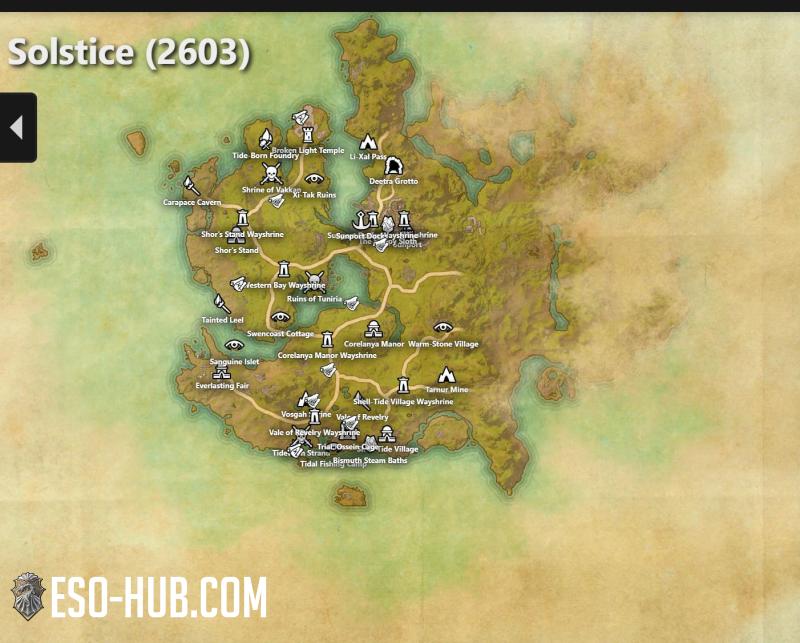
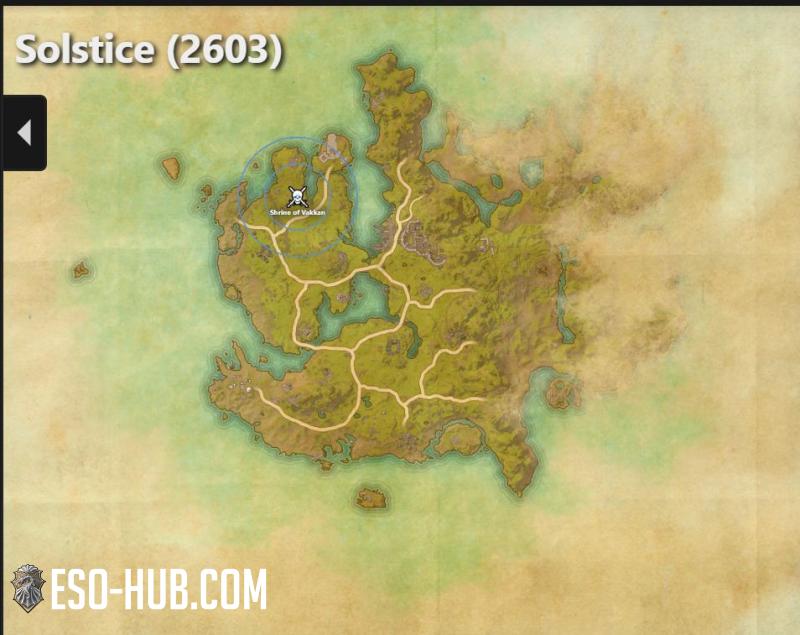
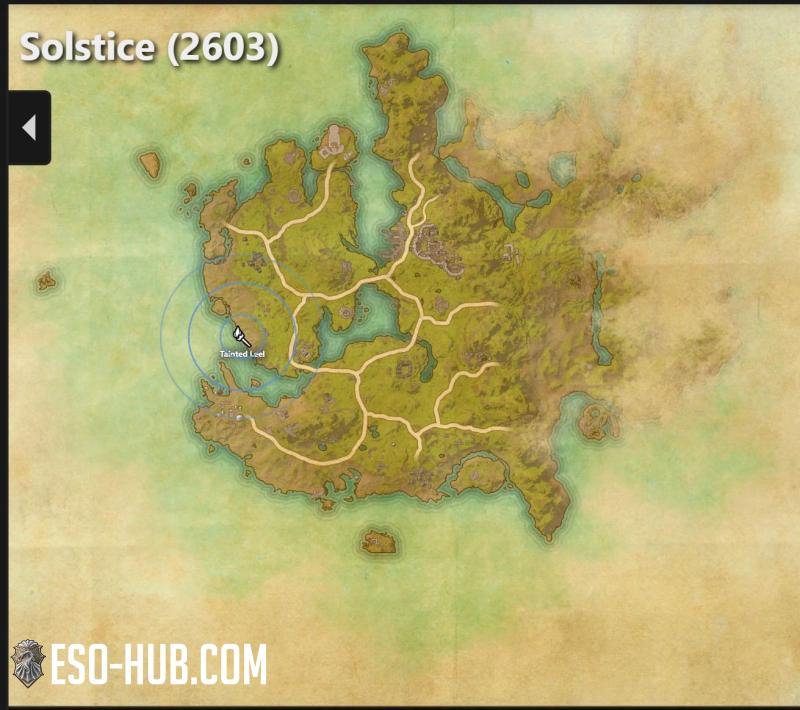
Dig zone: Solstice
Drop zone: Solstice
Location:
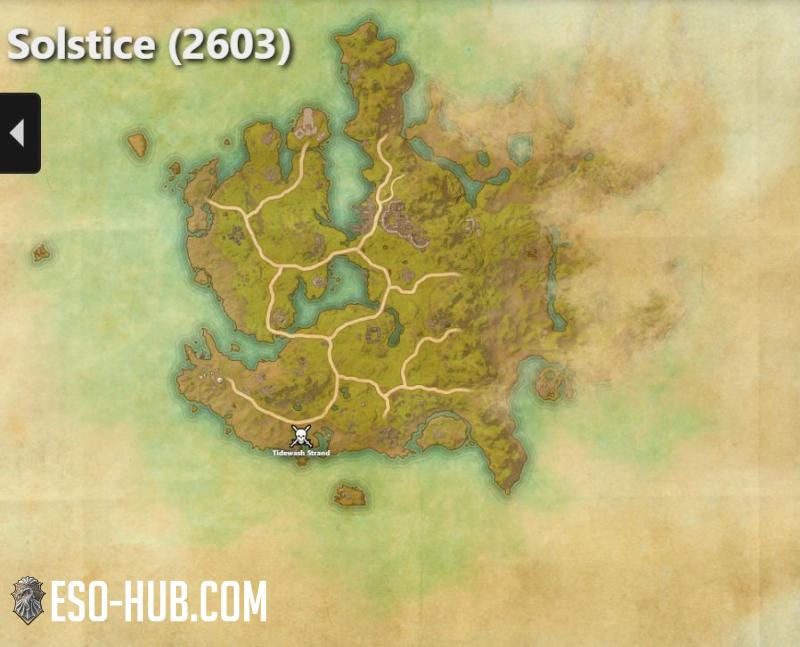
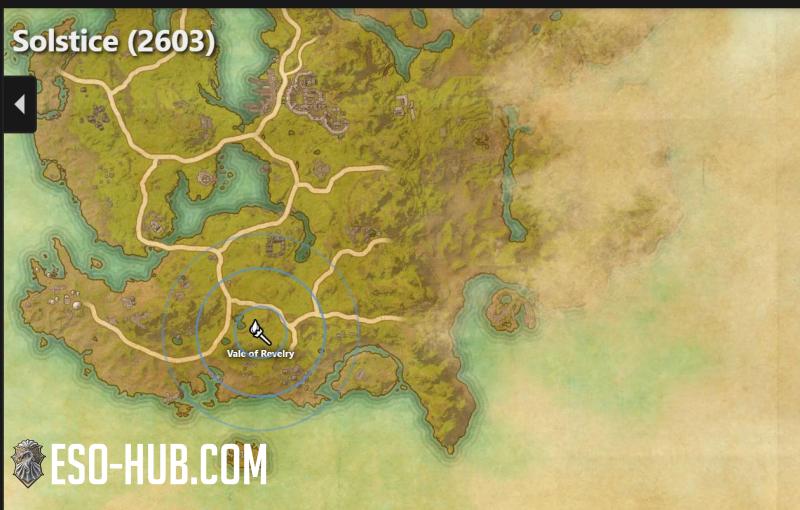
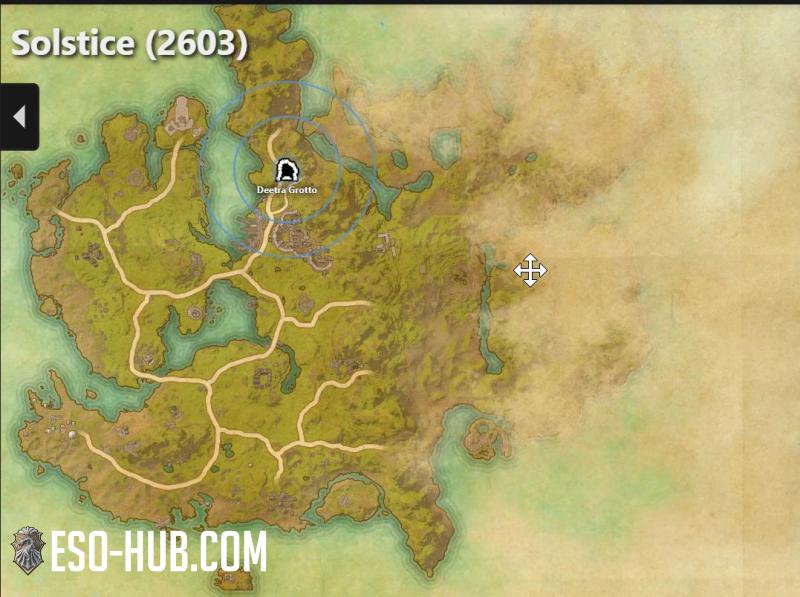
Calindvale Gardens group event, Xul-Katama Delve boss
View on map
Dig zone: Solstice
Drop zone: Solstice
Location:
Calindvale Gardens group event, Xul-Katama Delve boss
View on map
Furniture: Stone-Nest Gazebo
Dig zone: Solstice
Drop zones: Solstice
Location: Calindvale Gardens group event, Xul-Katama Delve boss
Location on the map

Listing data
Listing Price Graph EU
Loading
Listing Price Graph NA
Loading
Recent Sales EU
| Item | Amount | Price | Guild | Seller/Buyer | Sale time |
|---|---|---|---|---|---|
| 1x |
4,000 
|
Stendarr's Merchantry |
@PurrDevice
@Ahillamon
|
7 hours ago | |
| 1x |
1,800
|
Sturm und Drang |
@hubipilot63
@NachtSchleicher7
|
11 hours ago | |
| 1x |
330
|
Stendarr's Merchantry |
@Bedrotting
@Verolo
|
14 hours ago | |
| 1x |
10,000
|
Valinor Traders |
@Dharmata
@BixenteN7Akantor
|
18 hours ago | |
| 1x |
2,000
|
Top Shelf Trade |
@Blau911
@Persephonya
|
18 hours ago | |
| 1x |
3,000
|
Odahviing Trade Guild |
@Minotaur76
@Kartollcia
|
1 day ago | |
| 1x |
2,000
|
Die Handelsanfänger |
@posman010
@marianpemaidan
|
1 day ago | |
| 1x |
4,906
|
Der Tante Emma Laden |
@Fayiona
@khayrie
|
2 days ago | |
| 1x |
1,000
|
Arkays Handelsbund |
@Reaperchen
@Solina_Sara
|
2 days ago | |
| 1x |
4,444
|
White Eagle Pact |
@Allaetael
@Krava225
|
2 days ago | |
| 1x |
2,000
|
Boutique du Lion Rouge |
@Oceane01
@Elder-Grim
|
3 days ago | |
| 1x |
2,000
|
Boutique du Lion Rouge |
@Oceane01
@Elder-Grim
|
3 days ago | |
| 1x |
6,500
|
Crazy Russian People |
Drapxap
Sturmfaenger
|
3 days ago | |
| 1x |
4,500
|
Ferengi Allianz |
@schnick199
@Sorigal
|
4 days ago | |
| 1x |
5,000
|
Stendarr's Merchantry |
@N0P3S
@Hespera01
|
4 days ago | |
| 1x |
3,000
|
Comptoir de Bordeciel |
@LouvinetteMF
@Rialder
|
4 days ago | |
| 1x |
2,000
|
Sheogorath's Bargains |
@vlad35375
@evanaivan
|
4 days ago | |
| 1x |
2,000
|
Sheogorath's Bargains |
@vlad35375
@evanaivan
|
4 days ago | |
| 1x |
14,000
|
Der Trödelmarkt |
@Albatros2015
@Elder-Grim
|
5 days ago | |
| 1x |
5,999
|
Der Tante Emma Laden |
@Bayer235
@Badimo
|
5 days ago |

Recent Sales NA
| Item | Amount | Price | Guild | Seller/Buyer | Sale time |
|---|---|---|---|---|---|
| 2x |
12,000
6,000 per unit |
Mammoth Trading Company |
@Mozmozmoz2011
@RoboBirdie
|
1 hour ago | |
| 1x |
6,500
|
Bleakrock Barter Co |
@Banjoben12
@Kyip
|
4 hours ago | |
| 1x |
4,500
|
Lucian Allegiance |
@Covecrest
@ElricPls
|
1 day ago | |
| 1x |
6,300
|
AK Tamriel Trade |
@Rick_S1
@Xeuma_Darr
|
2 days ago | |
| 1x |
5,600
|
Blackbriar Barter Co |
@harueee
@Queenjoka89
|
2 days ago | |
| 1x |
5,999
|
Automaton Ayrenn's Agents |
@StillerGames
@Queenjoka89
|
2 days ago | |
| 1x |
5,000
|
Unstable Unicorns |
@ashlee17
@Darius_Silverkin
|
3 days ago | |
| 1x |
6,500
|
I'kiia Home Furnishing |
@FindingChemo
@RoboBirdie
|
3 days ago | |
| 1x |
12,222
|
Auction House Central |
@Dadshirt
@Drakar7986
|
4 days ago | |
| 1x |
7,725
|
Loots R Us Trading Guild |
@McGee-zax
@KawiiKrocodile
|
4 days ago | |
| 1x |
7,000
|
Vincula Doloris |
@Dewsophine
@Llalee
|
4 days ago | |
| 2x |
4,400
2,200 per unit |
WARmart Blade'n'Trade |
@SiAScORCH
@Arterra
|
5 days ago | |
| 1x |
6,750
|
Ancient Traders |
@Rental_Glitter
@DeafDragon
|
5 days ago | |
| 1x |
6,800
|
Blackbriar Barter Co |
@ragnarok100
@isany1_2
|
6 days ago | |
| 1x |
6,500
|
Drunk Dungeon Crasher's |
@Ehlly
@ColinCaster
|
6 days ago | |
| 1x |
8,390
|
Azura's Guidance |
@spacekh
@Amunet
|
6 days ago | |
| 1x |
9,080
|
What a Mess |
@CorneiliusCrown
@OnlyDNCFox
|
6 days ago | |
| 1x |
7,000
|
St Elsweyr Guild |
@NyqillusDillwad
@Astralweaver
|
6 days ago | |
| 1x |
500
|
Serenity's Haven |
@Flash9
@Fivrild
|
1 week ago | |
| 1x |
4,500
|
St Elsweyr Guild |
@Viper_undead
@isany1_2
|
1 week ago |
Sales data
Sales Price Graph EU
Loading
Sales Price Graph NA
Loading
Other leads to dig for in Solstice


Lead

Location:
Obtained after completing the Stone-Nest Soup Stone
Obtained after completing the Stone-Nest Soup Stone
Lead

Location:
Obtained after completing the Carved Conch Shell Necklace
Obtained after completing the Carved Conch Shell Necklace


Lead

Location:
Obtained after completing the Bismuth-laced Ceremonial Basin
Obtained after completing the Bismuth-laced Ceremonial Basin
Lead

Location:
Acquired by excavating the "Antique Xanmeer Carving Tools"
Acquired by excavating the "Antique Xanmeer Carving Tools"


Lead

Furniture: Solstice Giant Crocodile Skull
Location:
Can drop from anything in the Solstice zone
View on map
Location:
Can drop from anything in the Solstice zone
View on map
Lead
Furniture: Stone-Nest Gazebo
Location:
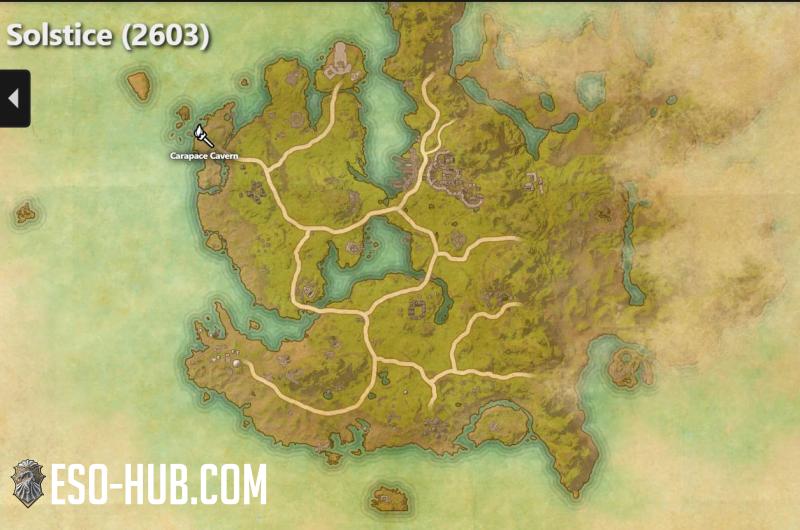
Calindvale Gardens group event, Xul-Katama Delve boss
View on map
Location:
Calindvale Gardens group event, Xul-Katama Delve boss
View on map


Lead

Furniture: Cult Blacksmithing Station
Location:
Bosses in the Calindvale Gardens public dungeon
View on map
Location:
Bosses in the Calindvale Gardens public dungeon
View on map


Lead

Furniture: Cult Blacksmithing Station
Location:
Lector Fenworine, Sea and Sword Lodge delvbe boss in Eastern Solstice
Location:
Lector Fenworine, Sea and Sword Lodge delvbe boss in Eastern Solstice


Lead

Furniture: Cult Blacksmithing Station
Location:
Lair of the Black Worm Delve Boss in Eastern Solstice
Location:
Lair of the Black Worm Delve Boss in Eastern Solstice
Lead

Armor set: Monomyth Reforged
Location:
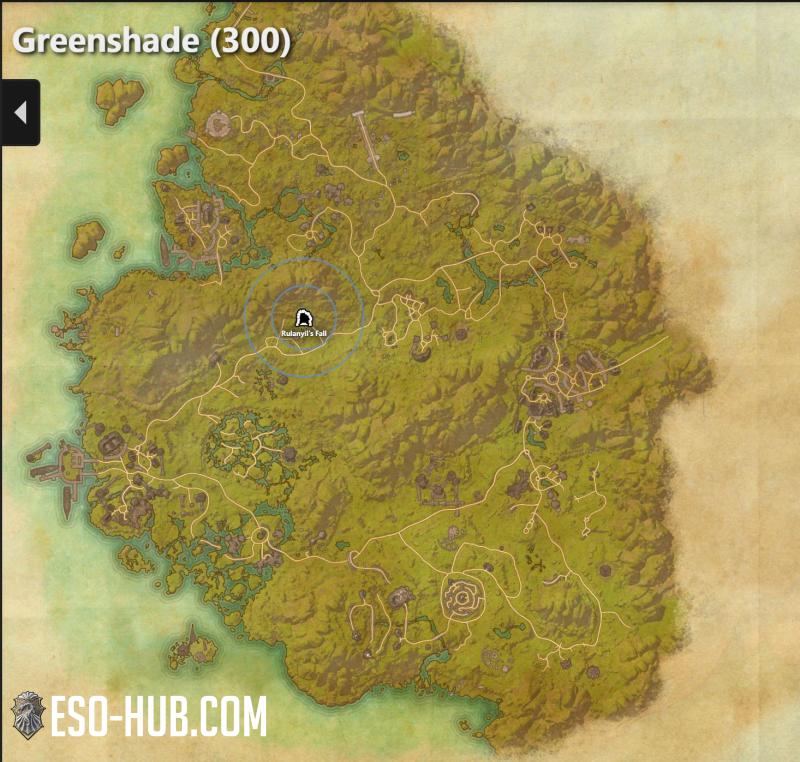
Greeenshade zone, Rulanyil's Fall Public Dungeon Group Event Boss
View on map
Location:
Greeenshade zone, Rulanyil's Fall Public Dungeon Group Event Boss
View on map


Lead

Armor set: Huntsman's Warmask
Location:
Hodrek's Hunting Grounds - Western Skyrim World Boss
View on map
Location:
Hodrek's Hunting Grounds - Western Skyrim World Boss
View on map


Lead

Armor set: Rakkhat's Voidmantle
Location:
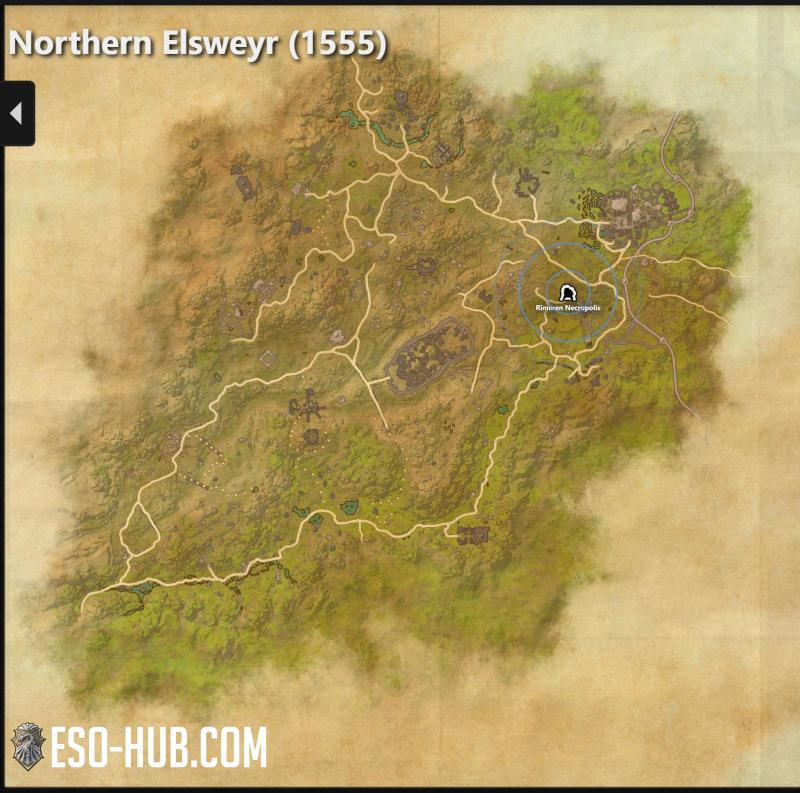
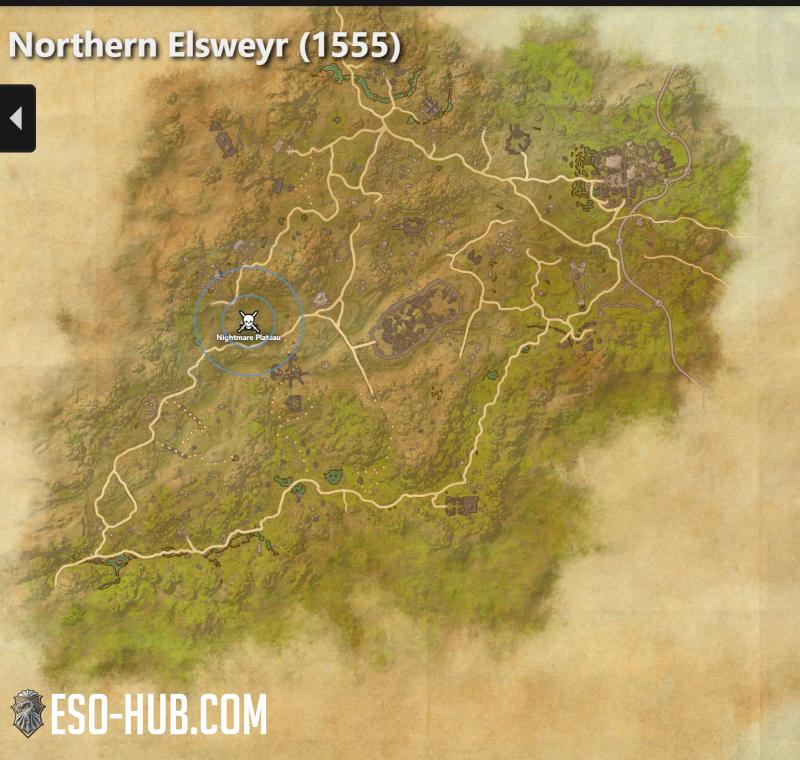
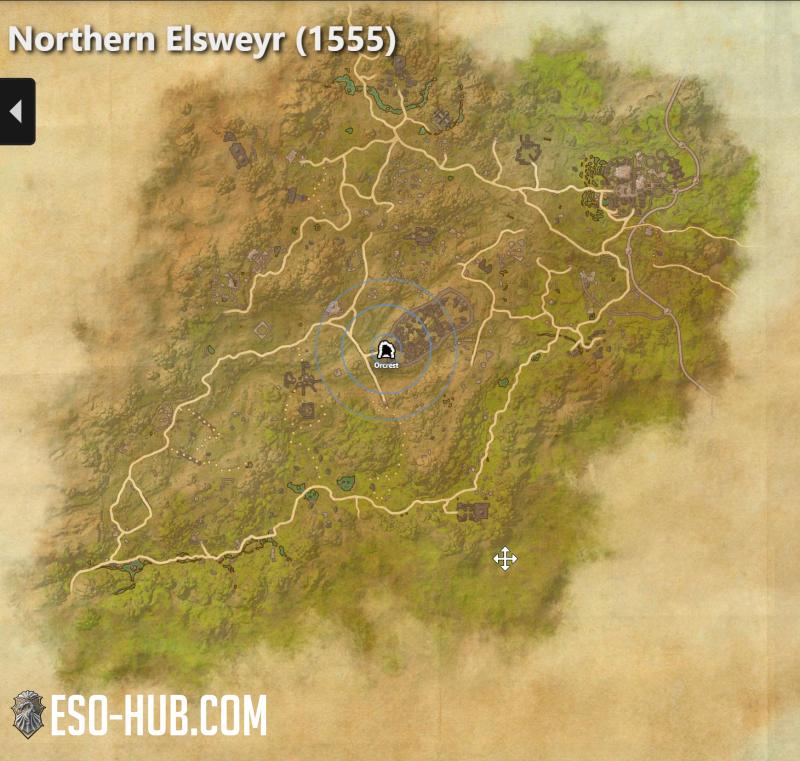
Northern Elsweyr zone, Public Dungeon Orcrest Bosses
View on map
Location:
Northern Elsweyr zone, Public Dungeon Orcrest Bosses
View on map


Lead

Armor set: Huntsman's Warmask
Location:
Magnar Child-Eater, delve boss in Argent Mine, Wrothgar.
View on map
Location:
Magnar Child-Eater, delve boss in Argent Mine, Wrothgar.
View on map