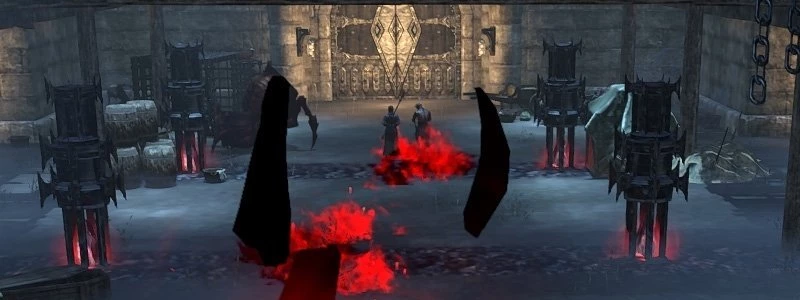
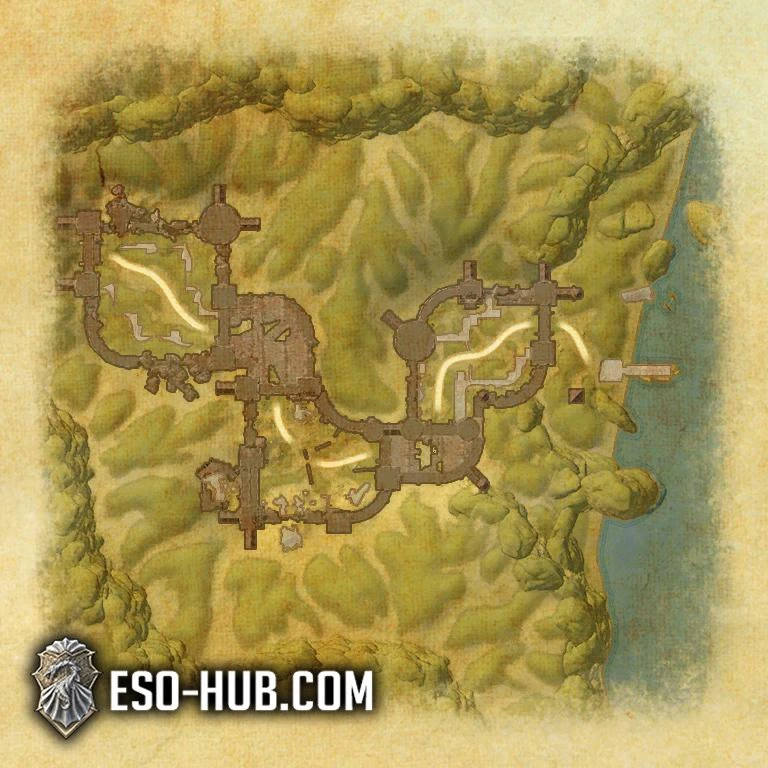
Welcome to The Dread Cellar Dungeon Guide for ESO (Elder Scrolls Online). The Dread Cellar dungeon was added to the game with Update 32, the Waking Flame DLC. It features both Normal and Veteran modes, as well as Hardmodes for each bosses and secret bosses. Players can either use the Group & Activity Finder in order to enter the dungeon as a 4 player group, or select it from the northern Blackwood map.This Dread Cellar Guide features everything you need to know about boss mechanics, which sets drop there, which rewards you can get and even shows a video on how to defeat the bosses!"There is no place in Tamriel I'd have rather seen that curdled, sump wizard, Mannimarco, condemned to than the Dread Cellar. While its hospitality might not be the equal to that of Molag Bal's realm, it's a damnable pit I have visitation privileges to."—Abnur Tharn The Empire kept its darkest secrets hidden in the depths of Black Marsh, far from prying eyes—the Dread Cellar, a torture chamber meant to hold those the Empire wanted to vanish. Explore this forgotten abattoir and learn its secrets, old and new.
Sets & Rewards
Lets take a look at the sets and rewards that you can get in the Dread Cellar Dungeon in ESO.
Sets in the Dread Cellar Dungeon
You can find a total of four sets in the Dread Cellar Dungeon. One heavy, one medium, one light and a monster set.
- Crimson Oath's Rive
- Rush of Agony
- Scorion's Feast
- Magma Incarnate (Monster Set)
Achievements
For achievements please look at the bottom of this guide. They are listed there in detail.
Rewards in the Dread Cellar Dungeon
Like with most dungeons, the Dread Cellar in ESO also brings along some rewards once you complete either veteran or normal mode challenges.Body Marking: Shattered Chivalry Body Tattoo for Red Petal Bastion Conqueror (Veteran) and Head Marking: Shattered Chivalry Face Tattoo for Arcane Analyst.
Shattered Chivalry Tattoos
For defeating the last boss on Hardmode, you will earn the title "Incarnate" from Unshaken.Title: The Dreaded for Battlespire's Best.
For defeating the dungeon on Veteran mode, you will get the achievement The Dread Cellar Conqueror which will give you the Memento: Agonymium Stone.
Agonymium Stone MementoYou will also be able to get a new dye called Moonshadow Orchid for this achievement Waking Flame Delver.
You can earn the Scorion Pyreling non combat pet for completing the Waking Flame Explorer achievement.
Trashmonsters
You will find plenty of trashmonsters in the Dread Cellar Dungeon in ESO. Trashmonsters are enemies that can add to the difficulty and liveliness of a dungeon and are fillers in-between bosses. There's a couple of those in the Dread Cellar dungeon that are important and difficult, these are listed below.
Waking Flame Pyromancer, Crimson Oath enemies, Scamps, Hunger, Clannfear, Boltwyrm: These are pretty generic and can usually be killed by AoE. They should be pulled in though, so that they can melt in the group's AoE.
Armored Daedroth, Flame Colossus, Scorching Ogrim, Scorion Collector, Xivilai Ravager, Xivilai Shockslayer: These can be very dangerous to the group and should be tanked immediately, facing away from the group.
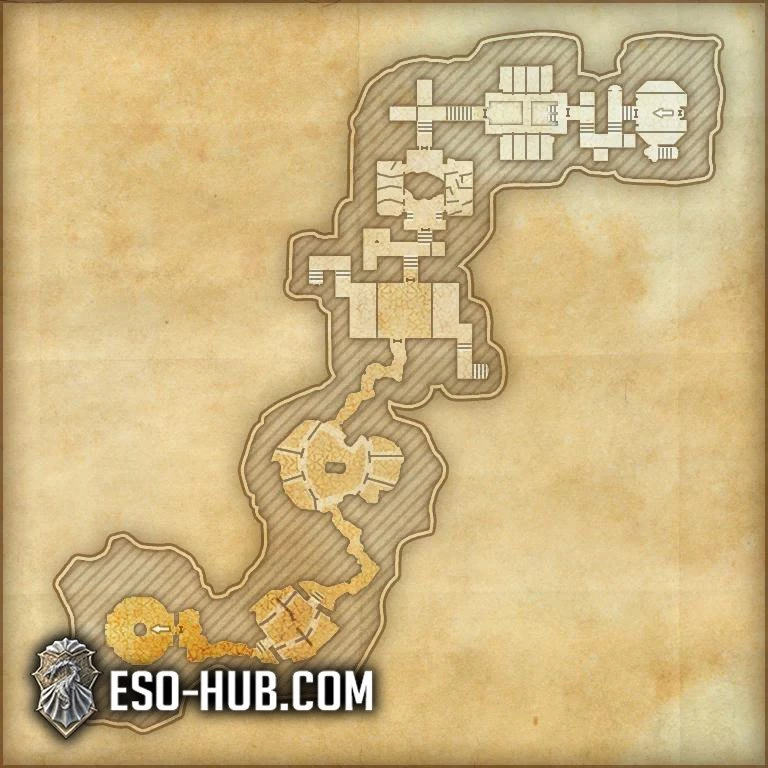
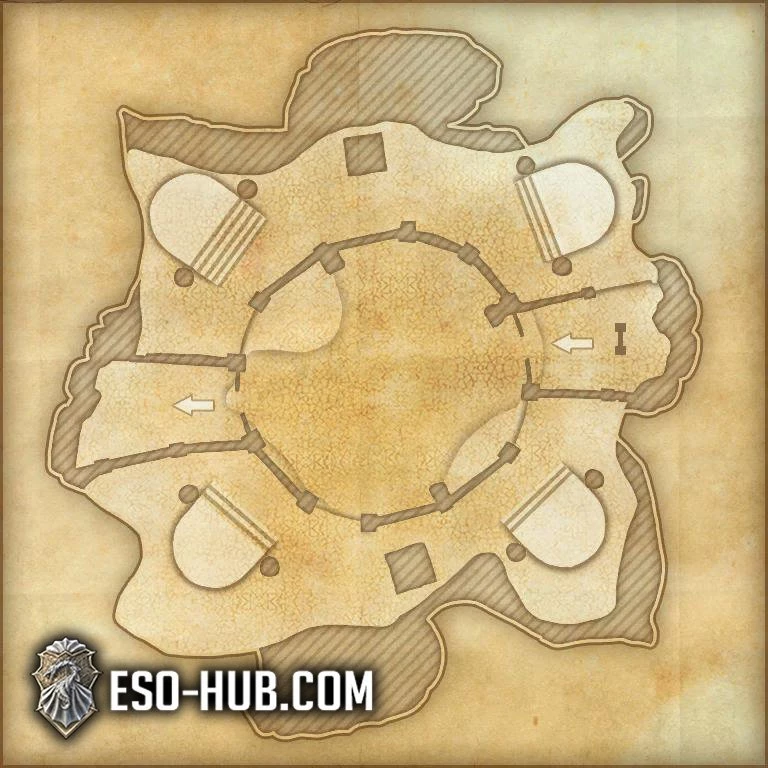
Boss Map
Bosses Overview
In this section of the Dread Cellar Guide for ESO (Elder Scrolls Online) we are going to take a look at the health of bosses that you encounter. There are a total of 3 bosses in this dungeon. There are also three secret bosses in the dungeon which will boost your stats, please visit the Secrets section of the Dread Cellar dungeon guide.
The values below are for the Normal and Veteran Hardmode version of Dread Cellar dungeon.
| Boss | Health | Adds |
| Scorion Broodlord | 2,525,979/8,571,372 | Lots of various adds |
| Cyronin Artellian | 2,873,301/9,324,750 | Storm Atronachs, Boltwyrm |
| Magma Incarnate | 4,125,765/15,567,056 | Scorion Collector, Scamps, Skeletal monsters |
| Secret Bosses | ||
| Purgator | 3,740,235 | Flame Atronachs |
| Undertaker | 3,890,584 | Skeletal Archers |
| Grim Warden | 4,238,933 | Twilights |
Bosses Dread Cellar
In this section of the Dread Cellar guide for ESO we are going to take a look at the primary 3 bosses of the dungeon. Scorion Broodmother, Cyronin Artellian and the endboss Magma Incarnate.
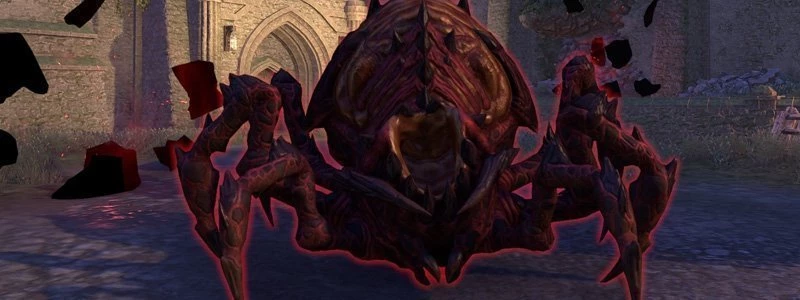
Scorion Broodlord
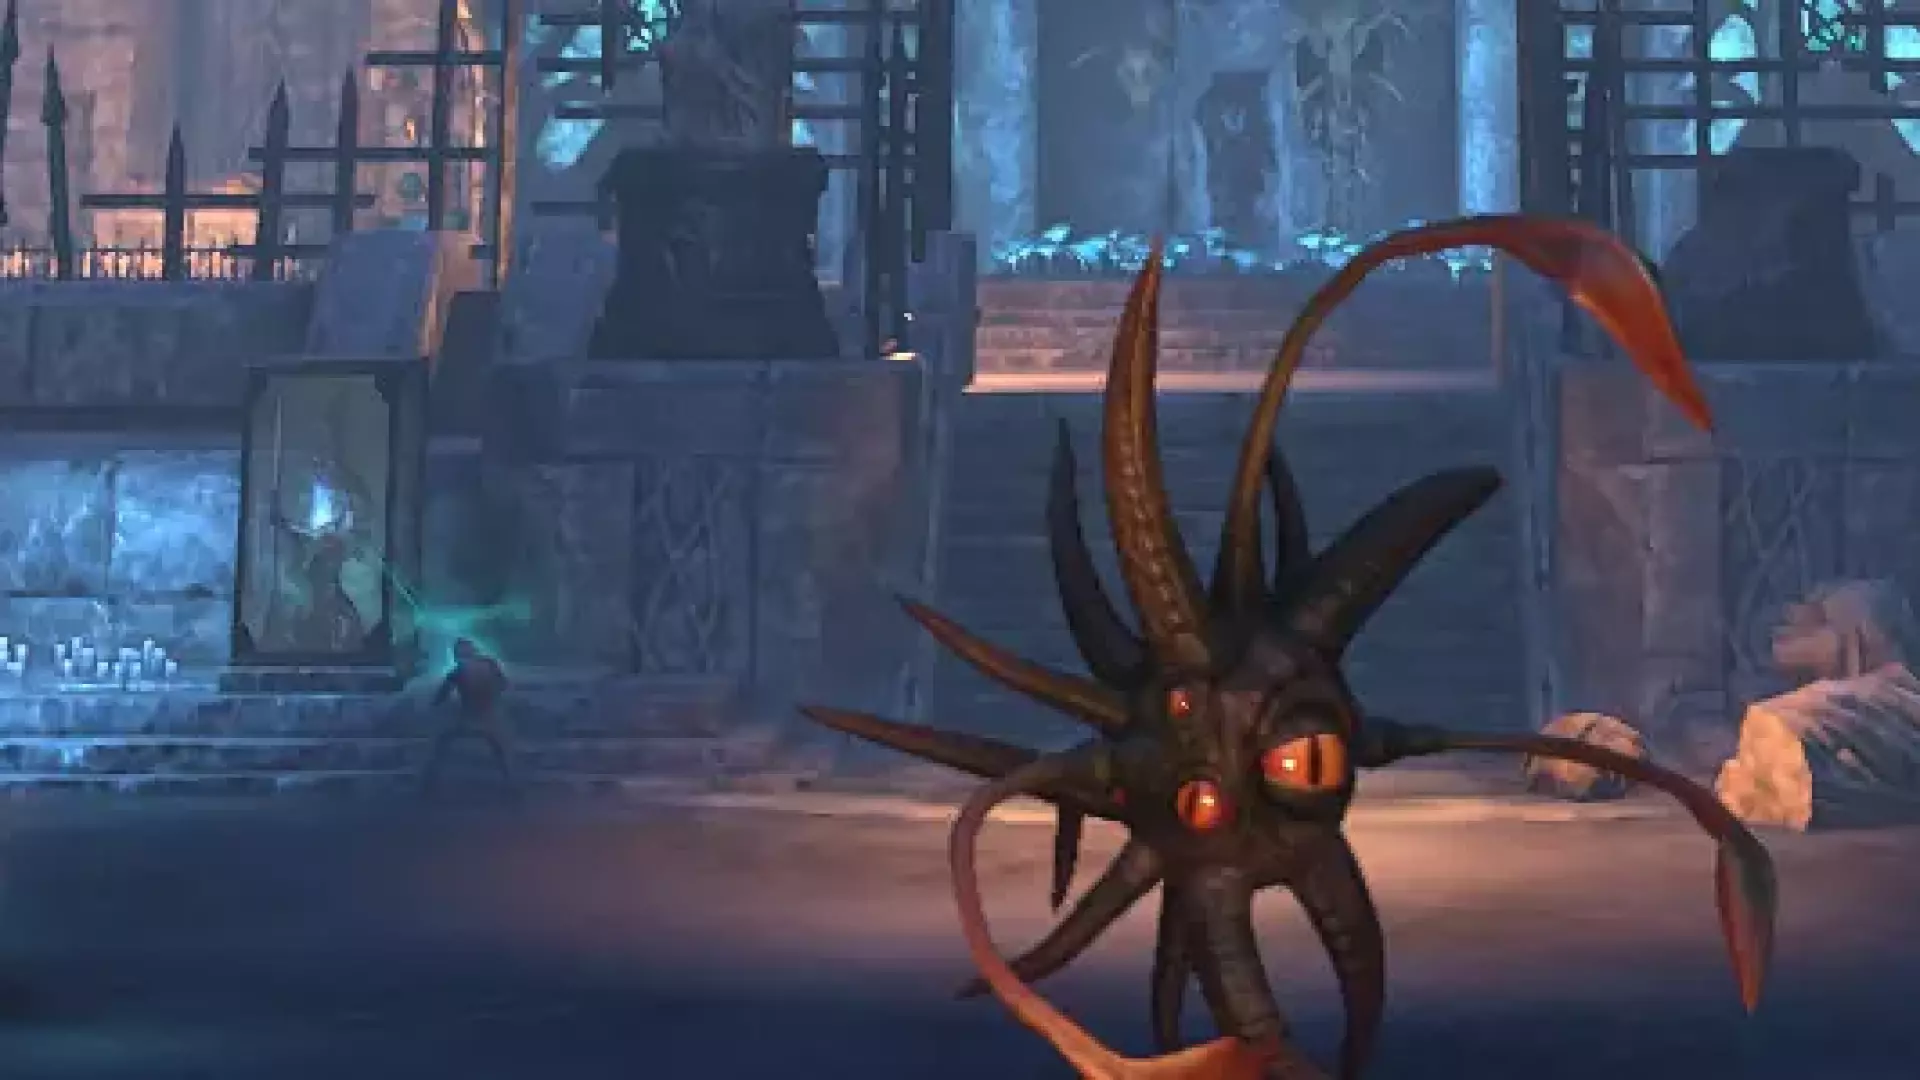
Scorion Broodlord is the first boss in the Dread Cellar dungeon in ESO and looks like a spider without a head. It can be a very nasty boss, especially on hardmode and you shouldn't shy away from using the pylon to call the miniboss' help in case your group members should die. On normal, or even normal veteran mode though, this fight should be doable, even if challenging.
Adds: Every few percent a new add will spawn which should be tanked, if possible, next to the boss and be killed in the AoE or even focused down, so that it can't wreak havoc.
Agonymium Stone: These need to be killed asap, as the broodlord will heal upon consuming these. Best is when you tank the adds next to these stones, so that they die equally. It will also shoot ghost skulls which do a lot of damage.
Excruciating Expectoration:This deals a lot of physical damage and inflicts an unavoidable DoT (Excruciating Energies) which cannot be removed.
Turmoil:This is an attack that happens in a cone and hits everybody standing in its way, which is why the tank should keep the boss facing away from the group. This deals a lot of damage if not blocked!Torrent of Turmoil: These are small volatile clouds escaping from the broodlord which will cause a decent amount of damage.Crush: This Heavy Attack can deal a lot of damage if not blocked. Ideally, the tank will be the only one getting this.
Pull & Explode: If the one holding aggro gets too far away she will pull everyone in and cause a large explosion which doesn't only slow down everyone standing in it, but will also cause a ton of damage. Best is to dodge roll out of it.
Hardmode Mechanics
Upon activating Hardmode for the Scorion Broodlord in ESO, the broodlord will cause a lot more damage and the adds will spawn way more frequently. This fight is very add heavy and there's a specific priority in how you should handle which add. Every few percent 2 new adds will spawn, preventing you from burning the boss too quickly. All of these adds are almost equally as dangerous and should ideally be tanked by the Agonymium Stones, so that they can be burned by the DPS at the same time, either with AoEs or their Ultimates. The Xivilai Shockslayers for example must be interrupted and the Bone Atronach will constantly cast a high damage AoE with raining fire.
Cyronin Artellian
Cyronin Artellian is the second boss in the Dread Cellar dungeon in ESO. He is a mage that has a lot of mechanics coming together and is generally not very melee friendly.
Storm Atronachs: These Storm Atronachs can be very disruptive to the group, especially if they cast their Heart of the Storm ability, which can causes a lot of damage. They should be taken care of immediately, otherwise the group may die. After some time, Cyronin will revive them, though, so that you will have to deal with them again.
Boltwyrm:The Boltwyrm will slow you and cast Arresting Bolt on players, causing a moderate amount of damage. If the Boltwyrm is facing you, you will do more damage to it than another player.
Staff Strike: This is the boss' heavy attack. It's very clearly visible and should definitely be blocked or even dodge rolled. After he strikes you with his staff, there will be a shock field on the floor.
Soulstorm: From time to time, the boss will cast an ability that you can't block. The only way to avoid the damage is by dodge rolling it. You will see a red ghost skull being cast on you and if you aren't standing close to a healer, your best bet is to simply roll dodge it.
Dread Surge:These are the red waves emitting from the so-called Crystal Cathodes. These should, under all circumstances, be avoided. You can either re-position yourself any time and keep being mobile, or you can also dodge-roll through them.
Hardmode Mechanics
Hardmode adds a lot more damage to the fight and one additional mechanic. From time to time, the boss will cast a debuff on you which will be cast on two players and make you drop a lightning orb which causes a ton of damage if you remain standing in it.
Magma Incarnate
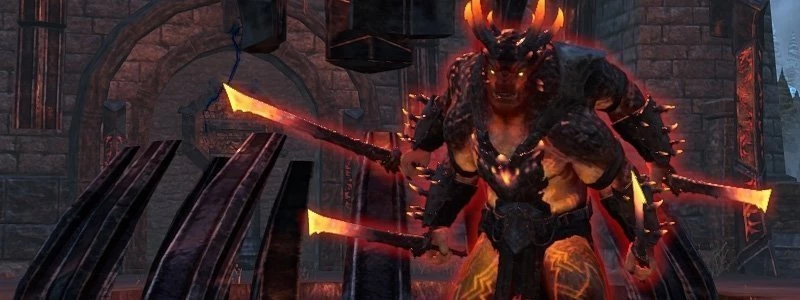
Magma Incarnate is the third and last boss of the Dread Cellar dungeon in ESO (Elder Scrolls Online). There's a lot going on in the fight and definitely a lot of fire damage.
Unstable Blitz:This is like a chain reaction and will echo off itself to cause devastating results. It can also cause Blitz Bonfires which will cause a ton of damage.
Dancing Flames:These are tornadoes that will move around and try to cause a lot of fire damage. These need to be avoided.
Catastrophe:From time to time, the Incarnate Machine will cast out a huge AoE and cause a moderate amount of damage to anyone standing in it.
Path of Fire:This is an attack that the boss will cast from time to time. He will cast it from himself, unto the players, which will look like a path and cause quite some damage and should be blocked or dodge rolled. He will also be casting a Flame Aura during this, which is why players shouldn't stand too close to him.
Frenzy: This is Magma Incarnate's Heavy Attack and deals a ton of damage. This should definitely be blocked, otherwise it will kill the player that's getting hit by it.
Portal:Around every 20% there will be a portal with an Agonymium Stone that needs to be killed, otherwise a Scorion spider will absorb it and empower it during the bossfight. The boss itself will become invincible during this phase and non-attackable. After the portal phase there will be the spider joining the fight.
Path of Fire:In hardmode, this will also leave a pool of flames, which will be dropped where the player is standing and cause a lot of damage.
Incarnate Outburst: This will kill everyone if the tank is not standing in it when he casts it and blocks it.
Tornado Wall:Towards the end of the fight a tornado wall will appear and will make the players want to avoid it, otherwise they are highly likely to die.
Hardmode Mechanics
At around 60% and 30%, scorions will join the fight and the lightning lines will leave AoEs behind on the ground.
Secret Bosses
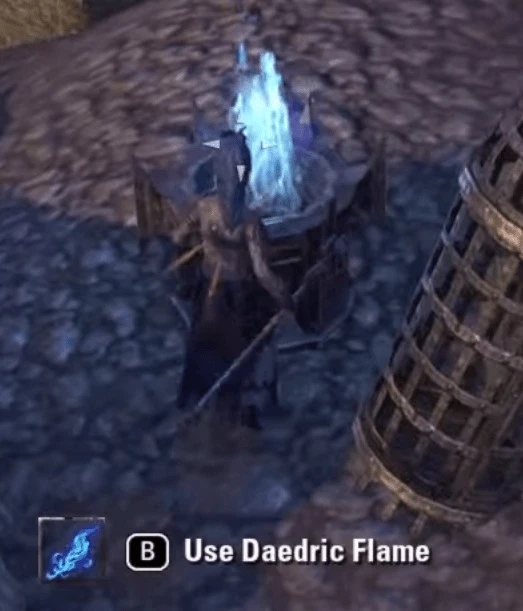
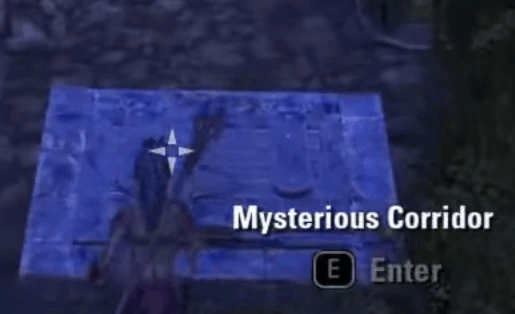
The secret bosses in the Dread Cellar Dungeon will give bonuses to the players, which will be showcased here. In this dungeon, the secret bosses are quite challenging, so that you should definitely come prepared. In order to unlock the entrances to the secret bosses, you have to find Daedric Flames first which you need for lightning braziers by a Mysterious Corridor. If you have lit the braziers, the door will unlock.
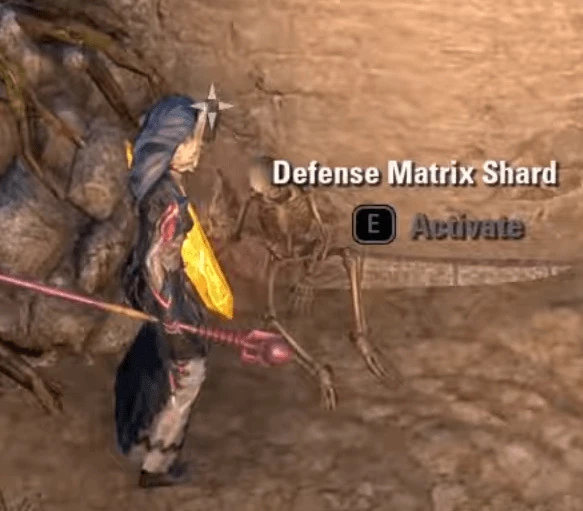
When you went down the trapdoor, you will reach an area where you will have to activate these shards at the same time and a portal opens which will lead you to the minibosses.
Purgator
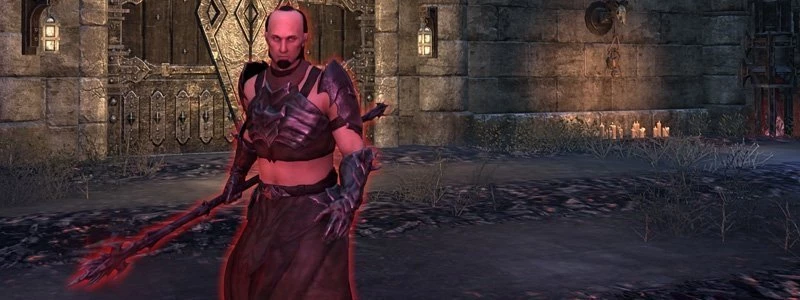
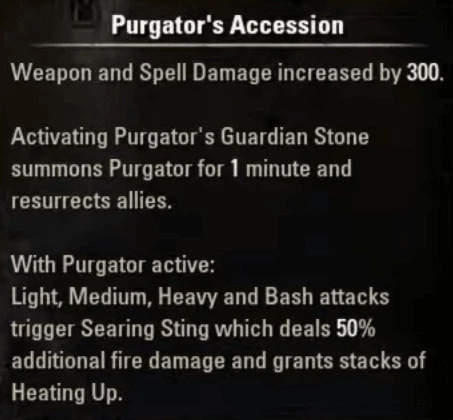
You will enter an arena and be greeted by a ghost called Vitellia Laenius. She tells you to activate a specific crystal by lighting the braziers in order to call the miniboss. At first you will meet the Purgator, which packs quite a punch. He can call Flame Atronachs, which should be killed first if your group DPS isn't too high, otherwise they can be more or less ignored. He can also let meteors rain from the sky which will throw you down upon impact. The buff you will get is the following:Purgator's Accession - Weapon and Spell Damage increased by 300. Activating Purgator's Guardian Stone summons Purgator for 1 minute and resurrects allies. With Purgator active: Light, Medium, Heavy and Bash attacks trigger Searing Sting which deals 50% additional fire damage and grants stacks of Heating Up.
Undertaker
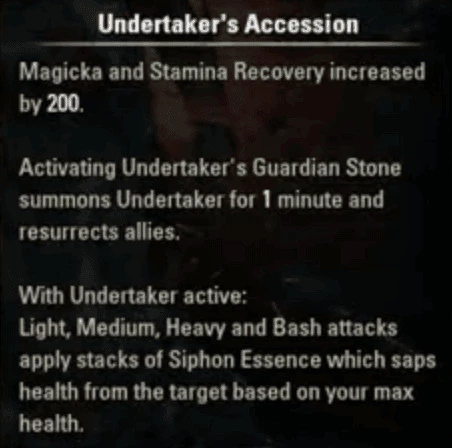
You will enter an arena and be greeted again by the ghost Vitellia Laenius. She tells you to activate a specific crystal by lighting the braziers in order to call the miniboss, same as before. This time the miniboss is a lich, which will summon skeletal archers to his side. You can either take them down or continue killing the miniboss, as they are more or less just a nuisance. This boss's special attack is an array of bolts he shoots forth from his staff. This needs to be healed. The buff you will get is the following: Undertaker's Accession - Magicka and Stamina Recovery increased by 200. Activating Undertaker's Guardian Stone summons Undertaker for 1 minute and resurrects allies. With Undertaker active: Light, Medium, Heavy and Bash attacks apply stacks of Siphon Essence which saps health from the target based on your max health.
Grim Warden
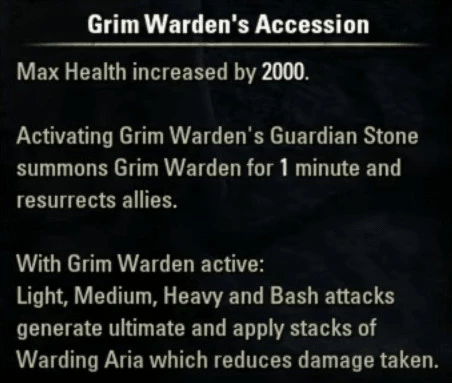
You will enter an arena and be greeted by the ghost Vitellia Laenius. She tells you to activate a specific crystal by lighting the braziers in order to call the miniboss. This miniboss has very hurtful attacks. They will be cast on anyone that has aggro and especially the spinning blade one will kill any unprepared tank. The boss can also call upon Air Atronachs and a whirlwind. The Air Atronachs need to be killed in order for it to loose the buff it gets by the additional adds. The buff you will get is the following: Grim Warden's Accession - Max Health increased by 2000. Activating Grim Warden's Guardian Stone summons Grim Warden for 1 minute and resurrects allies. With Grim Warden active: Light, Medium, Heavy and Bash attacks generate ultimate and apply stacks of Warding Aria which reduces damage taken.
Video Gameplay
Full solo "The Dread Cellar Dungeon" walkthrough on the Solo Magicka Nightblade Build on nomal mode.
Meet the Character – Lucilla Caprenia
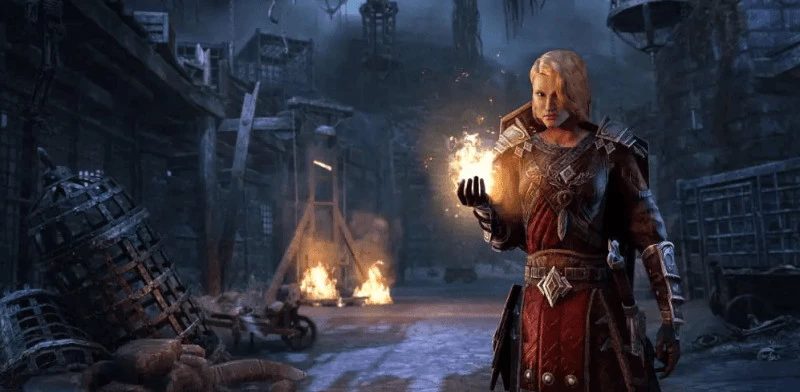
Lucilla CapreniaDisciplined, courageous, and utterly committed to the service of the Empire and Battlespire, Lucilla Caprenia is one of the new characters you will meet as part of the upcoming Waking Flame DLC. Learn more about this battlemage in training in this Meet the Character.
I hereby request consideration for provisional deployment and special training on behalf of Potential Lucilla Caprenia.
The need for more experienced battlemages in the field during the Three Banners War has far outstripped the Battlespire’s current reserves and diminished the fortresses readiness to dangerously low capability. Without the Empire’s support and a steady supply of new recruits, our current objectives will not be achieved before attrition forces us to fully retreat to the Spire.
We must make better use of our current crop of Potentials, both to relieve our overstretched Battlemages and to better prepare the apprentices for their trials. We cannot sustain the usual casualty rates and expect our numbers to hold. Allowing worthy Potentials to gain practical experience outside of the Spire is the only way to improve their odds of survival without compromising the value of fully commissioned Imperial Battlemages.
Lucilla has been a model apprentice since her conscription at the age of six, half the standard years of those identified with the makings of a Potential. And she was head of her class before she turned seven. Despite numerous provocations by members of her cohort, whose pride could not bear being overshadowed by a child, Lucilla has never once retaliated, and her record remains free of demerits. She has demonstrated a level of discipline most veteran soldiers cannot muster, even from an age when keeping her hand out of the cookie jar would be a high standard to uphold.
Lucilla has earned top marks in each of the schools of magic, magical and martial warfare, and contemporary studies. She took first place for single combat in the Potentials Battle Tourney three years running, won the Spire Council’s Commendation for Spellcraft last year, and earned an Imperial Medal of Valor for defending her classmates from rampaging atronachs during a botched summoning exercise six years ago. She banished four of them herself. Had we allowed it, she very well could have completed her trial before reaching adulthood.
Lucilla’s admiration for the ideals of the Empire we all hold dear borders on worship, and her commitment to our mission to restore it is unquestionable. Traits that are becoming harder to come by in an age where, for most of our recruits, the Empire exists only in books. Lucilla longs for a return to the glories of the Empire with a passion that might rival some of you on the Council who had actually served while that august institution still existed. My only concern for Lucilla is that her devotion lacks a critical eye, blinding her to the hard choices required to maintain order in such a vast Empire. Ending the Three Banners War will require a great amount of sacrifice and she is not yet prepared for the harsh realities of war.
I fear we have done her a disservice by keeping her within the Battlespire all these years without opportunities for deployment or advancement. Most of our recruits have plateaued in development before their trials due to our inability to embed them in Imperial Legions, and Lucilla reached the apex of what can be learned within these walls years ahead of them. She is one of the most highly trained Potentials in the history of the Spire, but no amount of preparation can replace real experience. It is time we rectified that.Should the Spire Council grant this request, I would ask they assign Lucilla to me during my next deployment. It is of a sensitive nature and her fierce loyalty should be an asset in maintaining secrecy.
Humbly,
Battlemage Martus Tullius
You can meet this earnest and eager trainee yourself when you explore the Dread Cellar, one of the two new dungeons coming soon as part of the Waking Flame DLC. Find the original article here.
Now you know everything there is to know about the Dread Cellar dungeon in ESO (Elder Scrolls Online), happy hunting!
 Deutsch
 Français
 Русский
 Español


