La mayor parte del contenido de la versión en español de ESO-Hub ha sido traducido mediante aprendizaje
automático. Si quieres ayudar a mejorar las traducciones, ponte en contacto con nosotros en nuestro servidor Discord.
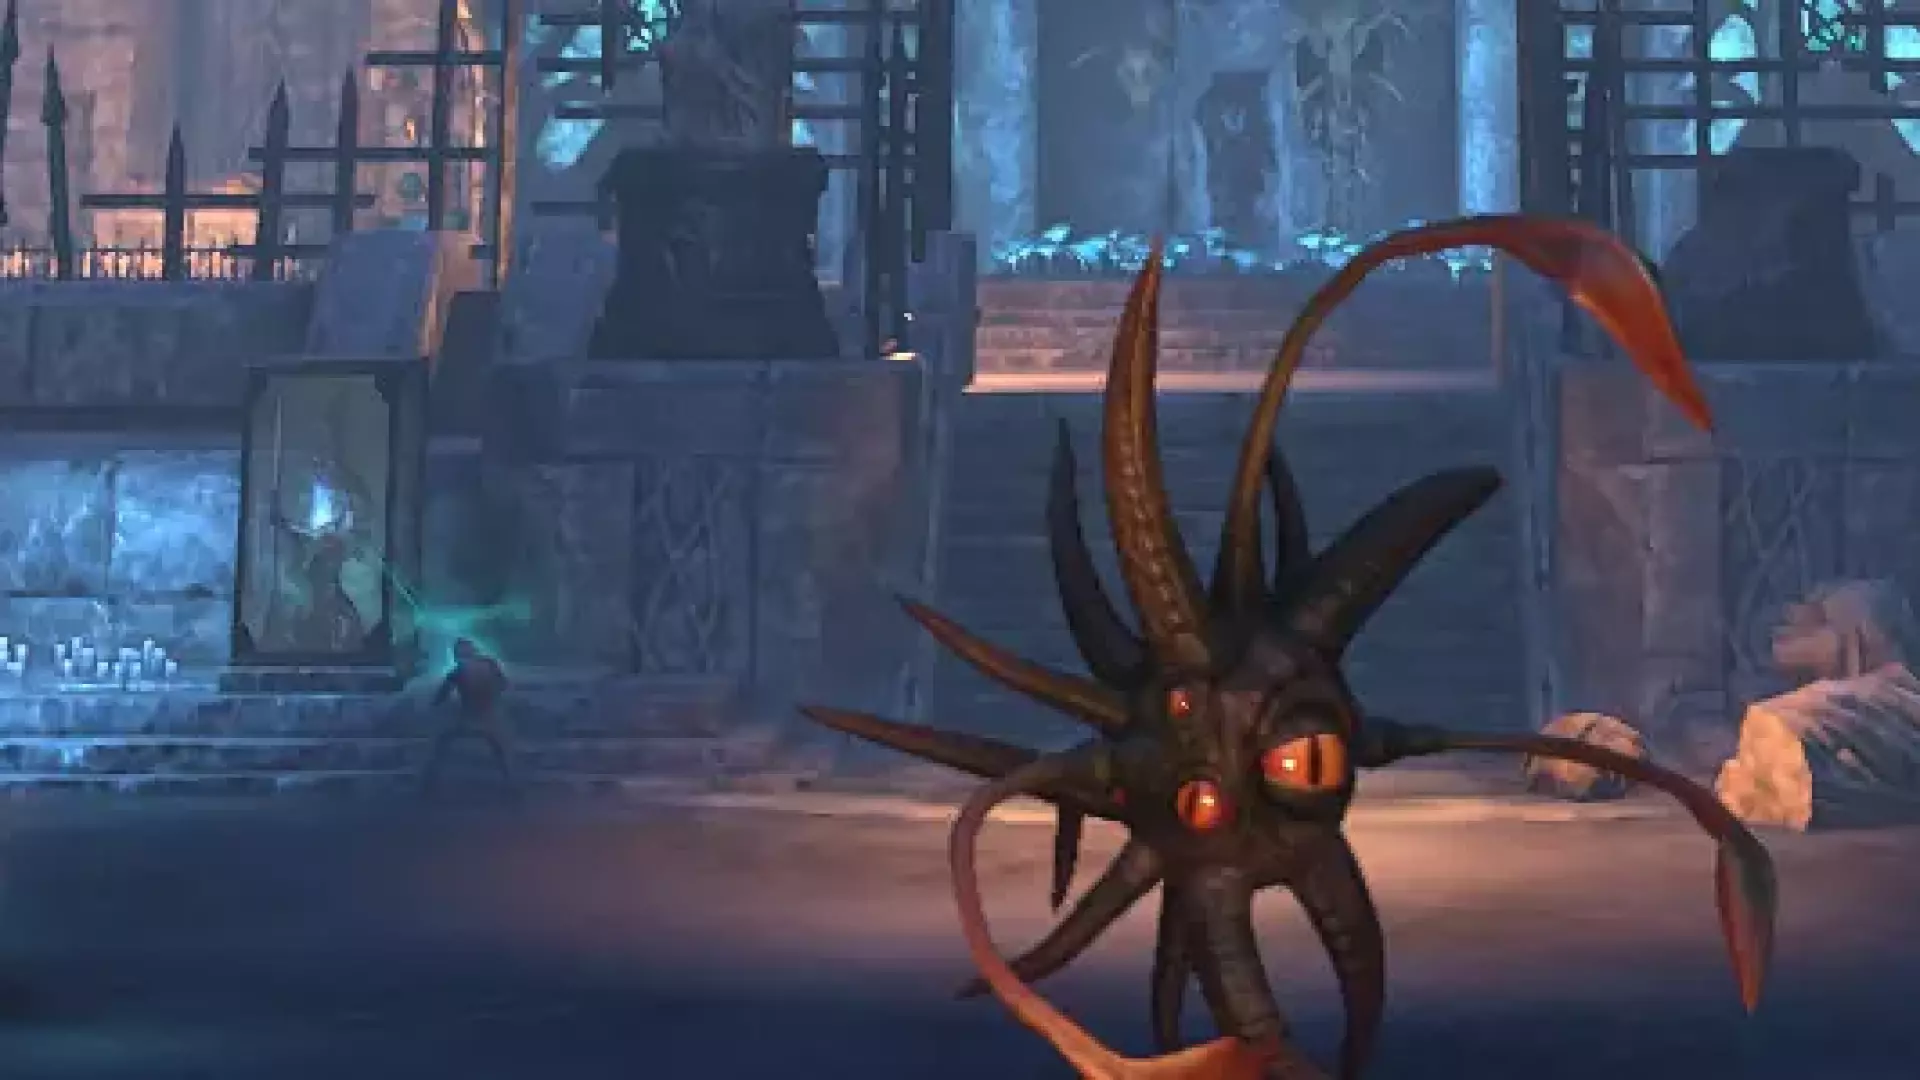
Dread Cellar Dungeon Guide for ESO
The Dread Cellar Guide features everything you need to know about boss mechanics, which sets drop in the Dread Cellar dungeon, which rewards you can get and even shows a video on how to defeat the bosses!
Índice de contenidos
8 Capítulos
Guías relacionadas
Dungeons
Red Petal Bastion Dungeon Guide for ESO
The Red Petal Bastion Guide for ESO features everything you need to know about boss mechanics, which sets drop there, which rewards you can get and even shows a video on how to defeat the bosses!
hace 2 años
Dungeons
Dungeon Finder Guide - How to use the dungeon finder in ESO
This is the ESO Dungeon Finder Guide which will show you exactly how the Dungeon Finder works and how you can find a group in ESO!
hace 2 años
Dungeons
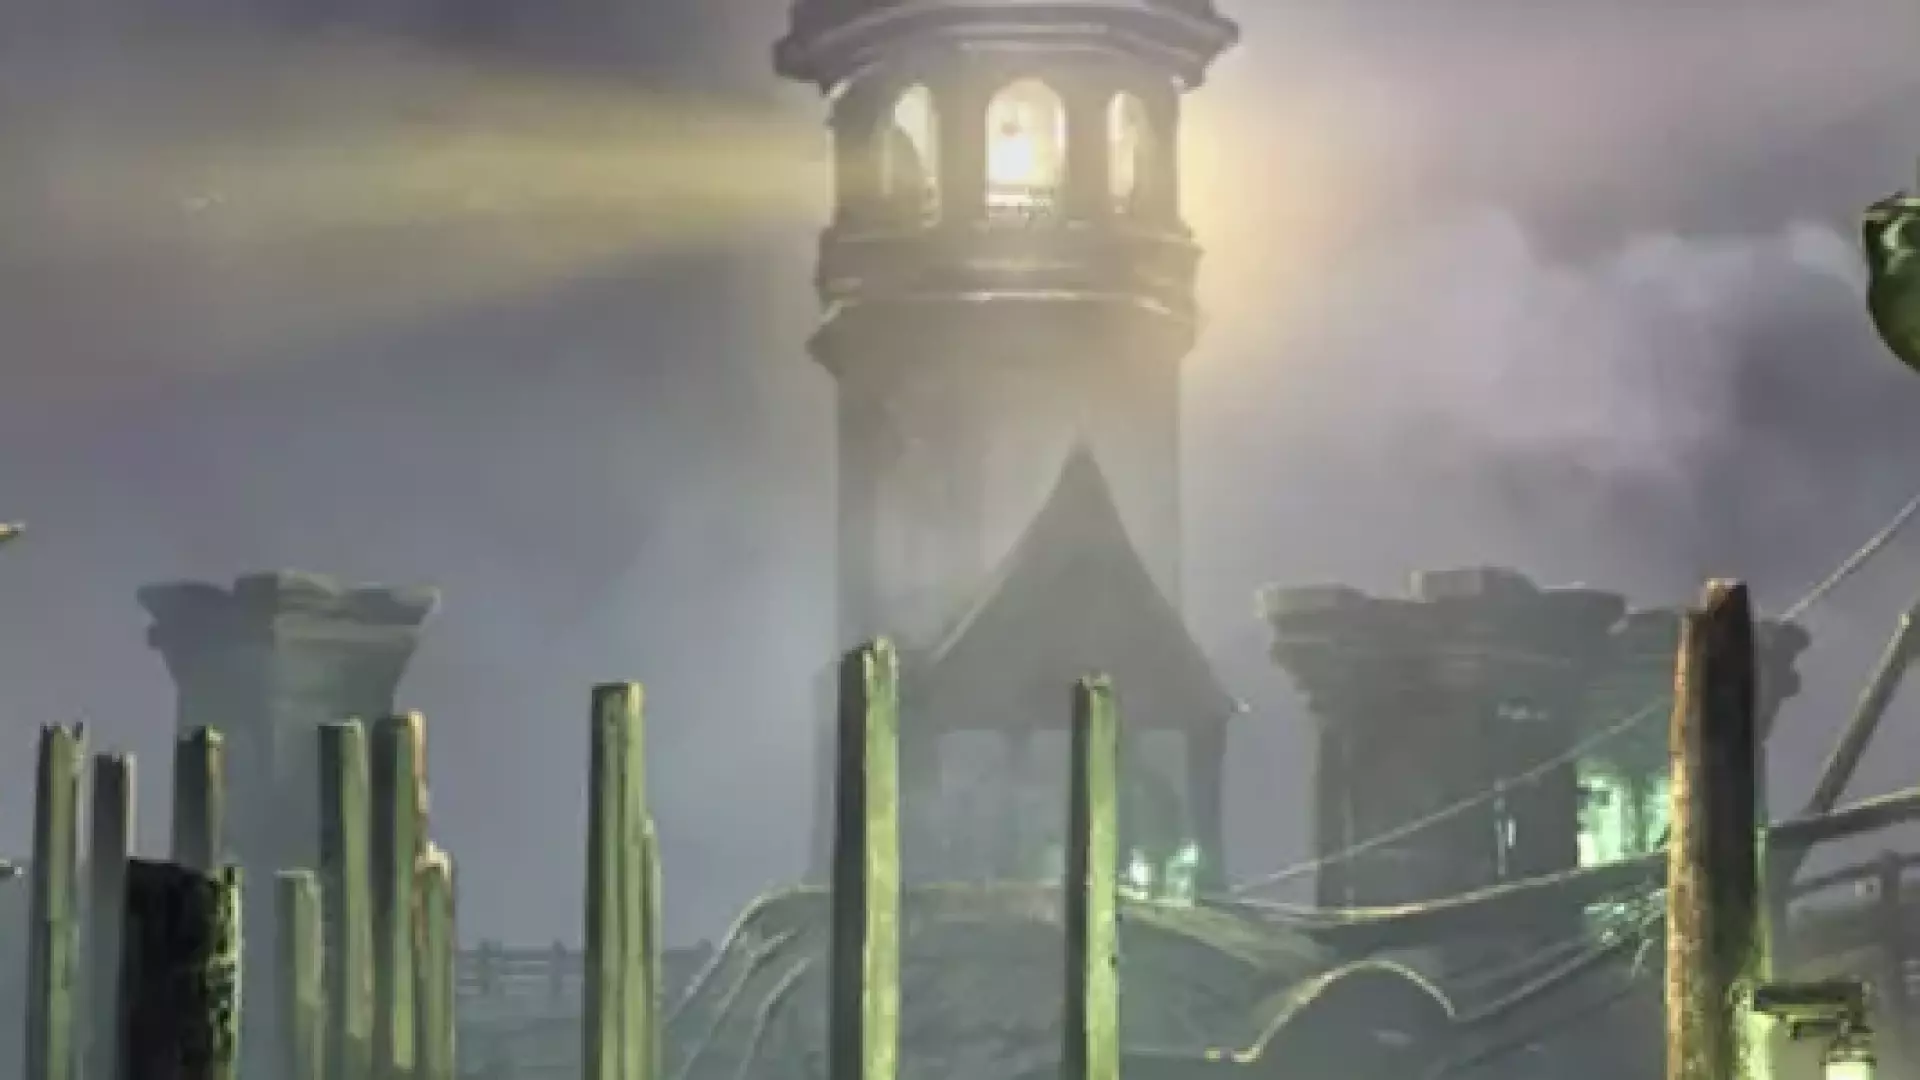
Shipwright's Regret Dungeon Guide for ESO
The ESO Shipwright's Regret Guide features everything you need to know about boss mechanics, which sets drop in the Shipwright's Regret dungeon, which rewards you can get and even shows a video on how to defeat the bosses!
hace 2 años