La mayor parte del contenido de la versión en español de ESO-Hub ha sido traducido mediante aprendizaje
automático. Si quieres ayudar a mejorar las traducciones, ponte en contacto con nosotros en nuestro servidor Discord.
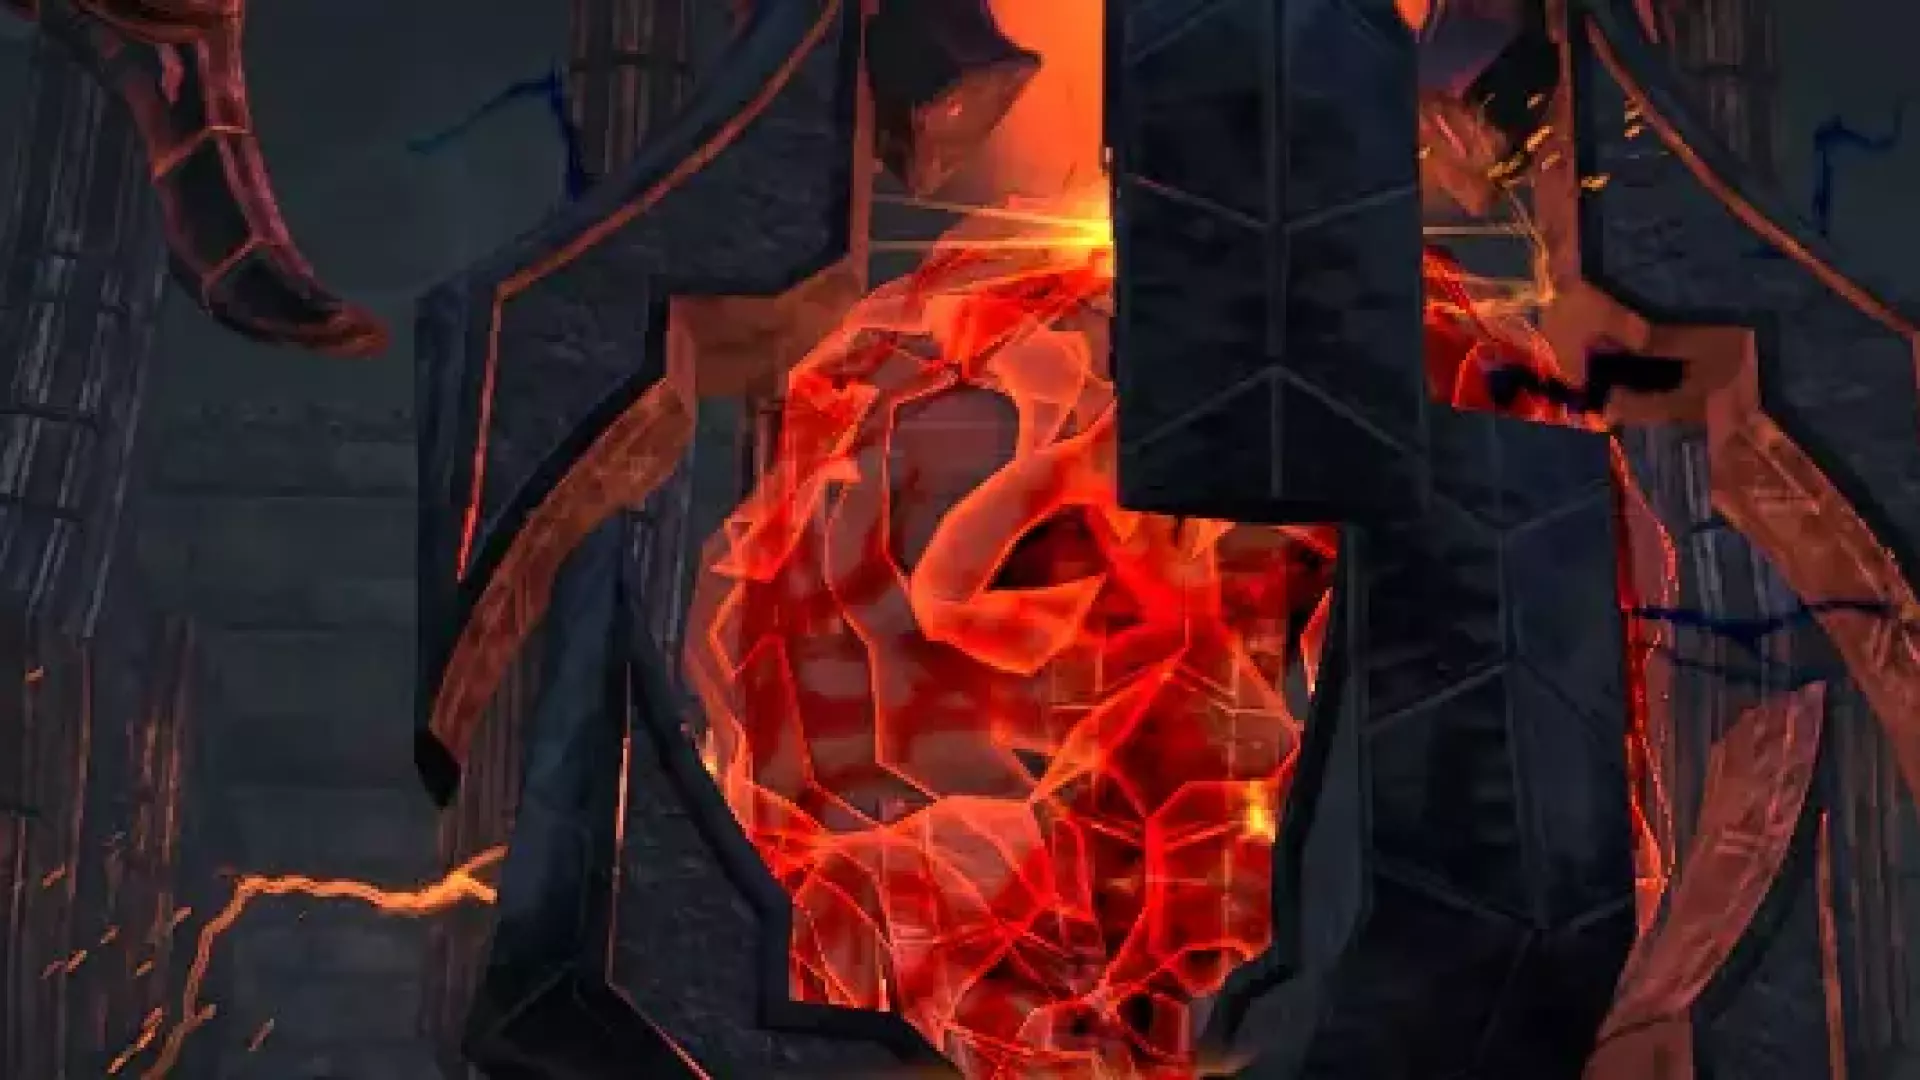
Red Petal Bastion Dungeon Guide for ESO
The Red Petal Bastion Guide for ESO features everything you need to know about boss mechanics, which sets drop there, which rewards you can get and even shows a video on how to defeat the bosses!
Índice de contenidos
7 Capítulos
Logros relacionados con esta guía
21 Logros
|
Analista arcano/arcana |
Completa el contenido opcional en el bastión del Pétalo Rojo y el Sótano Pavoroso. |
|
Batidor/Batidora de Waking Flame |
Completa el Bastión del Pétalo Rojo y el Sótano Pavoroso en modo Normal. |
|
Conquistador/Conquistadora del Bastión del Pétalo Rojo |
Derrota a Rogerain el Astuto, a los portadores de artefactos y al prior Thierric Sarazen en el bastión del Pétalo Rojo (Veterano). |
|
Contendiente del Bastión del Pétalo Rojo |
Completa los siguientes logros en el Bastión del Pétalo Rojo (Veterano). |
|
Ecos de muerte |
Entra y consigue el ánima de cristal de Nagaia del Goriseli Moraburo del bastión del Pétalo Rojo. |
|
Ecos de sabiduría |
Entra y consigue el ánima de cristal de Agea del Goriseli Moraburo del bastión del Pétalo Rojo. |
|
Ecos de vida |
Entra y consigue el ánima de cristal de Anya del Goriseli Moraburo del bastión del Pétalo Rojo. |
|
El asedio más corto del mundo |
Vence en todos los encuentros y derrota a Rogerain el Astuto, a los portadores de artefactos y al prior Thierric Sarazen en el bastión del Pétalo Rojo (Veterano) en menos de 25 minutos. El temporizador comienza al entablar combate con el primer grupo de enemigos. |
|
Erradicador/Erradicadora de la Rosa Plateada |
Derrota a 200 caballeros de la Rosa Plateada y demonios de las reliquias en el bastión del Pétalo Rojo (Veterano). |
|
Erradicador/Erradicadora de modeladores de reinos |
Derrota a 50 modeladores de reinos de la Rosa Plateada en el bastión del Pétalo Rojo (Veterano). |
|
Espeleólogo/Espeleóloga de Waking Flame |
Completa el Bastión del Pétalo Rojo y el Sótano Pavoroso en modo Veterano. |
|
Estampida evasiva |
Esquiva todas las embestidas de alud de las copias del prior Thierric Sarazan en el bastión del Pétalo Rojo (Veterano). |
|
Explorador/Exploradora de Waking Flame |
Entra en el Bastión del Pétalo Rojo o en el Sótano Pavoroso por primera vez. |
|
Invasor/Invasora de bastiones |
Vence en todos los encuentros y derrota a Rogerain el Astuto, a los portadores de artefactos y al prior Thierric Sarazen tras colocar el estandarte del desafío en el Bastión del Pétalo Rojo (Veterano) en menos de 25 minutos sin que ningún miembro del grupo muera. El temporizador comienza al entablar combate con el primer grupo de enemigos. |
|
Juego de pies temerario |
Activa al menos 40 trampas en un solo encuentro con los portadores de artefactos en el bastión del Pétalo Rojo (Veterano). |
|
Ofensas del prior |
Derrota al prior Thierric Sarazen tras colocar el estandarte del desafío en el Bastión del Pétalo Rojo (Veterano). |
|
Pétalo, tallo y espina |
Derrota a Eliam Merick, a Ihudir y a Liramindrel tras colocar el estandarte del desafío en el Bastión del Pétalo Rojo (Veterano). |
|
Retenedor/Retenedora de Rogerain |
Derrota a Rogerain el Astuto tras colocar el estandarte del desafío en el Bastión del Pétalo Rojo (Veterano). |
|
Terror del Astuto |
Un miembro de tu grupo debe obtener 25 acumulaciones de salvaje mientras se enfrenta a Rogerain el Astuto en el bastión del Pétalo Rojo (Veterano). |
|
Vencedor/Vencedora del Bastión del Pétalo Rojo |
Derrota a Rogerain el Astuto, a los portadores de artefactos y al prior Thierric Sarazen en el bastión del Pétalo Rojo. |
|
Victoria intachable |
Vence en todos los encuentros y derrota a Rogerain el Astuto, a los portadores de artefactos y al prior Thierric Sarazen en el bastión del Pétalo Rojo (Veterano) sin que ningún miembro del grupo muera. |
Guías relacionadas
Dungeons
Dread Cellar Dungeon Guide for ESO
The Dread Cellar Guide features everything you need to know about boss mechanics, which sets drop in the Dread Cellar dungeon, which rewards you can get and even shows a video on how to defeat the bosses!
hace 2 años
Dungeons
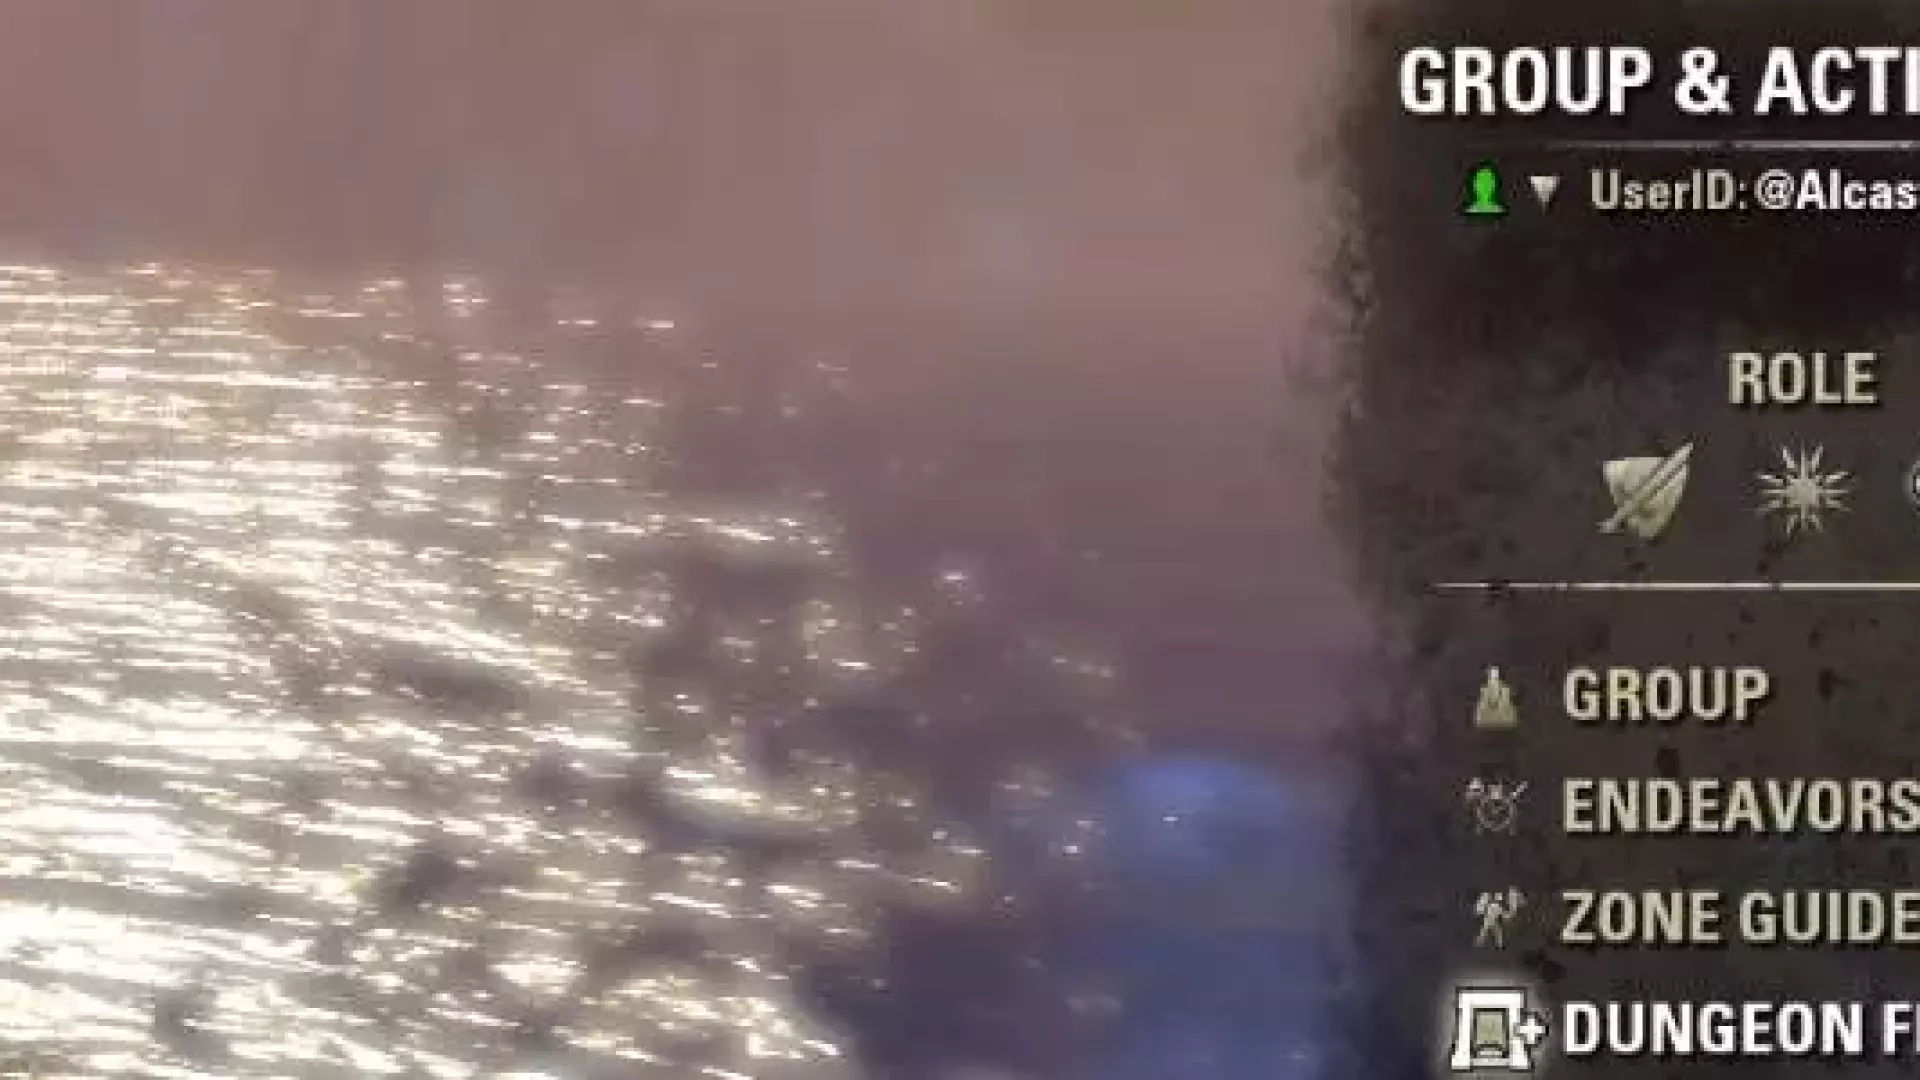
Dungeon Finder Guide - How to use the dungeon finder in ESO
This is the ESO Dungeon Finder Guide which will show you exactly how the Dungeon Finder works and how you can find a group in ESO!
hace 2 años
Dungeons
Shipwright's Regret Dungeon Guide for ESO
The ESO Shipwright's Regret Guide features everything you need to know about boss mechanics, which sets drop in the Shipwright's Regret dungeon, which rewards you can get and even shows a video on how to defeat the bosses!
hace 2 años