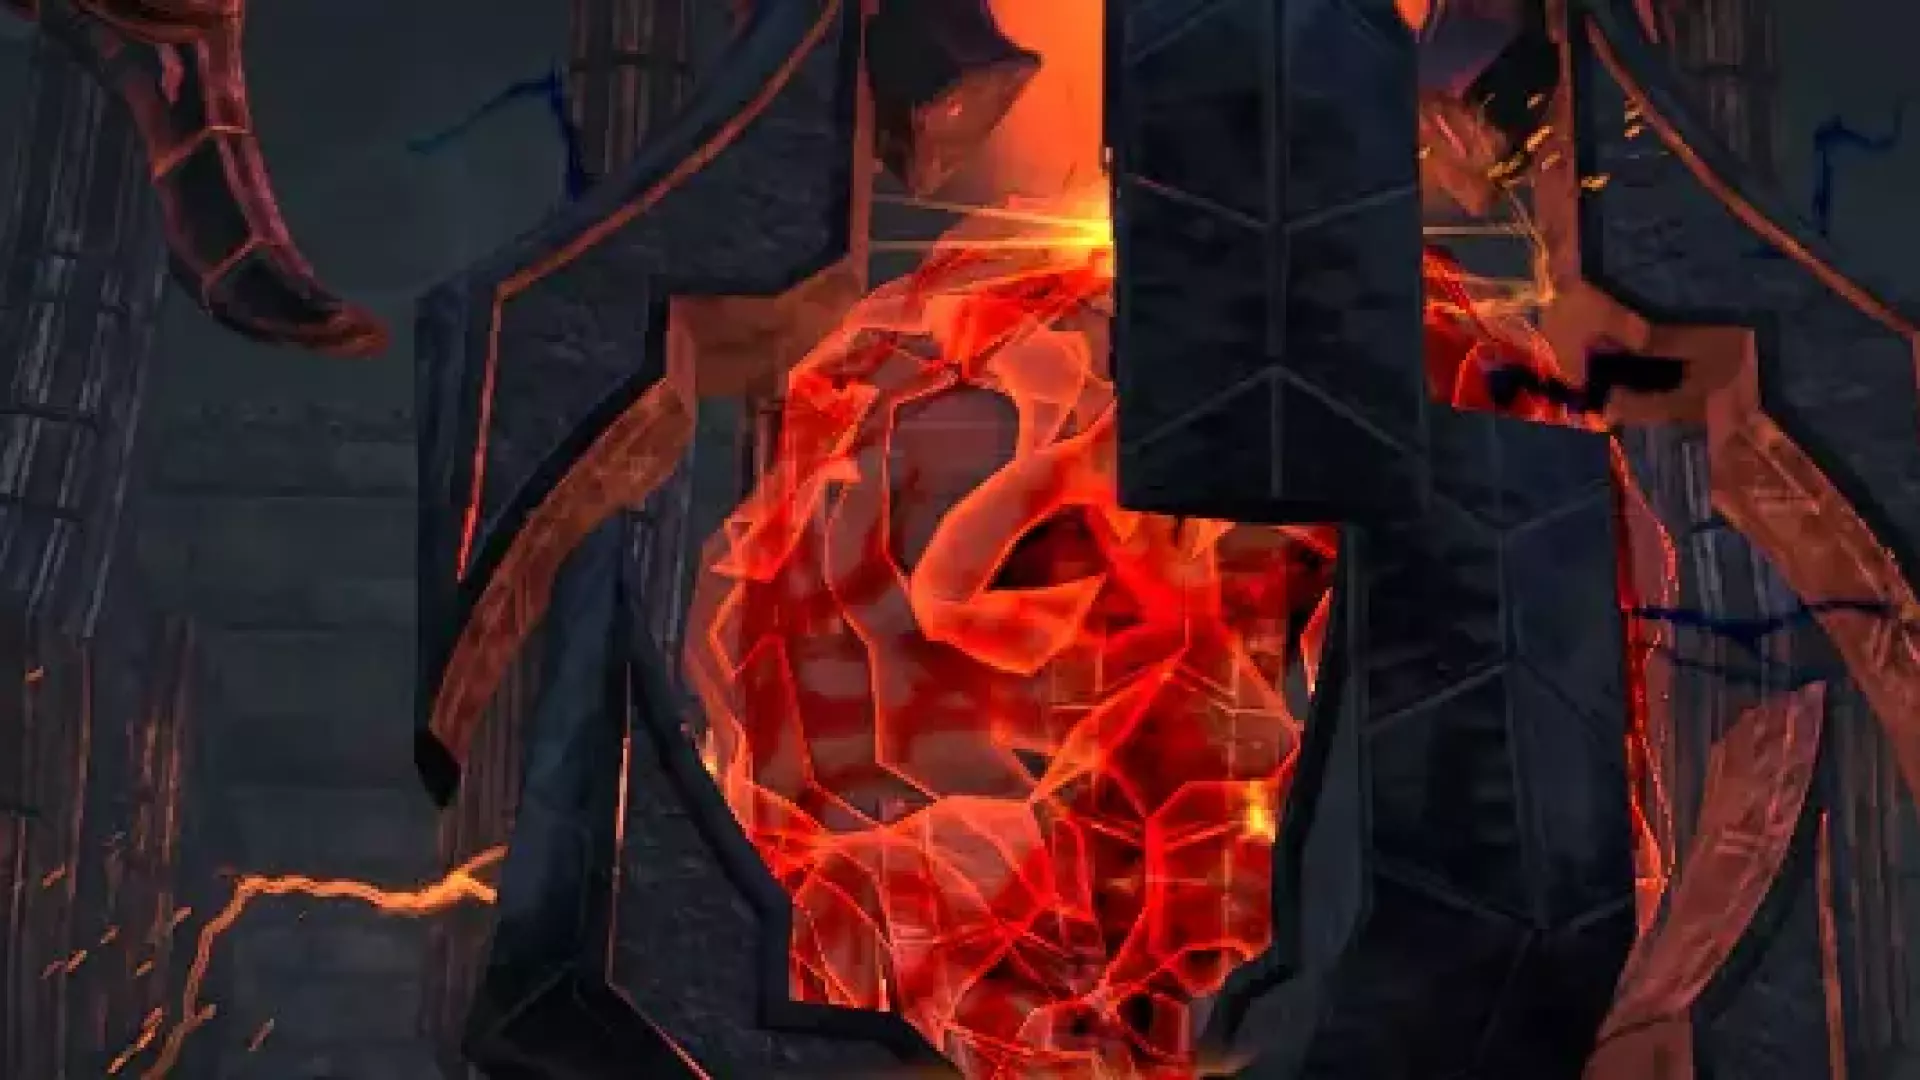
Red Petal Bastion Dungeon Guide for ESO
The Red Petal Bastion Guide for ESO features everything you need to know about boss mechanics, which sets drop there, which rewards you can get and even shows a video on how to defeat the bosses!
Table des matières
7 Chapitres
Succès liés à ce guide
21 Réalisations
|
Analyste arcanique |
Accomplissez le contenu facultatif du Bastion du Pétale rouge et de la Cave d'effroi. |
|
Capture de Rogerain |
Vainquez Rogerain le Rusé après avoir dressé l'Étendard de défi dans le Bastion du Pétale rouge Vétéran. |
|
Concurrent/Concurrente du Bastion du Pétale rouge |
Accomplissez les succès listés dans le Bastion du Pétale rouge. |
|
Conquérant/Conquérante du Bastion du Pétale rouge |
Vainquez Rogerain le Rusé, les Porteurs d'artefact et le Prieur Thierric Sarrasin dans le Bastion du Pétale rouge Vétéran. |
|
Crimes passés |
Vainquez le Prieur Thierric Sarrasin après avoir dressé l'étendard de défi dans le Bastion du Pétale rouge Vétéran. |
|
Entrechats hasardeux |
Déclenchez au moins 40 pièges dans une même rencontre contre les porteurs d'artefacts dans le Bastion du Pétale rouge Vétéran. |
|
Explorateur/Exploratrice de Waking flame |
Entrez dans le Bastion du Pétale rouge ou la Cave d'effroi pour la première fois. |
|
Le bastion brisé |
Vainquez toutes les rencontres en plus de Rogerain le Rusé, les Porteurs d'artefact et le Prieur Thierric Sarrasin après avoir placé les étendards de défi dans le Bastion du Pétale rouge en moins dE 25 minutes sans qu'un seul membre du groupe ne meure. Le chronomètre commence lorsque vous attaquez le premier groupe d'ennemis. |
|
Le siège le plus rapide au monde |
Vainquez toutes les rencontres en plus de Rogerain le Rusé, des Porteurs d'artefacts et du Prieur Thierric Sarrasin moins de 25 minutes après être entré dans le Bastion du Pétale rouge Vétéran. Votre chrono commence lorsque vous attaquez le premier groupe d'ennemis. |
|
Piétinement |
Évitez toutes les Ruées de glissement de terrain des doubles du Prieur Thierric dans le Bastion du Pétale rouge Vétéran. |
|
Pétale, tige et épine |
Vainquez Eliam Merric, Ihudir et Liramindrel après avoir dressé l'étendard de défi dans le Bastion du Pétale rouge Vétéran. |
|
Spéléologue de Waking flame |
Terminez le Bastion du Pétale rouge et la Cave d'effroi en difficulté Vétéran. |
|
Terreur fourbe |
Un membre du groupe doit recevoir 25 charges de Sauvagerie farouche pendant le combat contre Rogerain le Rusé dans le Bastion du Pétale rouge Vétéran. |
|
Tueur/Tueuse de façonneur de royaume |
Vainquez 50 Façonneurs de royaumes de la Rose d'argent dans le Bastion du Pétale rouge Vétéran. |
|
Tueur/Tueuse de la Rose d'argent |
Vainquez 200 Chevaliers et Monstres des reliques de la Rose d'argent dans le Bastion du Pétale rouge Vétéran. |
|
Vainqueur/Vainqueuse du Bastion du Pétale rouge |
Vainquez Rogerain le Rusé, les Porteurs d'artefact et le Prieur Thierric Sarrasin dans le Bastion du Pétale rouge. |
|
Victoire glorieuse |
Vainquez toutes les rencontres en plus de Rogerain le Rusé, les Porteurs d'artefacts et le Prieur Thierric Sarrasin dans le Bastion du Pétale rouge Vétéran sans qu'un seul membre du groupe ne meure. |
|
Échos de mort |
Entrez et acquérez le cristal d'animus Nagaia auprès de Goriseli Moraburo du Bastion du Pétale rouge. |
|
Échos de sagesse |
Entrez et acquérez le cristal d'animus Agea auprès de Goriseli Moraburo du Bastion du Pétale rouge. |
|
Échos de vie |
Entrez et acquérez le cristal d'animus Anya auprès de Goriseli Moraburo du Bastion du Pétale rouge. |
|
Éclaireur/Éclaireuse de Waking flame |
Terminez le Bastion du Pétale rouge et la Cave d'effroi en difficulté normale. |
Guides connexes
Donjons
Dread Cellar Dungeon Guide for ESO
The Dread Cellar Guide features everything you need to know about boss mechanics, which sets drop in the Dread Cellar dungeon, which rewards you can get and even shows a video on how to defeat the bosses!
il y a 2 ans
Donjons
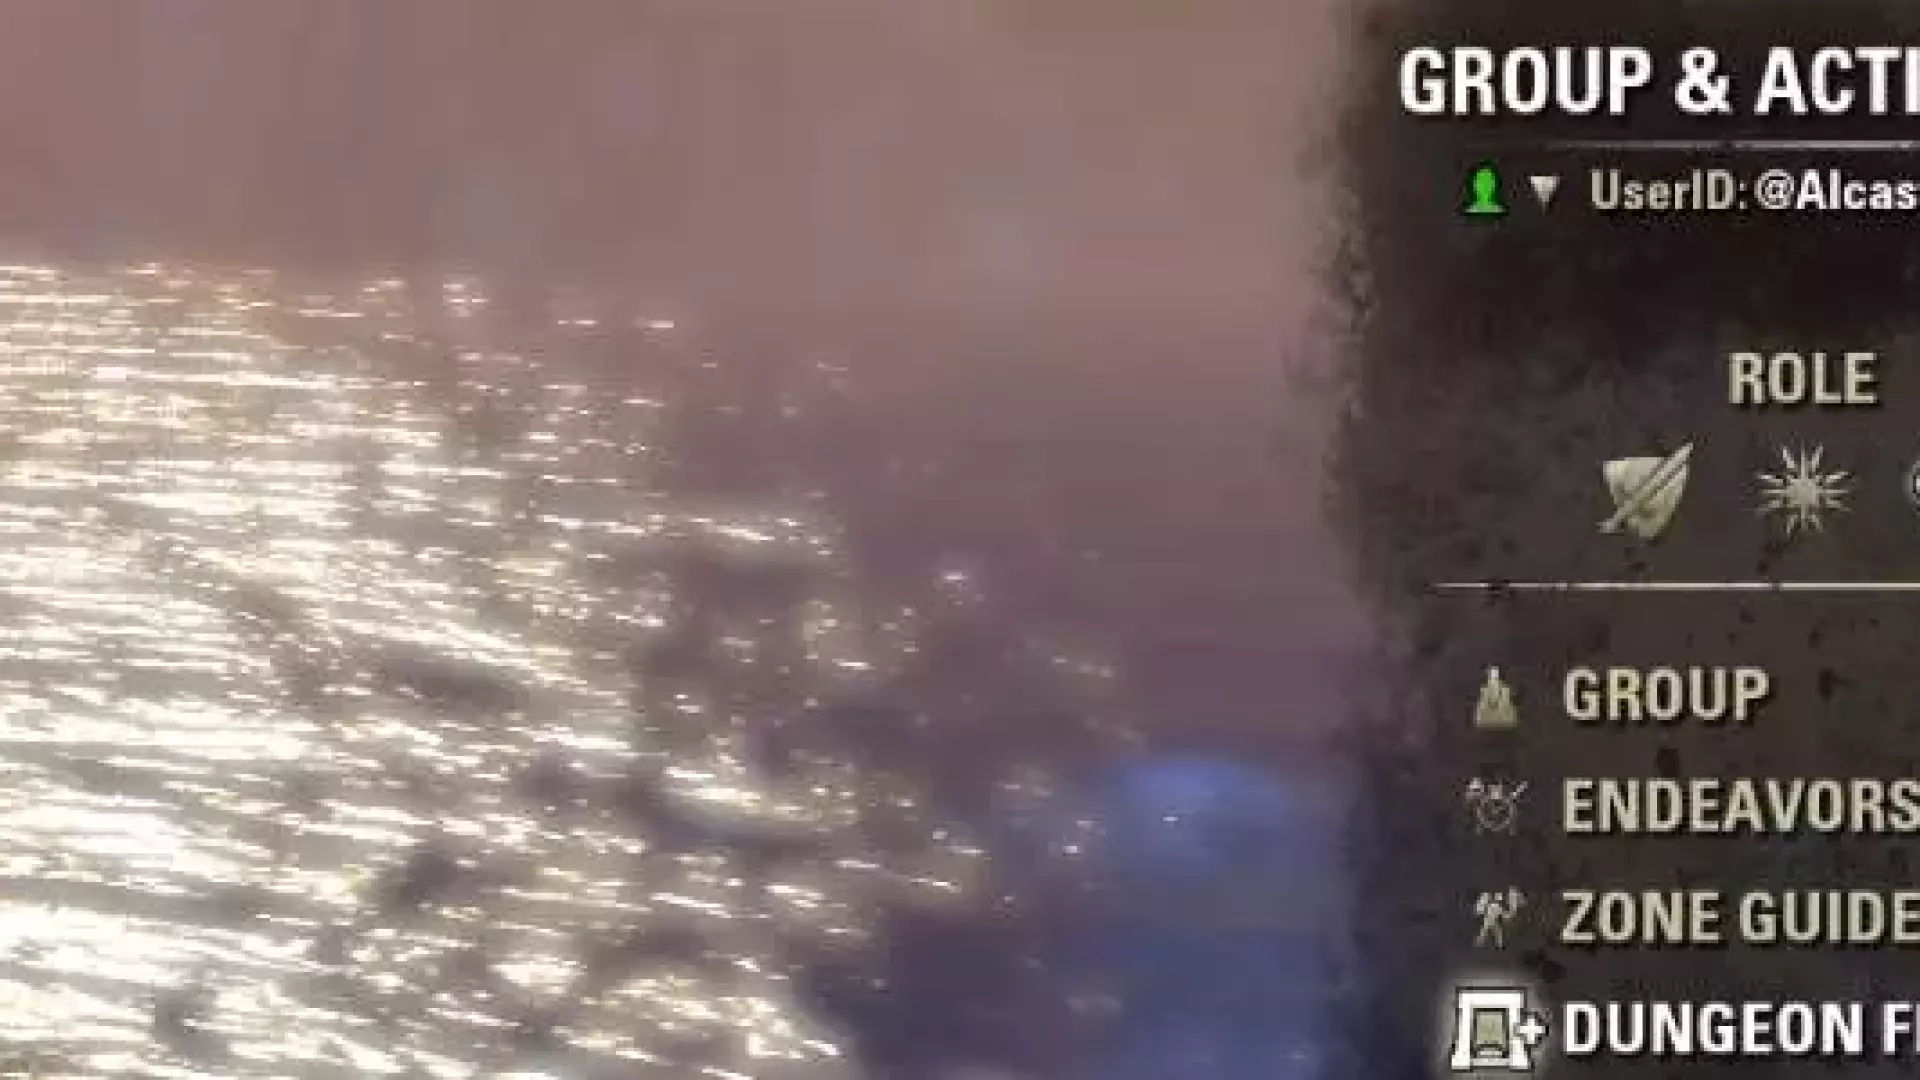
Dungeon Finder Guide - How to use the dungeon finder in ESO
This is the ESO Dungeon Finder Guide which will show you exactly how the Dungeon Finder works and how you can find a group in ESO!
il y a 2 ans
Donjons
Shipwright's Regret Dungeon Guide for ESO
The ESO Shipwright's Regret Guide features everything you need to know about boss mechanics, which sets drop in the Shipwright's Regret dungeon, which rewards you can get and even shows a video on how to defeat the bosses!
il y a 2 ans