Welcome to the Shipwright's Regret Dungeon Guide for ESO (Elder Scrolls Online). The Shipwright's Regret dungeon was added to the game with Update 33. It features both Normal and Veteran modes, as well as Hardmodes for each boss and secret bosses. Players can either use the Group & Activity Finder in order to enter the dungeon as a 4 player group, or select it from the northern Summerset map.
This Shipwright's Regret Guide features everything you need to know about boss mechanics, which sets drop there, which rewards you can get and even shows a video on how to defeat the bosses!
Sets & Rewards
Below you can find the new sets and rewards that will drop in the Shipwright's Regret dungeon.
Sets
You can find a total of four sets in the Shipwright's Regret Dungeon. One heavy, one medium, one light and a monster set.
- Storm-Cursed's Revenge
- Spriggan's Vigor
- Turning Tide
- Nazaray (Monster Set)
Achievements
For defeating the last boss on Hardmode, you will earn the title "Tide Turner" from Shove Off.
You can also earn the Title: “Shipwright” for Sans Spirit Support.
You will also be able to get a new dye called “Drowned Cobalt” for this achievement Ascending Tide Delver.
Additionally, there's also the Maormer Ocean Pearl for completing Seafaring Sleuth.
As Trifecta challenge Zero Regrets, you get rewarded with the title "Privateer".
Trashmonsters
You will find plenty of trashmonsters in the Shipwright's Regret Dungeon in ESO. Trashmonsters are enemies that can add to the difficulty and liveliness of a dungeon and are fillers in-between bosses. There's a couple of those in the Shipwright's Regret dungeon that are important and difficult, these are listed below.
Boss Overview
In this section of the Shipwright's RegretGuide for ESO (Elder Scrolls Online) we are going to take a look at the health of bosses that you encounter. There are a total of 3 bosses in this dungeon. There are also three secret bosses in the dungeon which will boost your stats, please visit the Secrets section of the Shipwright's Regret dungeon guide.
The values below are for the Normal and Veteran Hardmode version of Shipwright's Regret dungeon.
| Boss | Health | Adds |
| Foreman Bradiggan | 4’811’999/ 9’142’798 | Lots of various adds, Flesh Colossus |
| Nazaray | 6’014’998/ 12’631’496 | Lots of various adds |
| Captain Numirril | 7’819497/ 14’857’044 | Drowned Corpses & Drowned Hulks |
| Secret Bosses | ||
| Lost Maiden | 2’721’274 | Mirrored Images |
| Shrouded Axeman | 4’940’500 | Hounds |
| Storm-Cursed Sailor | 4’287’053 | - |
Bosses Shipwright's Regret
Foreman Bradiggan

Foreman Bradiggan is a ghost and the first boss in the Shipwright’s Regret dungeon in ESO. The boss will have several phases where he will spawn different types of monsters to aid him. Make sure that the tank will have an eye on what happens around them.
Paralyzing Fear: The boss will cast 4 large Area of Effects (AoEs) moving from him to the outside of the place you fight him at. This deals a moderate amount of damage and stuns you if you get hit by it.
Soul Bash: This is the bosses’ Heavy Attack. It is very powerful and should under all circumstances either be blocked or dodge rolled.
Possession: The boss will disappear at around 60% and 30% and cast a big AoE beneath the players that deals a lot of damage. Especially if you stack it with other players, so make sure not to stand together.
Flesh Colossus: When the boss vanishes, he will also summon a Flesh Colossus that will deal a high amount of damage, especially when it smashes the ground. It’s absolutely advised to bring any kind of healing to this fight. As soon as the Colossus dies, the boss will re-appear.
Adds: At different intervals, the boss will call upon aid to help him defeat the players. These should always be killed immediately. Try not to stack during the fight and keep bashing what you can.
Hardmode Mechanics
After the boss vanishes at around 30% and then returns, he will be casting an ability on two players which will cause a lot of damage if you do not mitigate it with another player. Meaning two players will have to stand together in order to mitigate the damage.
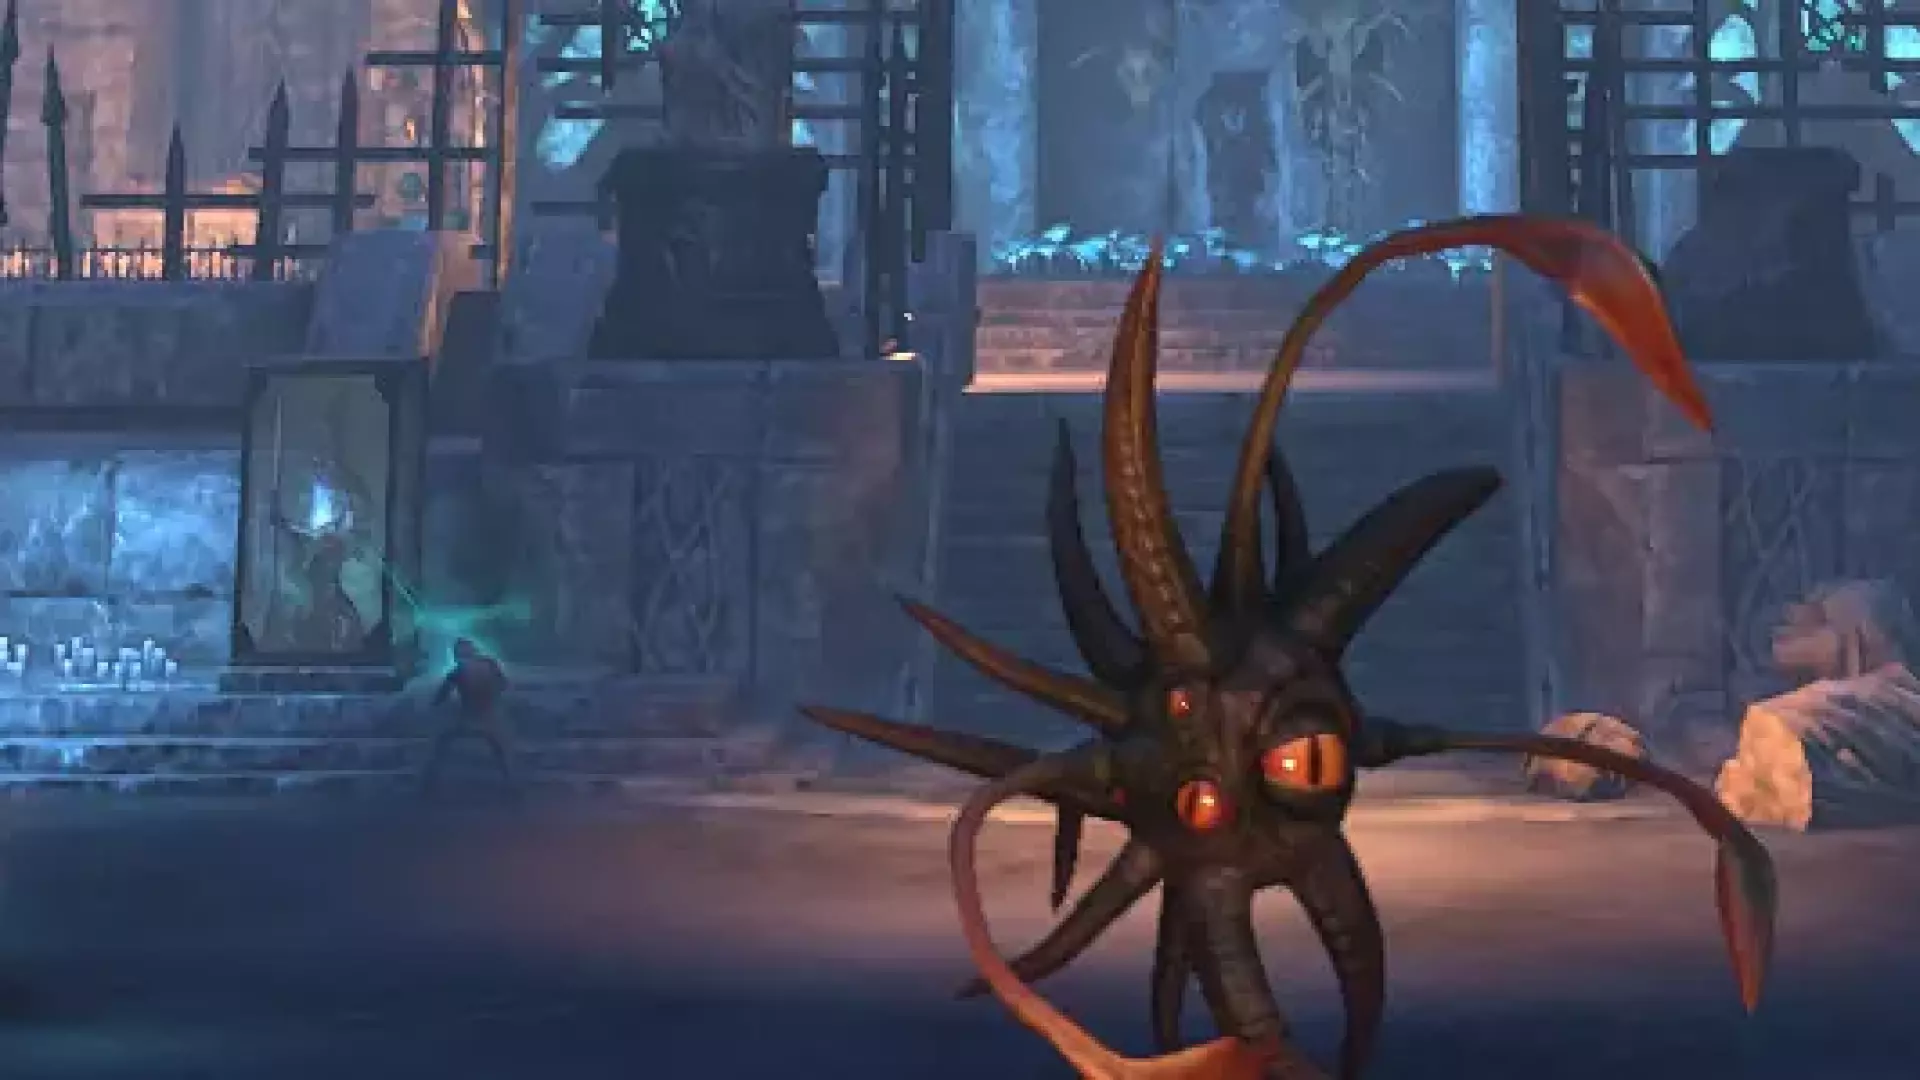
Nazaray
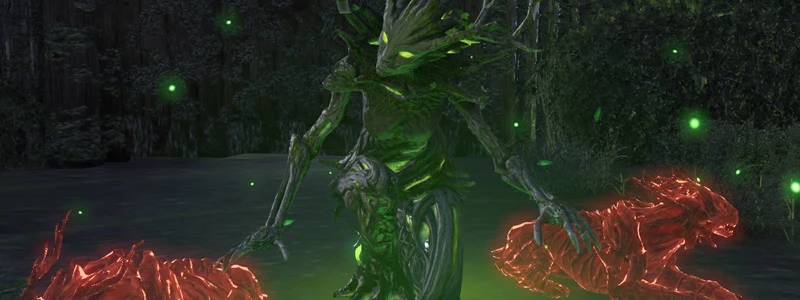
The second boss in Shipwright’s Regret dungeon in ESO is a giant spriggan. She is not an easy boss and can deal a ton of damage, which is why it is important not to go unprepared into a fight and either get a self-heal or have a reliable healer with you.
Bludgeon: This is an incredibly strong Heavy Attack. You can block it, but you might want to dodge-roll it. Since she will send an AoE directly afterwards, it’s good not to tank her facing the group.
Locust Rain: From time to time, locusts will fall down from the sky onto the players, causing quite a moderate amount of damage. Keep moving in order to avoid as much of the damage as possible.
Liquidate: These will be blue AoE pools that will appear on the ground. Standing in these will cause a lot of damage which is why it is better to avoid these.
Terra Twister: This will be a slow moving Aoe which can easily be avoided by stepping out of its way. Try not to stand in these or get hit by these, as they will cause unnecessary damage.
Adds: At different intervals this boss will spawn wasps that don’t need to be focused necessarily by the DPS, but can be killed by means of player-AoE. If your DPS doesn’t bring a lot of AoE to the table, they should definitely focus and kill them. Be careful with the Kindred Spirit that she will spawn at around 70% and 30% of her health, as these will cast very hurtful AoE cones.
Hardmode Mechanics
Untamed Kindred
From time to time, Nazaray will summon three senche-like looking Untamed Kindreds that will have a growing AoE under them and which will explode when they have reached their fullest point. This will kill the group, which is why it is important for the group to concentrate on one of them and kill that, so that the group has room to move there while the others can explode. Since they always spawn in the same spot, you can always pick the same spot to gather when the mechanic happens.
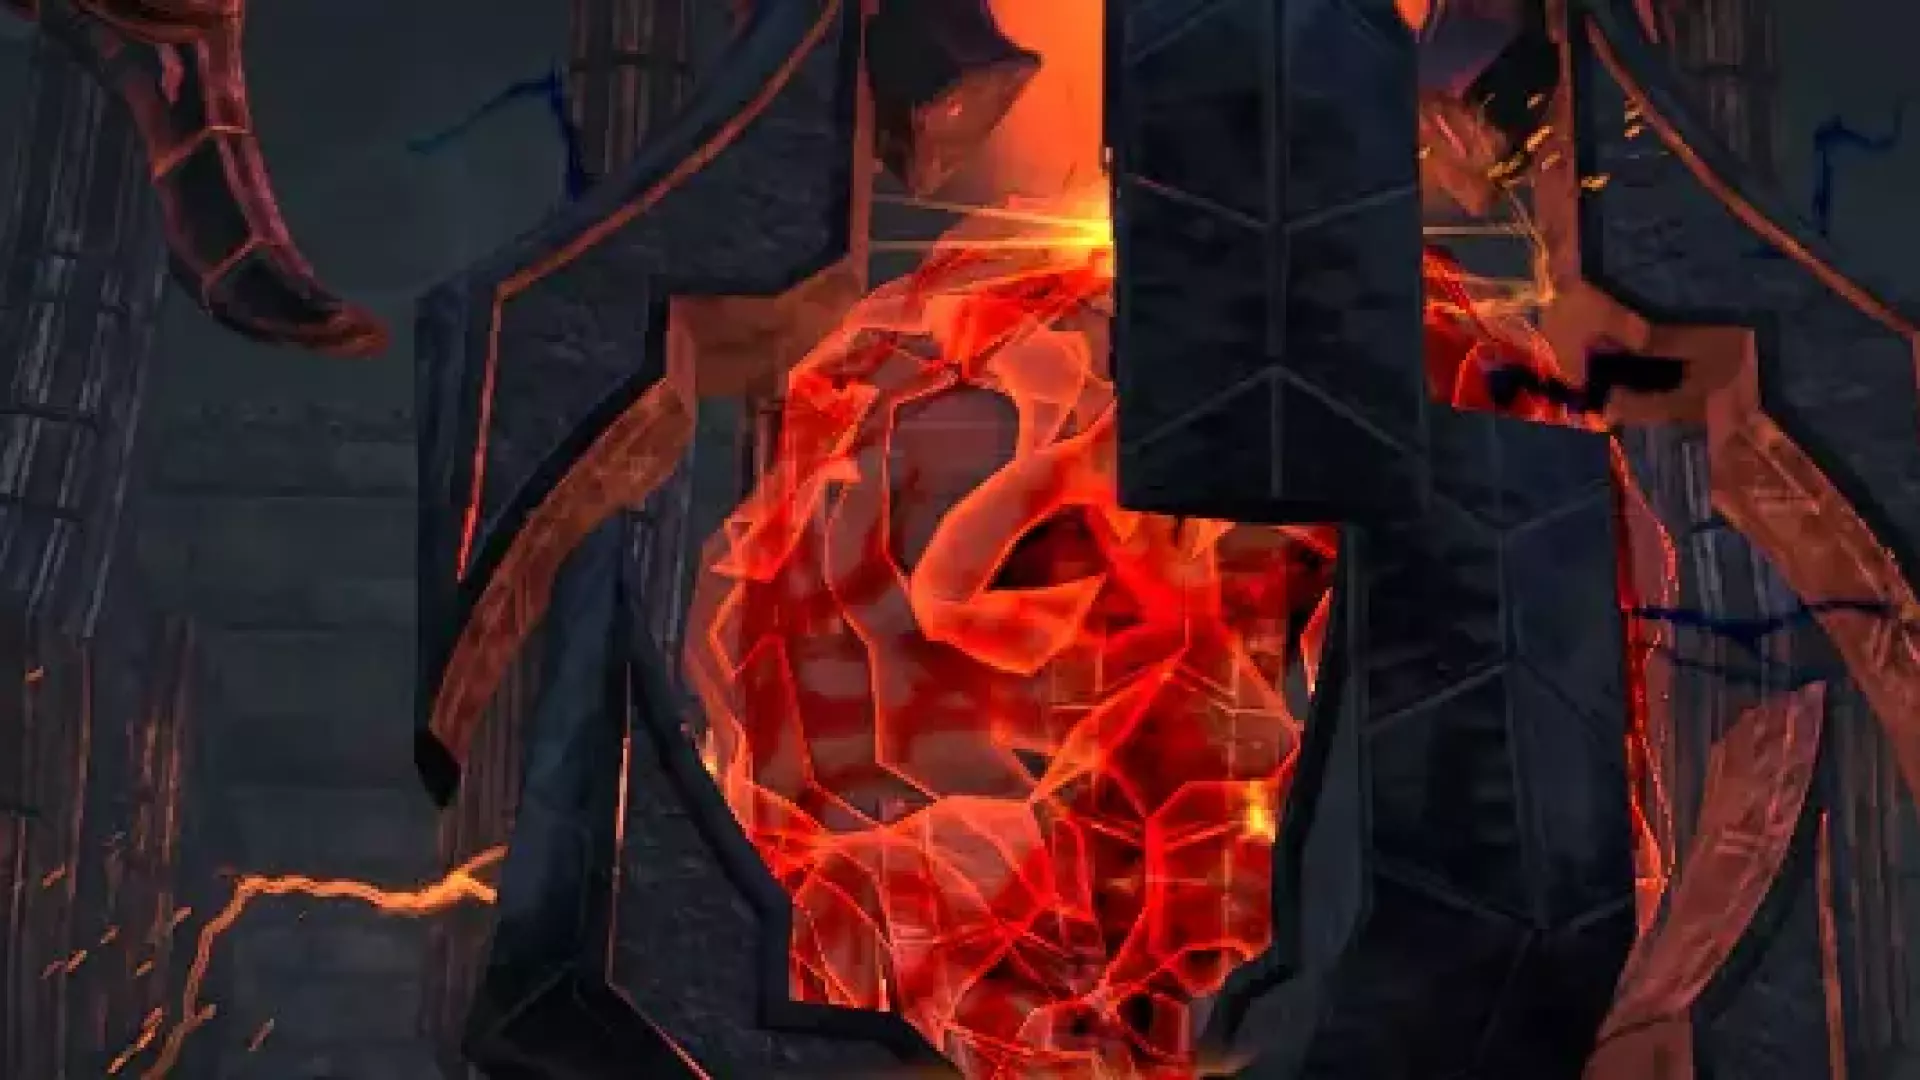
Captain Numirril
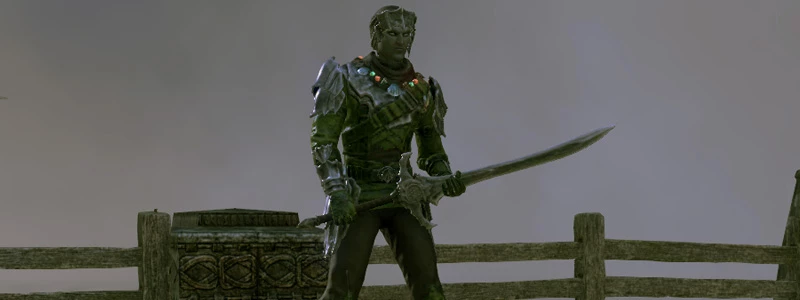
The last boss of the Shipwright’s Regret dungeon is Captain Numirril. Just like the second boss he knows how to deal a ton of damage and has a lot of mechanics that can be very confusing to less inexperienced players. There will also be adds joining him in his fight. Due to it also being a very small platform, this fight can definitely be a pain.
Drown: The boss will attempt to cast a spell on the one holding aggro (ideally the tank), which will lift them up in the air by a water-hand and will make them lose aggro. You can avoid this by dodge-rolling the spell.
Waves: At around 80% and 40% the boss will go outside of the platform and cast waves that wash over the platform and will wash away any bile in their way. Try to avoid them as they will deal a lot of damage and will make you tumble.
Spout: Casting a large AoE effect on the ground, this will hurt a lot if you get hit by them repeatedly. You can move the boss easily out of it and make him better reachable for anyone else.
Tidal Blow: This is a conal attack that the boss will cast in front of him with his sword. This can deal a moderate amount of damage and can be avoided by players not standing in front of the boss.
Jet: Yet another charge, this is random and is not targeted at any player. You should be aware of this mechanic though, as this can deal a lot of damage.
Adds: During this fight and at random intervals, the boss will spawn either Drowned Corpses or Drowned Hulks. The corpses spawn at the edge of the arena and start throwing at the players and spit a Bilepool onto the ground which you will have to avoid as they deal quite a moderate amount of damage. If you don’t kill them fast enough, they will flood the arena with their AoE.
The Drowned Hulk will spawn at around 80% and 40%. He is not only a great distraction, but also deals a ton of damage. The DPS and the tank should focus on the Hulk to kill him as fast as possible.
Hardmode Mechanics
Hardmode adds a ton more health to the boss, and the tank should be very agile during the fight, meaning that they will need to move around a lot so that the group can kill the Drowned Corpses while also damaging the boss. At around 40%, when he goes into his second phase, two instead of one Drowned Hulks will spawn and will add to the boss that will come back into the fight. At this point it seems crucial to kill the Drowned Corpses quikcly, as otherwise you will be overwhelmed with mechanics. As soon as you can, kill the hulks.
Video Gameplay
Full solo "Shipwright's Regret Dungeon" walkthrough on the Solo Magicka Templar Build on nomal mode.
Secret Bosses
Lost Maiden
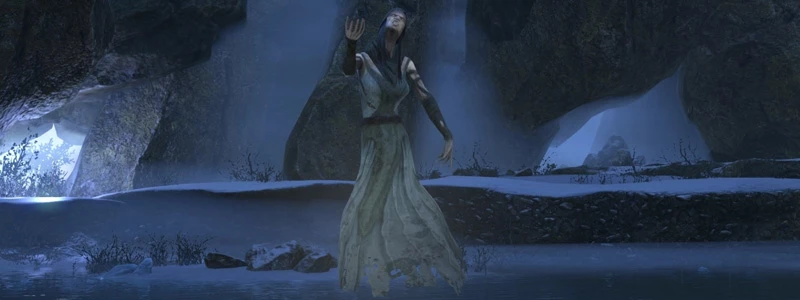
You will find the first mini-boss by reaching the end of the decayed village and entering the last house on the right, upside a hill. In there you will find a ghost, which will reveal a trapdoor in the ground which will lead to the Frigid Cavern.This boss is pretty straight forward. The tank should be aware of her cone-shaped shout that will cause a lot of damage and players should not stand in front of her, but otherwise the fight is not too hard. She has a Heavy Attack that deals a moderate amount of damage. The only special ability she has is becoming immune sometime mid-fight (it depends on how much DPS you bring to the table), which is when she will call three reflections to her aid. These will have to be killed before you can continue attacking her.
Shrouded Axeman
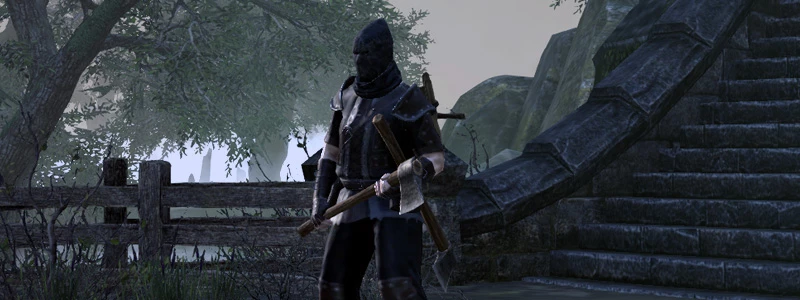
The Shrouded Axeman is the second mini-boss in this dungeon and you will find him by turning towards a waterfall from the way to the last boss. You will see a ghost of an axeman to your right and then you have to go through the waterfall to get to a mill and a graveyard where the Shrouded Axeman will be waiting for you.
The Shrouded Axeman definitely packs a punch and should be aggroed by the tank. His Heavy Attack hits really hard and should either be blocked or dodge-rolled. Right at the beginning, the boss will spawn two dogs that will attack a random player. Do not stand together during this fight. If you do, these dogs will be able to kill the entire group. After a while he will disappear and summon four shades of him, which will all four be casting powerful ground AoEs. Kill these shades as fast as possible! When the axeman returns he will explode all remaining AoEs, so make sure not to stand in them.
Storm-Cursed Sailor

When you enter the last area of the dungeon, at the docks to your right you will see two ghosts that will lead you to the last mini-boss that is waiting behind a ship on a platform emerging from the water.
This boss can be confusing as you have to fight him on a small platform and he deals quite a lot of damage to everyone in the group. Be aware of his powerful Heavy Attack, as well as his Lightning damage. If a player gets Conduit (a lightning AoE around them) they should not stand in the midst of the group and players should not stand in it, as this can cause quite a lot of damage to anyone standing in it.
Secret Boss Buffs
In Shipwright's Regret Dungeon, killing each mini-boss will grant you an additional buff which will boost your character and support you in mastering the dungeon.
Maiden’s Protection
- Increases Max Magicka by 10%
- When health reaches 10% or less, you cast Outburst, gaining a temporary damage shield. Outburst has a 30s cooldown.
Shroud of the Axeman
- Max Health increased by 10%
- When hit by an attack that consumes 50% or more of your total health cast Shrouded, increasing healing done by 100% for 5s. Shrouded has a 30s cooldown.
Storm’s Cursed
- Max Stamina increased by 10%
- Your heavy attacks gain Curse of the Storm, dealing 6000 additional lightning damage to your target.