Welcome to the Coral Aerie Dungeon Guide for ESO (Elder Scrolls Online). The Coral Aerie dungeon was added to the game with Update 33 Ascending Tide DLC. It features both Normal and Veteran modes, as well as Hardmodes for each boss and secret bosses. Players can either use the Group & Activity Finder in order to enter the dungeon as a 4 player group, or select it from the northern Summerset map.
This Coral Aerie Guide features everything you need to know about boss mechanics, which sets drop there, which rewards you can get and even shows a video on how to defeat the bosses!
Sets & Rewards
Let's take a look at the sets and rewards that you can get in the Coral Aerie Dungeon in ESO.
Sets in the Coral Aerie Dungeon in ESO
You can find a total of four sets in the Coral Aerie Dungeon. One heavy, one medium, one light and a monster set.
- Maligalig's Maelstrom
- Gryphon's Reprisal
- Glacial Guardian
- Kargaeda (Monster Set)
Achievements
For achievements please look at the bottom of this guide. They are listed there in detail.
Rewards in the Coral Aerie Dungeon in ESO
For defeating the last boss on Hardmode, you will earn the title "Gryphon Handler" from Superior Pedigree.
You can also earn the Title: “Aerie Ascender” for Tentacless Triumph.
For defeating the dungeon on Veteran mode and killing all bosses, you will get the achievement Coral Aerie Conqueror which will give you the Memento: Guardian's Frozen Shard
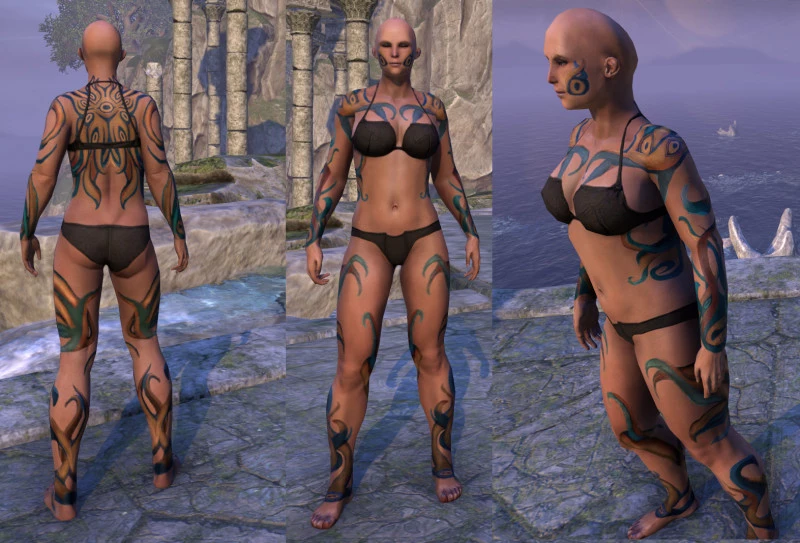
You will also be able to get a new dye called “Drowned Cobalt” for this achievement Ascending Tide Delver.
Additionally, there's also the Maormer Ocean Pearl for completing Seafaring Sleuth.
As Trifecta challenge Land, Air, and Sea Supremacy, you get rewarded with the title Coral Caretaker.
Trashmonsters
You will find plenty of trashmonsters in the Coral Aerie Dungeon in ESO. Trashmonsters are enemies that can add to the difficulty and liveliness of a dungeon and are fillers in-between bosses. There's a couple of those in the Coral Aerie dungeon that are important and difficult, these are listed below.
Yaghra Larva, Yaghra Spewer, Yaghra Strider, Ascendant Vanguard, Ascendant Archer, Ascendant Cryomancer: These are pretty generic and can usually be killed by AoE. They should be pulled in though, so that they can melt in the group's AoE.Yaghra Monstrosity, Ascendent Defender, Gryphon, Coral Drift Bear: These can be very dangerous to the group and should be tanked immediately, facing away from the group.
Bosses Overview
In this section of the Coral Aerie Guide for ESO we are going to take a look at the health of bosses that you encounter. There are a total of 6 bosses in this dungeon, 3 that are mandatory and 3 are optional secret bosses. Killing the optional secret bosses will actually boost your stats, please visit the Secret Bosses section of the guide.
The values below are for the veteran version of Coral Aerie dungeon.
| Boss | Health | Adds |
| Maligalig | 9’022’496/ 9’022’496 | Various |
| Sarydil | 4’089’973/ 11’193’612 | Various |
| Varallion | 7’518’747/ 14’661’558 | Gryphons |
| Secret Bosses | ||
| Sword Guardian | 2’869’154 | - |
| Staff Guardian | 2’869’154 | - |
| Shield Guardian | 2’869’154 | - |
| Z'baza | 6’014’998 | Tendrils |
Bosses in Coral Aerie
Maligalig
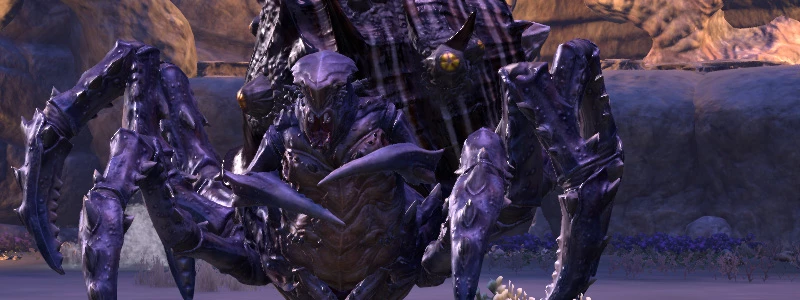
Maligalig is the first boss in the Coral Aerie dungeon. She is a giant Yaghra Monstrosity, which has some very unique skills. As you can see from entering the room, it doesn’t seem to be quite dry, which will play a vital role in fighting the boss.
Barbed Lance: This is her Heavy Attack. It can deal a lot of damage if not blocked. Ideally, the tank will be the only one getting this.
Stomp: From time to time she will stomp her butt on the ground and a pink cloud will surround her and escape in all directions. This will call forth her Yaghra Larva.Yaghra LarvaThese larvae will attack the player with the mark over the head. They will run up to them and explode, which is called Toxic Burst. Be careful and dodgeroll out of this when they have run over to you.
Storm Cell: This spawns on one player, which will cause a lot of damage to all players standing too close. Storm Cells can be dispersed by moving the small, player-targeted storm inside the large, roaming storm. That way you can avoid taking too much damage and eventually killing other players by too heavy movement.
Surging Waters: At around 70% and 35% Maligalig will cast a spell to make the arena run over with water and it will toss and turn you around. You will be able to interact with fontana's that will bring you onto a platform where a couple of enemies are waiting. Before these aren’t killed, you can’t continue in the bossfight.
Ripple of Maligalig: These need to be killed in order to continue killing the boss. There will be a couple of random mobs on the platform as well which won’t have #1 priority, but can be easily killed on the side and will most likely die during AOE. The Ripples don’t need to be tanked, as they are focused on casting the surge. When the adds are left alone, they will die as soon as the Ripple dies, which in turn means the tank can also just tank them away from the group.
Hardmode Mechanics
Hardmode adds a few new mechanics.
Building Static: During the Surging Waters mechanic, players will also now receive a debuff called Building Static. This will remain for the duration of staying outside of the water, it can only be exhausted by staying in the water. Since you will have to deal with this while killing the three Ripple of Maligalig during hardmode, this will add to the challenge of killing all adds. While you are in the tide though, you will also take damage, so take this into account.
It is advised that you do not kill the Ripples all at once, since the static builds up and will cause more damage over time, so changing platforms after some buildup is good. Also, try to take the second Surging Waters synergy to catapult you out of the water, as this will allow the tank to approach the adds from a bit further away, instead of directly standing in them upon arrival.
Sarydil
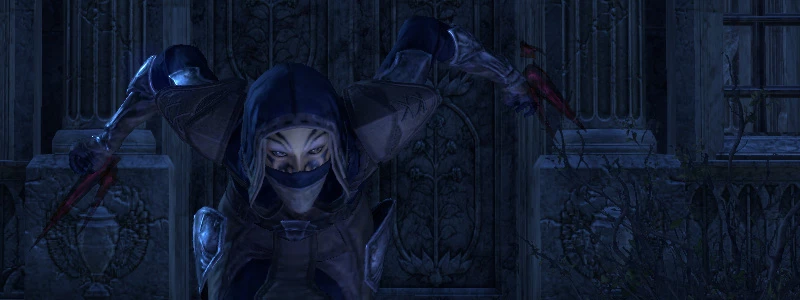
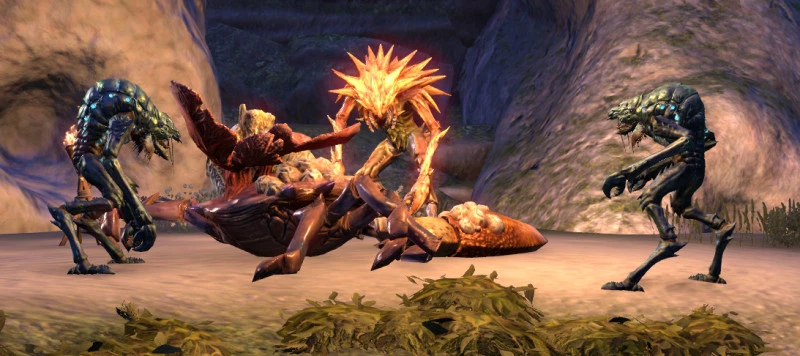
Sarydil is an assassin by all means. Her skills seem unmatched and even on normal you can see that she loves to play with the players and would like nothing more than to see them dead.
Assault: This is an ability which will teleport her to you and is usually followed by Brand, which is an intense Heavy Attack and is combined with a fire DoT. In order to avoid this, the one holding aggro (ideally the tank) should not be standing away too far, or should at least be prepared that this attack will be incoming.
Blast Powder: During the fight, Sarydil will spread firepools on the ground, which she will explode after a while. These deal a lot of damage and should not have any impact on the player. Standing in them is just generally a bad idea.
Adds: During the fight, at around 70%, Sarydil will go back up from where she joined the fight, and her archers will focus on a random player, as does she. There will also be a couple of archers joining in the arena. At around 35% there will even be a bigger add joining the fight, making the tank quite busy.
Trap Explosion: At the end of her phase of going upward, she will have the traps explode that she threw across the arena. Be sure to find a safe spot, otherwise you will die.
Pinpoint: This is an ability which will focus all archers on you that now have jumped down, meaning you get randomly targeted by all archers at once. This deals a lot of damage and can be stopped by interrupting the shadowy assassins. Otherwise they will continue until the target is dead.
Target Mark: During the fight a random player will receive a target mark. This will make the player drop traps in a short interval of time. By walking backwards you can drop them slowly along the sides of the wall or wherever you deem fit where they don’t interfere with the others.
Hardmode Mechanics
Hardmode doesn’t add any more mechanics, but makes everything harder and more resistant, which means that you will have to deal with a ton of adds all the time.
There will also be a new type of adds, so-called Ascendent Stormshapers. These need to be constantly interrupted, otherwise they will wreak havoc in the group as their abilities are a pain. They can spawn large fields of lightning AoE, which take away from the already limited space. At this point it is not worth killing them, for as long as they keep getting interrupted, they aren’t that much of a bother.
Varallion
Varallion is the last boss of this dungeon. He will be standing in an arena-like area with a sandy platform surrounded by shallow water. In the back you can see gryphons, the same kind which you have fought earlier in the dungeon.
Obliterate: This is the bosses’ Heavy Attack, but it’s not that powerful, meaning it doesn’t deal a lot of damage. Blocking this should be do-able by any player, not just the tank, and they will still be able to survive.
Sea Orb: From time to time, the boss will spawn a Crashing Wave which will randomly sweep across the island, dealing a lot of damage.
Mental Wound: This is a DoT which the boss will cast on the players and which can only be healed. It deals a relatively low amount of damage, but should be taken into consideration when dealing with the other mechanics of this boss.
Gryphons-Bleeding: The gryphons spawning will target the players with a bleeding effect, which is why they should be tanked immediately by the tank, and killed as soon as possible.
Lightning StormIliata, one of the gryphons, can cast down Lightning Storm on the group. This will deal a moderate amount of damage, which is why it is important to relocate the boss and his gryphon outside of the static field that the gryphon will place once Iliata has entered the arena.
Tornado-Mafremare, the last gryphon, is able to summon two tornadoes. These can interrupt the fight extremely, which is why it is important to kill the gryphon as soon as possible. Players should take care of not stepping into these tornadoes.
Hardmode Mechanics
In Hardmode, the waves will come from any side around the circle, and will overlap like a T. Also, the gryphons will overlap, so it’s important that the tank will be able to hold the boss plus the gryphons.
Tether: Another mechanic is that two players will be tethered during the fight. This bond can not be broken, and the two players connected should stay as closely together as possible as this will cause a lot of damage over time and that way it’s easier to heal them.
At around 30% boss health, Kargaeda, a huge gryphon will enter the arena. At around the same time, a huge water fountain will also spawn, shooting out lightning pools and separating the circle in fourths, with players having to move with them. In this phase anything is possible, as all mechanics will happen at the same time.
Video Gameplay
This is a video of a Solo Run in Coral Aerie with a Magicka Dragonknight Build in ESO.
Secret Bosses
In order to find each side-boss you have to take a look around the Coral Aerie dungeon and find little entrances to a cave with three platforms. In the center you can see a giant slug, a so-called Sload. She seems to be a prisoner and is guarded by magically alive guardians, which you have to fight in order to release the prisoner from her bonds.
Sword Guardian
Sword GuardianThe first mini-boss you stumble upon is the Sword Guardian. He is a two-handed side boss that will give you the full force of his weapon. You can find him before you come to the first boss called Maligalig.Lucent FlameUpon engaging with the Sword Guardian, he will cast a field around every player that looks like a lightning charge and deals some damage, but is a Damage Over Time (DOT) ability that is called Lucent Burst. It should be easy to heal up against.Radiant ShowerFrom time to time the Sword Guardian will lift his sword up in the air and will start shining brightly. He will then have a Radiant Shower with lightning spikes raining down from the skies. This already deals a lot of damage, so try avoiding standing in them. These spikes will burst after a while and cause a ton of damage! Make sure to don’t stand idly around and walk out of these spikes.UpthrustThis is the mini-bosses heavy attack. This should be absolutely blocked or dodge-rolled. Otherwise this will kill the player it hits as it really packs a punch and will most likely kill any normal player that is not a tank despite being blocked.
Staff Guardian
Staff GuardianThe Staff Guardian is the second mini-boss you can find in the dungeon after you have defeated Maligalig.Entropic FunnelAs soon as you enter combat, the Staff Guardian will cast something that looks like plasma bubbles, with a giant Area of Effect (AoE). Do not stand in these. These will cause a ton of damage to the player and should be avoided. After a while the boss will have these implode and the boss relocates randomly to a different spot on the plateau.ShockThis is the bosses ranged Light Attack and it already deals a lot of damage.Staff StrikeThis is the bosses melee Light Attack and also deals a lot of damage on its own.
Shield Guardian
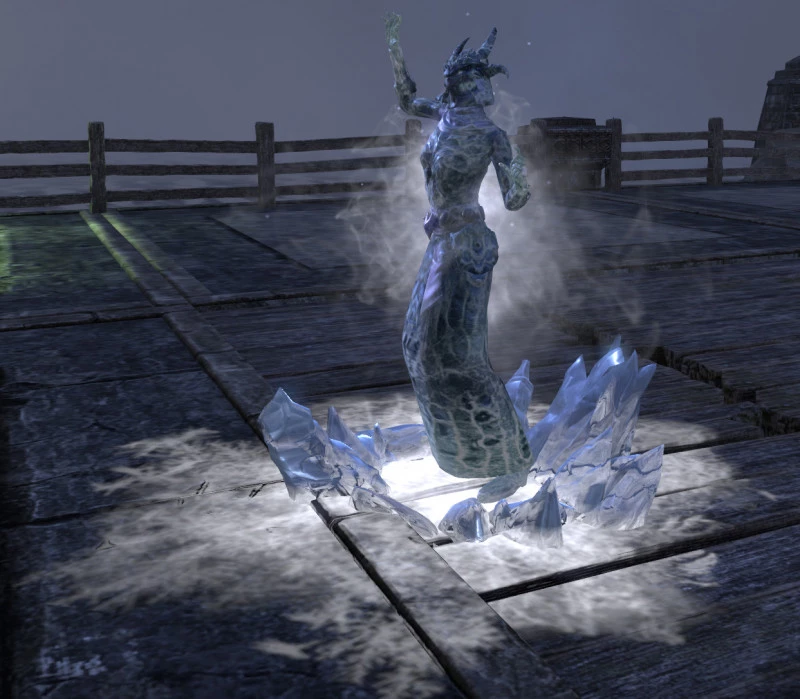
Shield GuardianThe last of the mini-bosses before facing the Sload, this mini-boss hits REALLY hard. The tank should make good practice of keeping this boss taunted at all times, otherwise other players may soon face inevitable death.Strike/SweepThese are two of his basic attacks. Which doesn’t mean they hit lightly. In fact only the tank should receive the bashing from these, otherwise it might very well kill another player.Channeled ImmunityAt around 50%, the mini-boss will split into several parts which will give him an immunity shield. These images have to be destroyed before you can continue your attacks on the mini-boss. They have an ice aura which will chill the players and cause a DoT effect.Heavy AttackSince this moni-boss already hits hard, his Heavy Attack is extremely painful. It might even kill a tank, so best advice is to dodge-roll this on time.
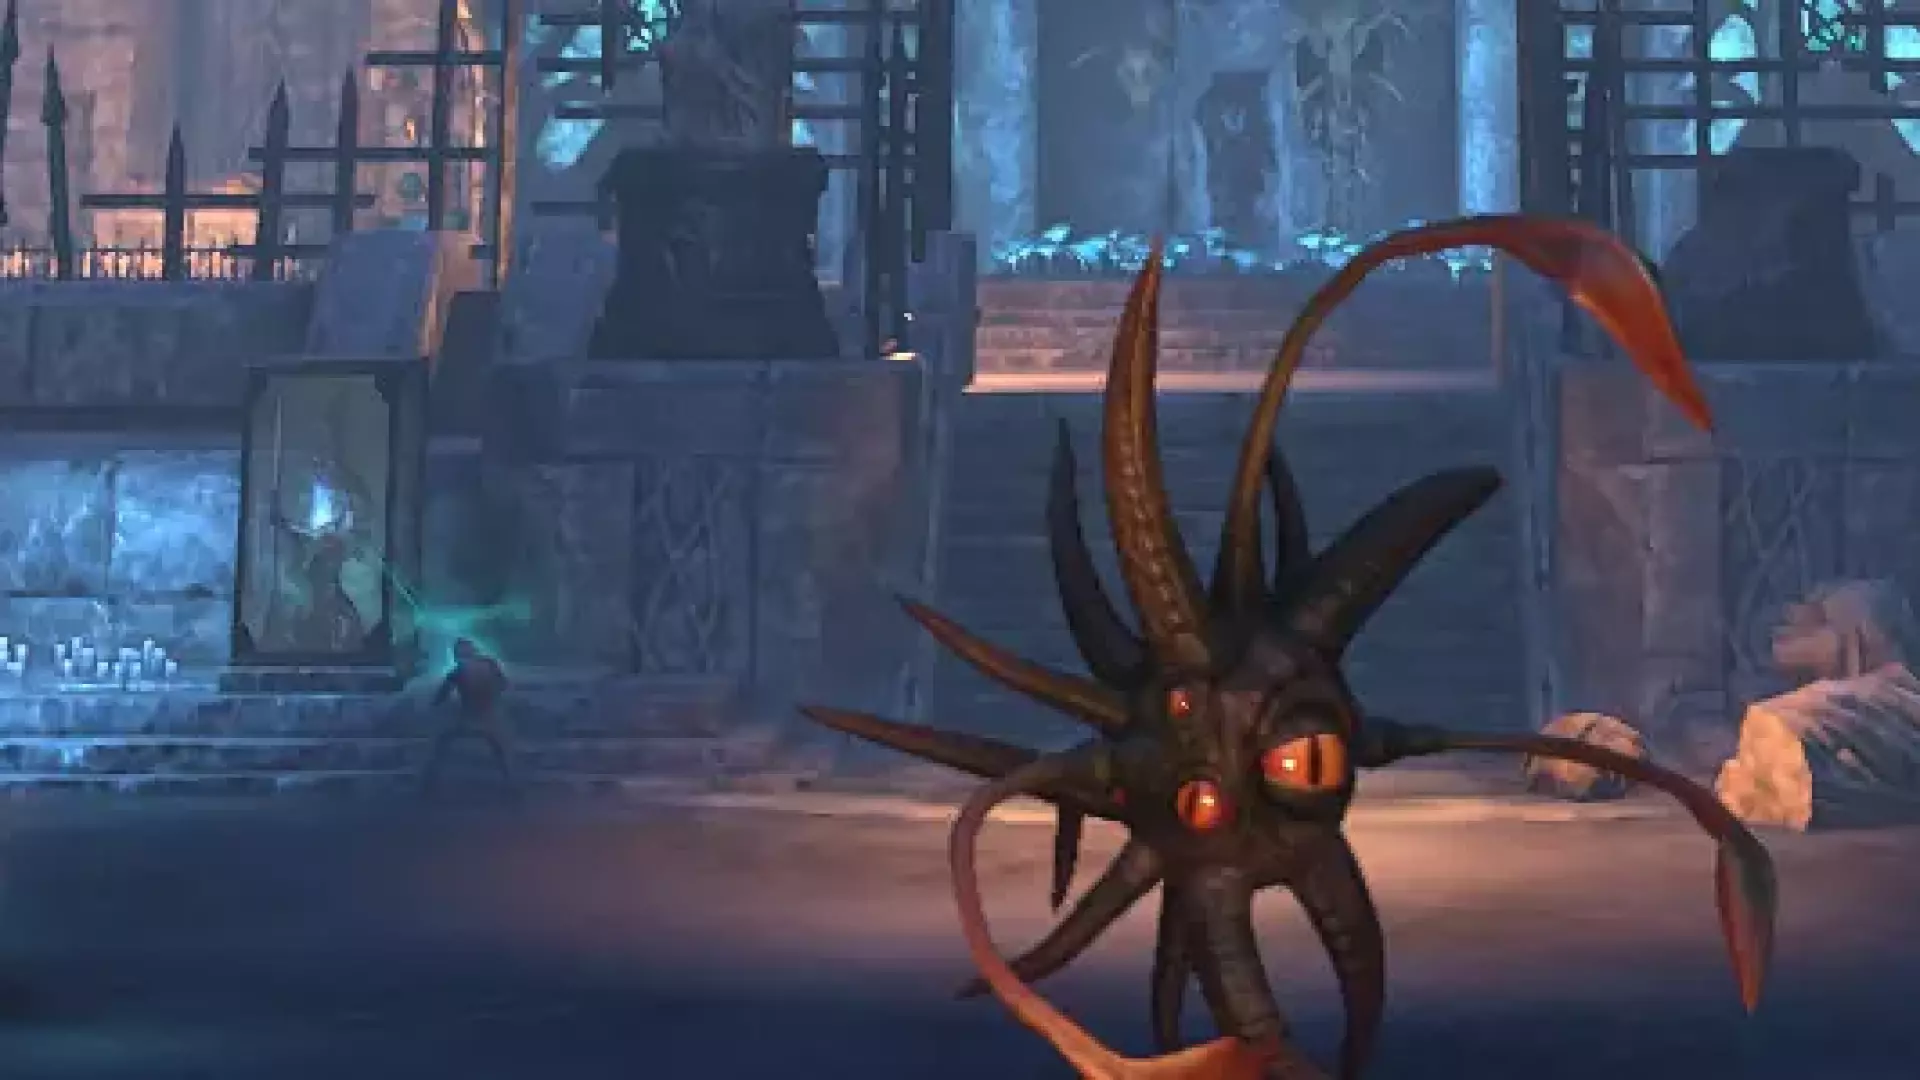
Z'baza
Secret Boss Buffs
For each secret boss defeated in Coral Aerie dungeon in ESO you will receive a buff to help you fight enemies and bosses in the Coral Aerie dungeon. Here's a list of the buffs you will receive:
Sword Guardian Buff
- Sword Covenant: Weapon and Spell Critical increased by 10%
Staff Guardian Buff
- Staff Covenant: Max Magicka and Stamina increased by 10%
Shield Guardian Buff
- Shield Covenant: Max Health increased by 10%