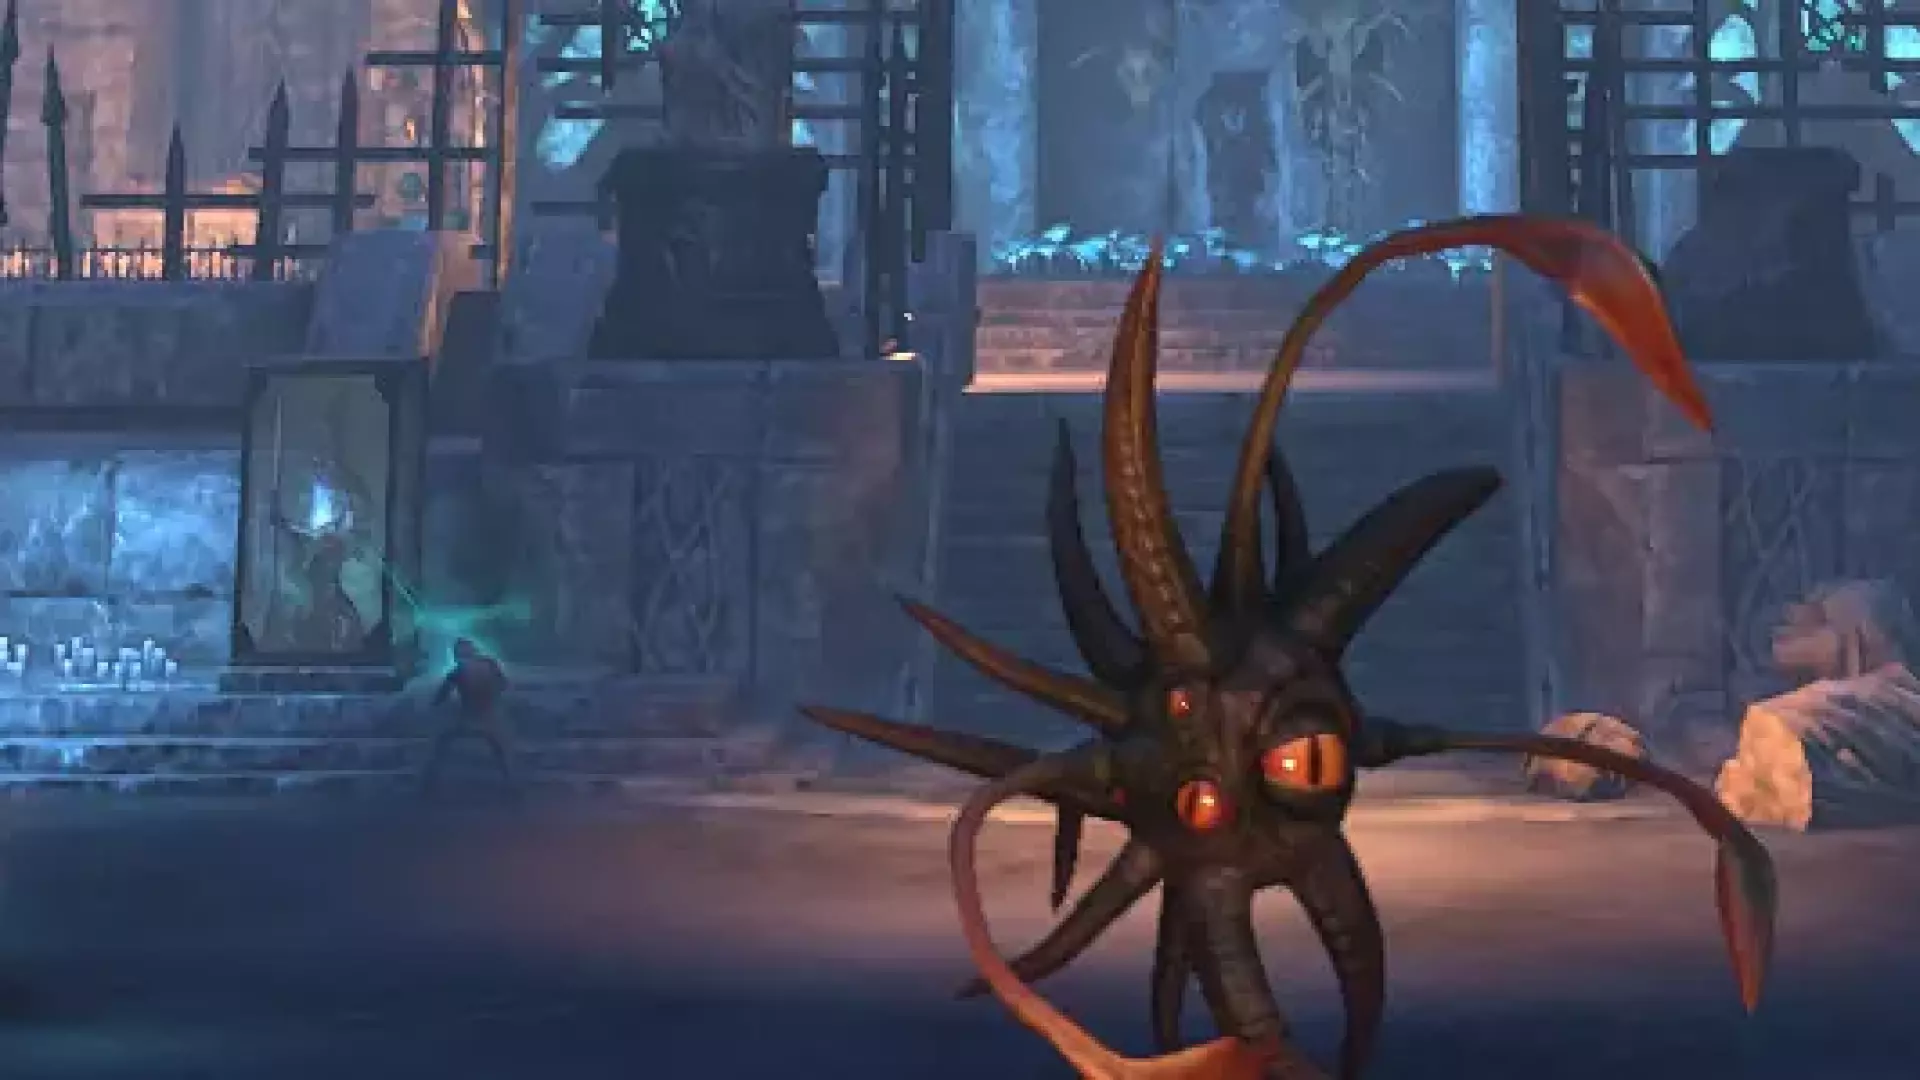
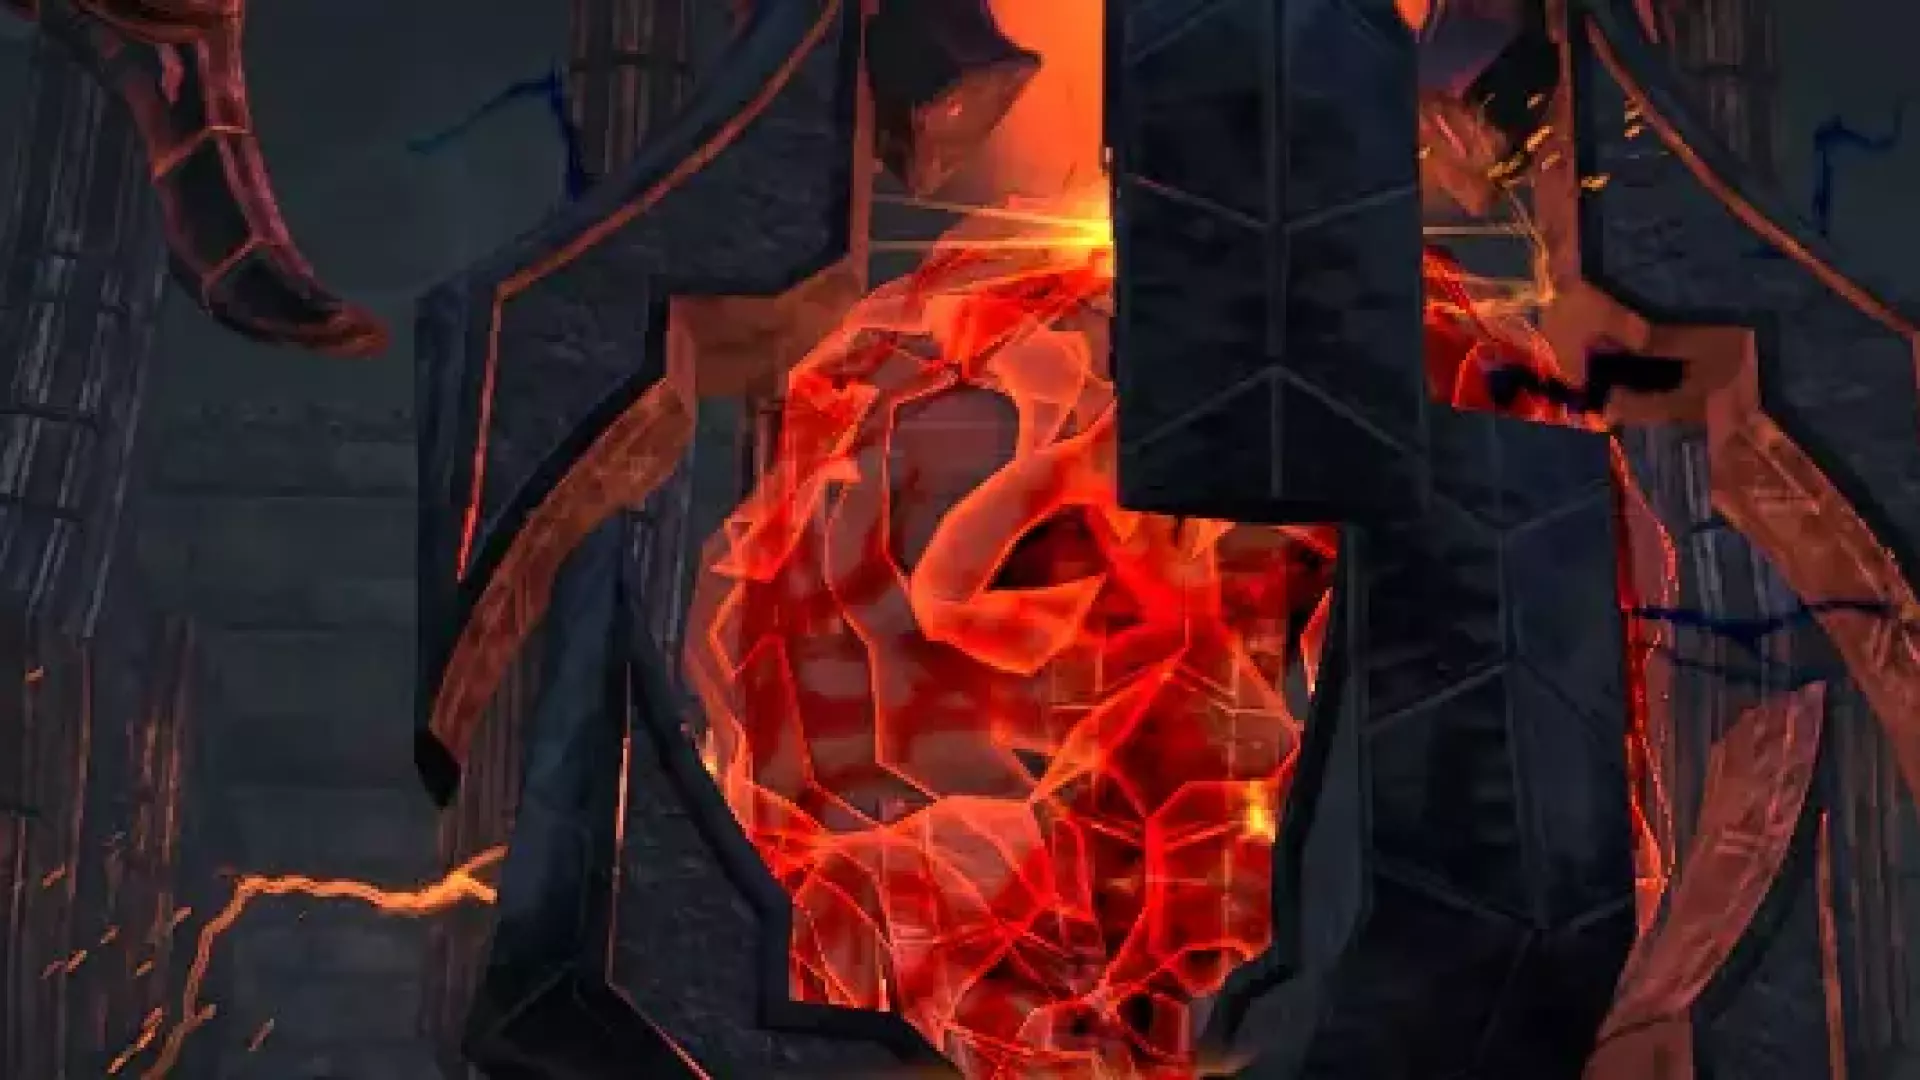
Coral Aerie Dungeon Guide for ESO
The ESO Coral Aerie Guide features everything you need to know about boss mechanics, which sets drop in the Coral Aerie dungeon, which rewards you can get and even shows a video on how to defeat the bosses!
Table des matières
7 Chapitres
Succès liés à ce guide
24 Réalisations
|
Attendrisseur tentaculaire |
Frappez des ennemis avec des Filaments 250 fois en tant que groupe dans l'Aire de corail Vétéran. |
|
Carapace renforcée |
Vainquez toutes les rencontres en plus de Maligalig, Sarydil et Varallion dans l'Aire de corail Vétéran sans qu'un seul membre du groupe ne meure. |
|
Comment faire des vagues |
Détruisez au moins deux Orbes marins à moins de cinq secondes d'intervalle dans l'Aire de corail Vétéran. |
|
Concurrent/Concurrente de l'Aire de corail |
Accomplissez les succès listés dans l'Aire de corail Vétéran. |
|
Conquérant/Conquérante de l'Aire de corail |
Vainquez Maligalig, Sarydil et Varallion dans l'Aire de corail Vétéran. |
|
Enquête dans les bas-fonds |
Accomplissez le contenu facultatif dans l'Aire de corail et le Regret du charpentier. |
|
Explorateur/Exploratrice d'Ascending Tide |
Entrez dans l'Aire de corail ou le Regret du charpentier pour la première fois. |
|
Front de pression |
Vainquez Maligalig sans qu'un front de pression ne persiste plus de cinq secondes pendant le combat dans l'Aire de corail Vétéran. |
|
Gobeur de globule |
Ramassez 30 globules alchimiques dans l'Aire de corail Vétéran. |
|
Manège infini |
Parcourez deux kilomètres par tourbillon pendant le combat contre Maligalig dans l'Aire de corail. |
|
Pacte de corail |
Obtenez tous les pactes disponibles dans l'Aire de corail. |
|
Pas le plus vif |
Vainquez Sarydil après avoir planté l'étendard de défi dans l'Aire de corail Vétéran. |
|
Peine purgée |
Trouvez et libérez le prisonnier des profondeurs dans l'Aire de corail Vétéran. |
|
Pince à crustacée |
Vainquez Maligalig après avoir planté l'étendard de défi dans l'Aire de corail Vétéran. |
|
Planeur de l'aire |
Vainquez toutes les rencontres en plus de Maligalig, Sarydil et Varallion en moins de 25 minutes après être entrés dans l'Aire de corail Vétéran. Votre chronomètre commence lorsque vous attaquez le premier groupe d'ennemis. |
|
Pédigrée supérieur |
Vainquez Varallion après avoir planté l'étendard de défi dans l'Aire de corail Vétéran. |
|
Sléléologue d'Ascending Tide |
Terminez l'Aire de Corail et le Regret du charpentier en Vétéran. |
|
Société de préservation du Couchant |
Vainquez Sarydil sans lui laisser briser un seul des piliers de pierre qui bordent la salle dans l'Aire de corail Vétéran. |
|
Suprématie sur terre, sur mer et en l'air |
Vainquez toutes les rencontres en plus de Maligalig, Sarydil et Varallion en moins de 25 minutes après être entrés dans l'Aire de corail Vétéran sans qu'un seul membre du groupe ne meure. Votre chronomètre commence lorsque vous attaquez le premier groupe d'ennemis. |
|
Triomphe tentaculaire |
Vainquez Maligalig, Sarydil et Varallion après avoir planté l'étendard de défi dans l'Aire de corail Vétéran et sans gagner l'avantage du moindre pacte dans l'Aire de corail Vétéran. |
|
Tueur/Tueuse de griffons |
Vainquez 50 griffons dans l'Aire de corail Vétéran |
|
Tueur/Tueuse de yaghras |
Vainquez 200 yaghras dans l'Aire de corail Vétéran |
|
Vainqueur/Vainqueuse de l'Aire de corail |
Vainquez Maligalig, Sarydil et Varallion dans l'Aire de corail. |
|
Éclaireur/Éclaireuse d'Ascending Tide |
Terminez l'Aire de Corail et le Regret du charpentier en Normal. |
Guides connexes
Donjons
Red Petal Bastion Dungeon Guide for ESO
The Red Petal Bastion Guide for ESO features everything you need to know about boss mechanics, which sets drop there, which rewards you can get and even shows a video on how to defeat the bosses!
il y a 2 ans
Donjons
Dread Cellar Dungeon Guide for ESO
The Dread Cellar Guide features everything you need to know about boss mechanics, which sets drop in the Dread Cellar dungeon, which rewards you can get and even shows a video on how to defeat the bosses!
il y a 2 ans
Donjons
Dungeon Finder Guide - How to use the dungeon finder in ESO
This is the ESO Dungeon Finder Guide which will show you exactly how the Dungeon Finder works and how you can find a group in ESO!
il y a 2 ans