Большая часть контента в русской версии ESO-Hub переведена машинным способом. Если вы хотите улучшить качество
перевода, пожалуйста свяжитесь с нами в нашем дискорд-сервере.
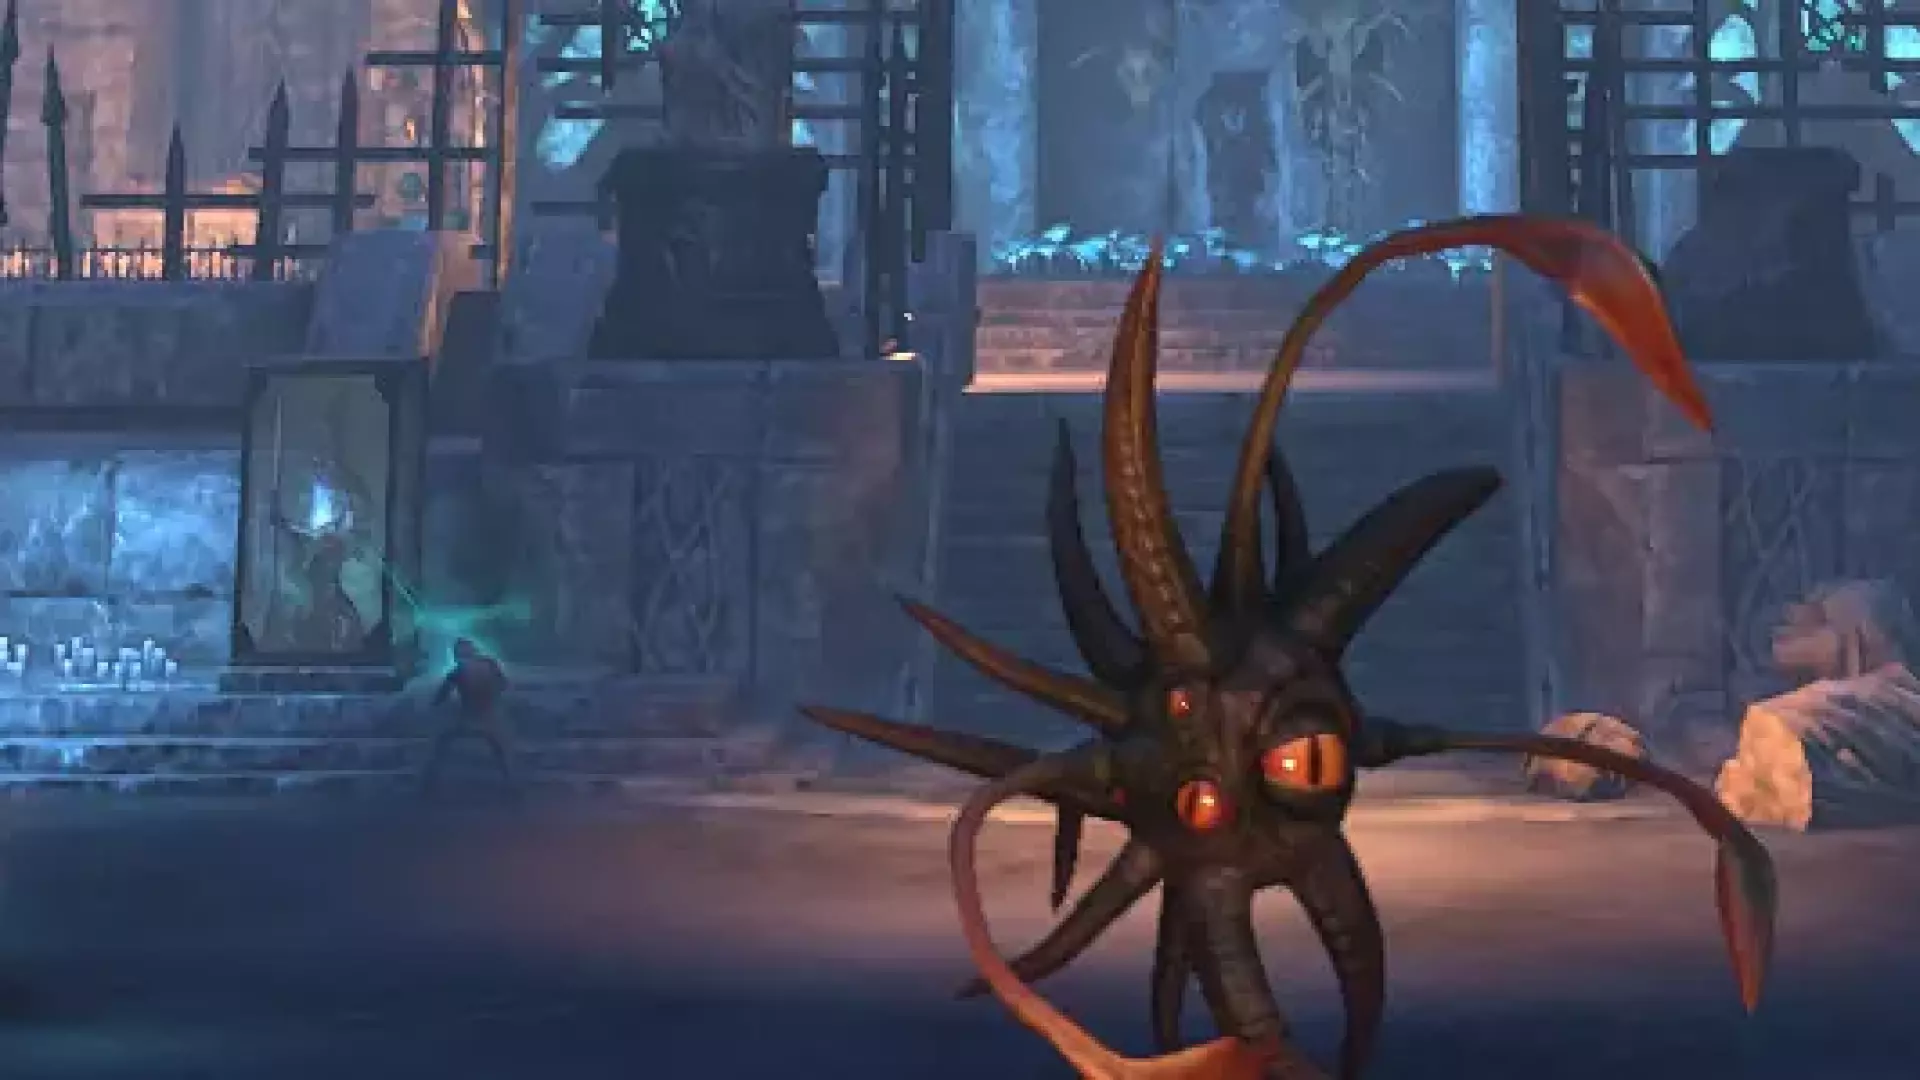
Coral Aerie Dungeon Guide for ESO
The ESO Coral Aerie Guide features everything you need to know about boss mechanics, which sets drop in the Coral Aerie dungeon, which rewards you can get and even shows a video on how to defeat the bosses!
Оглавление
7 Главы
Достижения, связанные с этим руководством
24 Достижения
|
Безупречное происхождение |
Победите Вараллиона в ветеранском Коралловом Гнезде подняв знамя вызова. |
|
Господство на суше в воздухе и на море |
Победите все группы врагов а также Малигалига Саридил и Вараллиона в ветеранском Коралловом Гнезде не более чем за 25 минут подняв знамя вызова и не допустив гибели ни одного члена группы. Отсчет начинается при вступлении в бой с первой группой врагов. |
|
Гроза морских гадов |
Победите Малигалига в ветеранском Коралловом Гнезде подняв знамя вызова. |
|
Гроза щупалец |
Победите Малигалига Саридил и Вараллиона подняв знамя вызова и не получив преимущества от договоров в ветеранском Коралловом Гнезде. |
|
Завоеватель Кораллового Гнезда |
Победите Малигалига Саридил и Вараллиона в ветеранском Коралловом Гнезде. |
|
Знаток Растущей волны |
Пройдите Коралловое Гнездо и Горе Корабела в ветеранском режиме. |
|
Исследователь Растущей волны |
Войдите в Коралловое Гнездо или Горе Корабела. |
|
Истребитель грифонов |
Победите 50 грифонов в ветеранском Коралловом Гнезде. |
|
Истребитель ягр |
Победите 200 ягр в ветеранском Коралловом Гнезде. |
|
Коралловое соглашение |
Соберите все возможные договоры в Коралловом Гнезде. |
|
Кружение без остановки |
Пройдите два километра по водовороту во время битвы с Малигалигом в Коралловом Гнезде. |
|
Морской волк |
Победите все группы врагов а также Малигалига Саридил и Вараллиона в ветеранском Коралловом Гнезде не допустив гибели ни одного члена группы. |
|
Не самый острый из клинков |
Победите Саридил в ветеранском Коралловом Гнезде подняв знамя вызова. |
|
Непревзойденный осушитель |
Уничтожьте не менее двух морских сфер в течение пяти секунд во время сражения с Вараллионом в ветеранском Коралловом Гнезде. |
|
Общество охраны наследия Саммерсета |
Победите Саридил в ветеранском Коралловом Гнезде не дав ей разбить ни одну из каменных колонн на месте битвы. |
|
Отбиватель щупалец |
Нанесите 250 ударов противникам с щупальцами в ветеранском Коралловом Гнезде вместе с другими членами группы. |
|
Пожиратель глобул |
Соберите 30 алхимических глобул в ветеранском Коралловом Гнезде. |
|
Покоритель Кораллового Гнезда |
Получите перечисленные достижения связанные с ветеранским Коралловым Гнездом. |
|
Пора на выход |
Найдите и освободите узника в недрах ветеранского Кораллового Гнезда. |
|
Пролетая над гнездом грифонов |
Победите все группы врагов а также Малигалига Саридил и Вараллиона в ветеранском Коралловом Гнезде не более чем за 25 минут. Отсчет начинается при вступлении в бой с первой группой врагов. |
|
Разведчик Растущей волны |
Пройдите Коралловое Гнездо и Горе Корабела. |
|
Сыщик-мореход |
Выполните дополнительные задания в Коралловом Гнезде и Горе Корабела. |
|
Триумфатор Кораллового Гнезда |
Победите Малигалига Саридил и Вараллиона в Коралловом Гнезде. |
|
Фронт давления |
Победите Малигалига не давая грозовому фронту существовать дольше пяти секунд во время сражения в ветеранском Коралловом Гнезде. |
Похожие руководства
Dungeons
Red Petal Bastion Dungeon Guide for ESO
The Red Petal Bastion Guide for ESO features everything you need to know about boss mechanics, which sets drop there, which rewards you can get and even shows a video on how to defeat the bosses!
2 года назад
Dungeons
Dread Cellar Dungeon Guide for ESO
The Dread Cellar Guide features everything you need to know about boss mechanics, which sets drop in the Dread Cellar dungeon, which rewards you can get and even shows a video on how to defeat the bosses!
2 года назад
Dungeons
Dungeon Finder Guide - How to use the dungeon finder in ESO
This is the ESO Dungeon Finder Guide which will show you exactly how the Dungeon Finder works and how you can find a group in ESO!
2 года назад