This part of the arena can be accessed by walking through the red portal in the Choosing entrance arena. The Brimstone's Den is themed after the daedric prince of destruction, Mehrune’s Dagon, and the Deadlands, his realm of Oblivion. This area is mostly covered in lava and “fire-themed”. Be prepared to encounter fire-breathing Daedroths, firecasting Dremora and Flame atronachs! If you have a weapon with a Glyph of Prismatic Onslaught with you, use it here.
The first enemies you meet are a few Scamps and Clannfears. These are skippable, but you have to kill the Daedroth who’s guarding the doorway to the next part of the way.
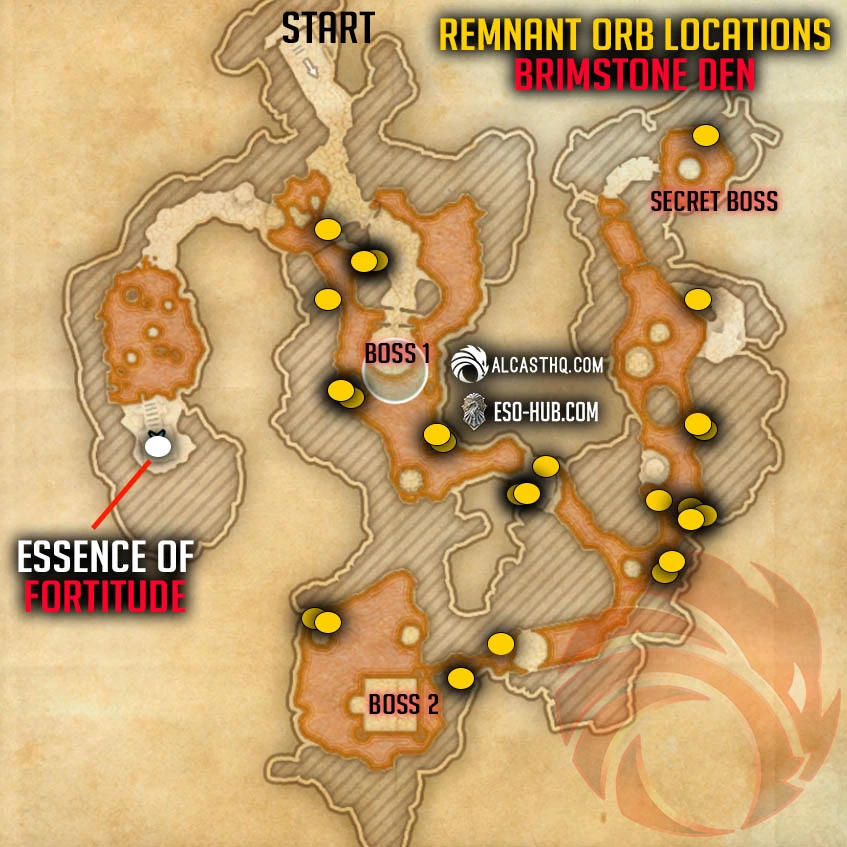
If you have done the Wounding (=blue area) before, you should not run through the doorway immediately. Instead, take a look towards the right (west). You can see a Wounding Portal on a small platform. Run through the lava and use the portal, it will port you to the area above. Make your way through the lava here and refresh your Wounding buff. You need good selfhealing or shields to survive the lava. At the end of the area here, you will find the Essence of Fortitude which buffs your health by 5000. Collecting this causes additional Fortitude Remnants to appear at random spawn points in the Brimstone Den. Those will buff your health by an additional 1000. After absorbing the Essence of Fortitude, you will get ported back to the first area.
Make your way past some Flame Atronachs, clannbanns and scamps towards another Daedroth who serves as a Gatekeeper. Killing him opens another gateway. Behind that gate, you will find the first boss of the Brimstone Den.
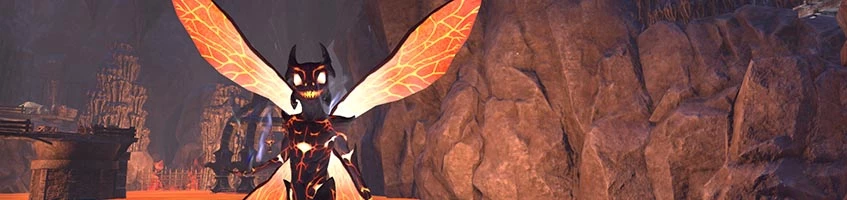
Boss 1 Magma Queen
Boss Health: [HP: 1’829’238 / 2’195’086 / 3’109’705]
The Magma Queen is a giant Nixad. In general, the fight is not very difficult as the Magma Queen and her helpers don’t deal much damage, but if you let too many adds alive you can still get overwhelmed.
Lava Geyser mechanic / Iron Atronachs
Occasionally, the Magma Queen will port to a different part of her arena. By doing so, she opens a little Geyser which will start to shoot lava at you. Additionally, every ~30 seconds, an Iron Atronach will appear. Killing it will drop a Flaming Rock. You can synergize this rock and toss it onto a geyser, this will cause the geyser to disappear. Destroying all active geysers will also stun the Magma Queen and all of her adds.
Portal
The Magma Queen will summon a portal. Through that portal, scamps will appear. Their different flame abilities deal significant damage if you have too many scamps roaming around at the same time. They have very little health, so I recommend killing them from time to time with your AoE abilities. This can also be used for sustain through Consuming Trap or armor sets. After a portal has been open for about one minute, it will close and a Daedroth will spawn. You should get rid of it.
Flame Walls
Getting the Magma Queen’s Health below 45% will cause two walls of fire to appear. Those will spawn in the lava and then move in a straight line across the platform. You normally can avoid those easily, but if you get hit by them it is not a big deal either as they deal very little damage.
Example Boss Fight Video
If you want to watch the whole boss fight you can watch the video here.
After The Boss
Killing the Magma Queen unlocks the Brimstone Orb mechanic which is needed to get across larger areas of lava. Heavy attack the floating Brimstone orb while standing close to it. You will receive the Brimstone Fortification buff, a strong damage shield which enables you to walk through lava.
Now that you are able to walk through lava, continue onwards. Run past a flame atronach to the daedric building structure you see in front of you. Kill the scamps there if you wish, and use the Brimstone Orb here to refresh your buff. Run towards the northeast here until you reach a small island. Kill the gatekeeper Daedroth here, this opens the gateway behind him and lets you continue through the lava.
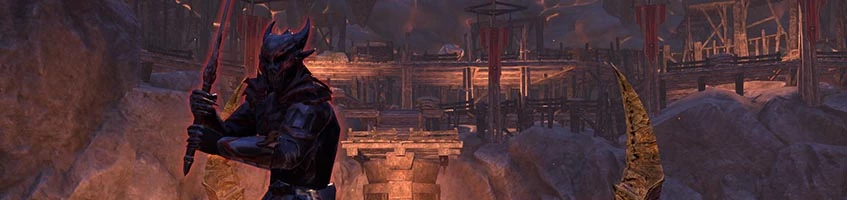
Continue towards the south-east until you reach a platform with three Dremora Kyngalds. I recommend killing these, because they will aggro when you use the Brimstone Orb in their middle, and they will follow you through the whole area, all the way to the optional boss Mynar Metron (to the left side) or the next gatekeeper (to the right side).
The Brimstone Caretaker, a giant Fire Colossus patrolling this area, is an optional enemy that you can ignore if you want, but it’s worth mentioning that defeating it grants 15,000 score points.
From the platform where you fought the three Kyngalds, run to the south-west and fight the Brimstone Warden (a giant Daedroth) on the next island. This will open the gate to the final boss of the Brimstone Den.
Boss 2 The Pyrelord
Boss Health: [HP: 2’057’893 / 2’469’472 / 3’498’418]
The Pyre Lord is the final boss of the Brimstone Den. His arena is a large rectangular platform with circular shapes at three of its corners. During the fight, he will set these circular shapes to flames.
Fire Breath
From time to time, you can see the Pyrelord inhale air. Step to the side or behind him, as he will use his fire breath attack now. Getting hit by it places an annoying DoT on you. This attack is very obvious and easily avoidable.
Fire Spin / Flame Spout
This is the Pyrelord’s most noticeable ability. Occasionally, he shrouds himself in flames and channels a fire spin with three “flamethrower beams” around him. Standing still in this will deal very high damage to you and kill you within a few moments, so make sure to get out of his spin. It is possible to circle around the Pyrelord in melee range, between two of the beams, but don’t too close to him. If you get inside his bubble-like shield you will receive very high damage and probably die. During this channel, he will also shoot fire projectiles at you. You need good self healing or shields here.
“The Floor is Lava” – Mechanic
From time to time, the Pyrelord will push his sword into the ground and cover the whole platform with lava. Standing in this does a lot of damage. Even after the lava has vanished, the floor remains ignited and you receive environmental damage from standing on it. It is possible to shield or heal through this phase, but there is an easier way: To avoid the damage from this mechanic, keep an eye on the corners on the platform – in one of them there will be a Brimstone Orb. Run close to it, heavy attack and use it as soon as the lava is spreading. Every time the Pyrelord does this attack, he will ignite one of the three circular spaces at the platforms corners. You can absorb this fire by stepping on it with the Brimstone Orb buff.
Fire Storm
If the Pyrelord manages to ignite all three corners of the arena, he will run in the middle of the platform, engulf himself in flames and become invulnerable for a while. During this, he will shoot fireballs on the ground which will travel all across the arena. After this mechanic, his attacks are buffed and will deal significantly more damage. His blade is enchanted with fire as well, so even his melee sword attacks deal additional fire damage. To prevent this from happening, you need to absorb the flames at the corners of the platform while having the Brimstone Orb buff on you.
Colossus Mechanic
At 67% and 33% of his health, the Pyrelord will summon a Fire Colossus. The Colossus has all the usual fire colossus abilities, the most dangerous one being the “Fire rain” you should absolutely not remain standing in. He also spawns additional skeleton mobs, these are very helpful for sustain via the Consuming Trap ability or Vicious Serpent/False God armor sets. You should kill the first Fire Colossus before the second one spawns, as two of them are probably too much to handle. The best way to do this is to stand close to the colossus so the Pyrelord follows you. When the Colossus and the Pyrelord are stacked close together, place your AoEs. The second colossus spawns at 35% of the Pyrelord’s health, and it takes a while for him to run onto the platform. You therefore should ignore this one and burn the main boss instead.
Example Boss Fight Video
If you want to watch the whole boss fight you can watch the video here.
After the Boss
Once the Pyrelord is dead, Aydolan will appear and open a portal for you to get back to the Choosing entrance arena.
Essence & Remnant Map
In this picture you can find the Essence and the Remnant Orbs. To gain access to the essence you need to have cleared the blue arena already because you need the portal teleport mechanic to get there.