Welcome to the Earthen Root Enclave dungeon guide for Normal and Veteran difficulty in ESO.
[Earthen Root Enclave] is a dungeon in the Lost Depths DLC for the Elder Scrolls Online. This guide will explain the mechanics of the trash and boss fights, how to find the secret bosses, and what rewards you can get from the dungeon.

Loot and Rewards
Completing Earthen Root Enclave can yield several different rewards, including armor sets and collectible items. This section of the guide will provide an overview of what you can get by beating this dungeon.
Armor Sets in Earthen Root Enclave
Below are the armor sets that you can obtain in this dungeon, along with a quickfire review of how useful the sets are.
Defeating the last boss of Earthen Root Enclave will drop the helmet from the Archdruid Devyric set, a powerful monster set applying [Major Vulnerability] to several enemies at once, and is likely to become a meta monster set for support roles. You can get the shoulder piece by spending Undaunted Keys at the Undaunted Enclave.
The following five-piece sets will also drop from bosses and chests in this dungeon:
- [Deeproot Zeal] - A Heavy Armor set that restores resources to you when you do direct damage a taunted target. You could use this on pretty much any type of build if you are fairly inexperienced and are really struggling with sustain. The set probably isn't impactful enough to see any real use beyond that.
- Rage of the Ursauk - A Medium Armor set that will create an AOE that grants Empower to your allies when you heavy attack an enemy. Empower is a useful buff for teams that are trying to optimize their damage output, however such teams will generally just have a player running a skill like Empowering Grasp to give the same buff. This leaves the set in a kind of no-mans land, because Empower really isn't a strong enough buff to justify dedicating a 5 piece set to it.
- Stone's Accord - A Light Armor set aimed at healers that will infuse your AOE healing skills with Minor Berserk and [Minor Resolve], effectively turning any heal into Combat Prayer. This is not going to be a meta set because it's much more efficient for your healer to just run that skill rather than a 5 piece set dedicated to the same buffs. However, this might be a useful set for you if you don't care about the meta and just want to make a thematic healer build more viable.
Collectible Rewards from Earthen Root Enclave
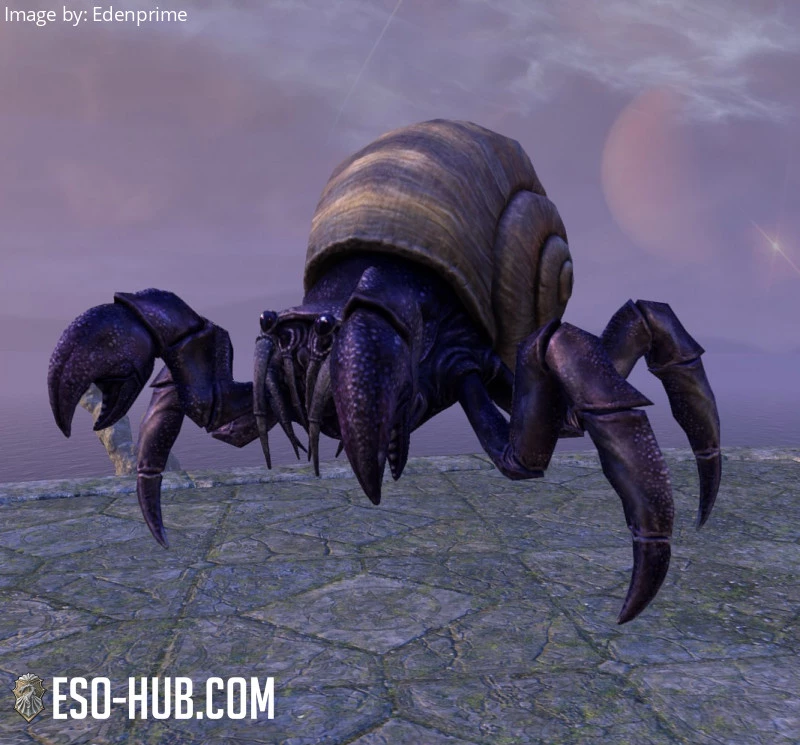
Entering either this dungeon or Graven Deep for the first time will grant you the Mulberry Hermit Crab non-combat pet. Completing all of the secret bosses in both Earthen Root Enclave and [Graven Deep] will give you the Touch of the Draoife Face Marks.

Completing Earthen Root Enclave on Veteran difficulty will grant the Touch of the Draoife Body Marks.
Completing both Earthen Root Enclave and Graven Deep on Veteran difficulty will give you the Brightfern Green dye. Defeating Archdruid Devyric on Hardmode will give you the Earthen Root Avenger title. Defeating every single enemy in Veteran Earthen Root Enclave in 25 minutes (including all bosses on hardmode) without anyone in your team dying will give you the Invader's Bane title.
Finally, you can unlock the Earthen Root Champion title by completing the following achievements:
Trash pulls
Most of the trash enemies in Earthen Root Enclave are not particularly dangerous, and can just be dealt with normally. However there are some exceptions...
Stone Atronachs
Stone Atronachs will pulse AOE damage on the entire group, this hurts quite a lot if left unchecked so they should be focused down.
Lurchers
Lurchers will cast a very large AOE cone in front of them, so they should be faced away from the group by the tank, and DDs should make sure that they do not stand in this cone.
Monstrous Bears
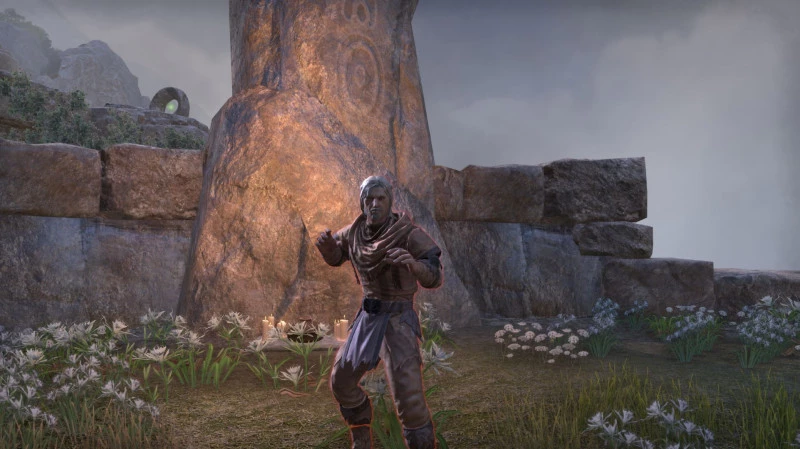
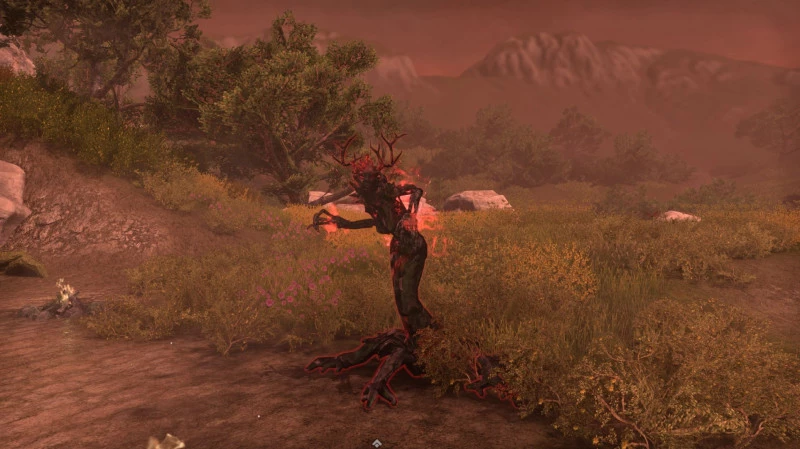
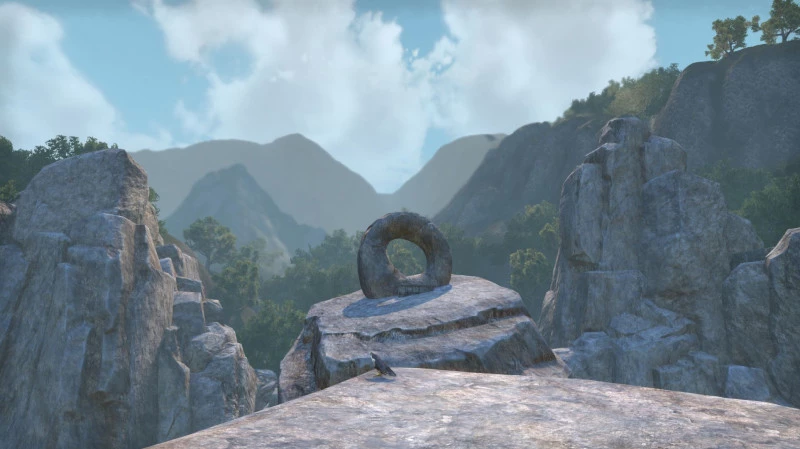
Secret Boss 1 - Scalded Roots
The first secret boss is found in the grassy area at the beginning of the dungeon. It is a fire-wielding Spriggan called Scalded Roots, however it will be inactive to begin with. If you defeat this boss, you will get the Scalded Strength buff for the rest of the dungeon, giving you and extra 500 weapon and spell damage.
How to Activate Scalded Roots
To activate the boss, you will need to find three bonfires scattered around the area and light them. The bonfires are guarded by trash enemies, so be careful when doing this. After all three are lit, a red orb will spawn and start moving to the boss. This orb is just a guide to help you locate the boss though, and you do not need to wait for it to arrive before starting the boss. Once all fires are lit, you simply need to approach the boss and it will activate a few seconds later.

How to Defeat Scalded Roots
Scalded Roots has around 3 million HP.
Fireball
The boss will throw a fireball at whichever player has aggro. This fireball does some direct damage, and will then spawn a small fire AOE underneath the player that was hit. This means that the tank will need to gradually move around to avoid taking too much damage from these fire AOEs, and the rest of the group should be wary of this and avoid standing next to the tank.
Meteors
She will also periodically throw fire meteors at random players in the group. These do quite a lot of damage but not enough to one-shot you, so shouldn't cause a problem as long as you have some healing.
Cleave
The boss has a small conal cleave attack, so the group should avoid standing in front of her and just let the tank deal with this.
Fire Wolves
Finally, there will be fire wolf adds that spawn throughout the fight. These do not do much damage and can be taunted. Really they are just a minor nuisance and should not be a problem, just make sure you have some AOE damage in your group and they will die.
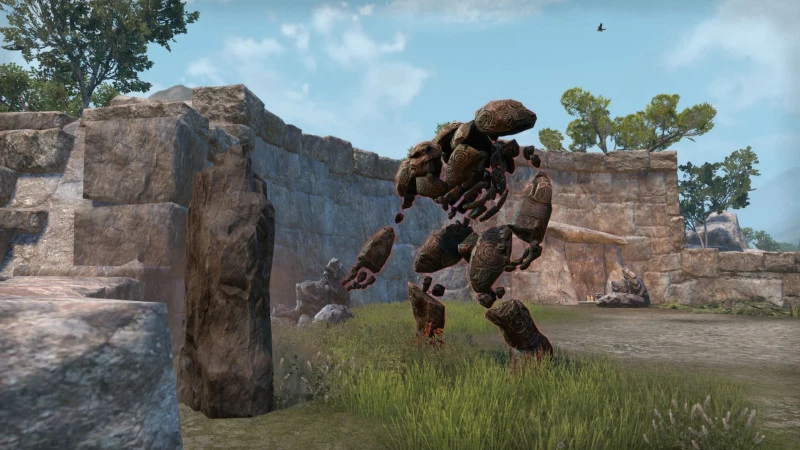
Main Boss 1 - Corruption of Stone
The Corruption of Stone boss is a large atronach, with several smaller stone atronach adds around the arena who will start off inactive but come alive at various intervals throughout the fight.
How to defeat the Corruption of Stone
Corruption of Stone has around 6 million HP. The main challenge of this boss is that he spawns a lot of AOEs on the group, so you need to be ready to move around quite a lot.
Earthquakes
The first AOE that this boss does will be earthquakes that continue throughout the fight. These appear quickly and do quite a lot of damage. They will spawn under the feet of each player in the group, so you will probably want to spread out to avoid stacking several AOEs next to each other.
Stomp
The boss will sometimes stomp on the ground, and you will need to move back when this happens to avoid taking damage from the AOE.
Ground Slam
At 75%, 50% and 25% HP, the boss will turn into a ball of rock and start floating up into the air. When this happens, you have a few seconds to hide behind a stone pillar at the edge of the arena. The boss will slam down into the ground, and anyone who isn't hidden in time will die instantly. He will do it again a few seconds later, and after that the fight returns to normal until the next HP threshold is reached. The boss does not have a cleave attack, so the tank should keep the boss in the middle of the room so that there is enough time to run to the stone pillar when this mechanic happens.
Stone Atronachs
There are three stone atronachs around the edges of the arena, and when they come alive they need to be focused down. They do a lot of damage, and they can also turn players into stone if they are not interrupted.
Enrage
The tank should also be aware that dodging the boss' attacks will cause the boss to enrage, doing more damage in subsequent attacks.
Corruption of Stone Hardmode Mechanics
On hardmode, everything generally does more damage, so you will need to be more careful. After the final ground slam, the boss will have an aura of flying stones around him. This aura does a lot of damage to everyone in the group, so you will need a decent amount of healing in order to survive it. Using the Barrier ultimate is also an option if you are struggling.
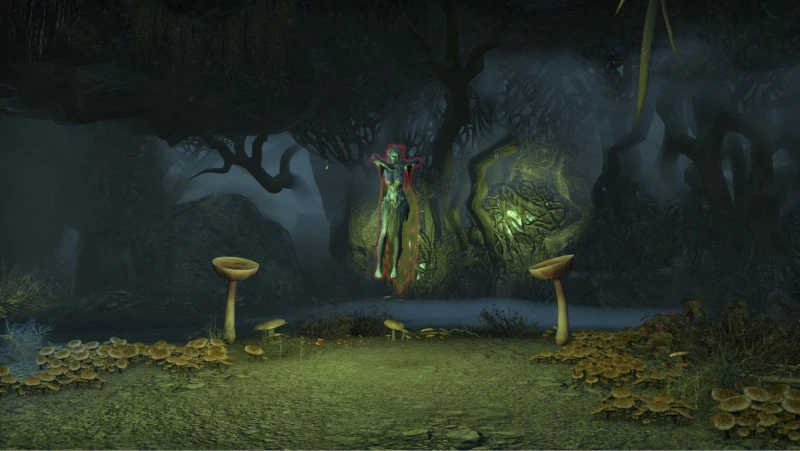
Secret Boss 2 - Lutea
Lutea is a Nereid secret boss who first has to be activated by completing a puzzle in the second area of Earthen Root Enclave (just after you go underground after defeating the Corruption of Stone). If you defeat Lutea, you will get a buff called Lutea's Rejuvenation which increases your magicka and stamina recovery by 30%.
How to Activate Lutea
There are three pools of water scattered around the cave system. You can see them on the map as green pools. To activate the boss, you will first need to defeat the spriggans who are guarding these pools. Their heavy attacks hit quite hard, so the tank will need to taunt them. After defeating the spriggan guardians, go into the water and you should get a synergy to fill a vessel. Activating this will give you a speed buff, and you will then have 60 seconds to find a large glowing flower. These flowers will also be guarded by adds. As long as the timer didn't run out, you will be able to use the synergy again on the flower to give it the water that you just picked up. The flower will then open and several smaller glowing flowers will sprout, signalling that this part of the puzzle is complete. There are three pools and three flowers, and you need to do this for all of them in order to activate the boss. Once activated, you can find her back near the beginning of the cave system, where you initially entered from.

How to Defeat Lutea
Lutea has around 3 million HP.
Water Jet
Her first mechanic will be to attack players with a jet of water. You will get a visual effect on you for a few seconds before this happens, so when you see this you should start blocking.
Ice ring
She will then teleport away from the middle of the arena, and summon a "donut" shaped ice AOE to trap players inside. It is safe to stay in the middle of this though, just don't stand in the ice.
Water Throw
Periodically she will also throw water in front of her, which does quite a lot of damage to anyone stood in the way but isn't enough to one shot you. That's pretty much all there is to this boss. She is quiet easy to beat and shouldn't cause problems as long as you remember to block the water jets.
Main Boss 2 - Corruption of Root
Corruption of Root is the second non-secret boss in Earthen Root Enclave. It has around 4.8 million HP.
How to Defeat the Corruption of Root
This boss is quite easy to beat, there is a lot of stuff going on visually but there aren't too many mechanics and the boss doesn't hit too hard.
AOEs
On this boss fight there will first be fast moving green AOEs. These can be hard to avoid due to their speed but don't do too much damage by themselves.
Adds
The boss will summon different types of adds during the fight. She will spawn Fauns and spriggan animals, which can be taunted and shouldn't pose much of a problem as long as you have some AOE damage in your group. She will also spawn Root Nodes, which are basically trees that shoot red orbs at players. You might want to focus these down just to make sure that they don't cause you any problems. However, note that the spriggan animals will leave behind permanent AOEs when they die, so the tank will probably want to think about where to take these adds, especially in groups with lower DPS where burning the boss down quickly is not an option. The room is pretty big so it's unlikely that you will run out of space due to these AOEs, but they could still become quite problematic if they are placed erratically in a way that restricts players' movement.
Distributors
Sometimes she will split into four shades, called Distributors, and these need to be killed before you can proceed with the boss fight.
Corruption of Root Hardmode Mechanics
On hardmode you will want to try to kill the Fauns quickly when they spawn. If they do not die, they will run into one of the trees around the edges of the room, causing them to enrage and deal more damage to players. If you are not able to kill the fauns quickly enough, then destroy the trees after a Faun has run into them (those trees will have a red glow). This mechanic is present in non hardmode, but does less damage so is less of an issue. Overall there isn't too much difference between hardmode and non hardmode.
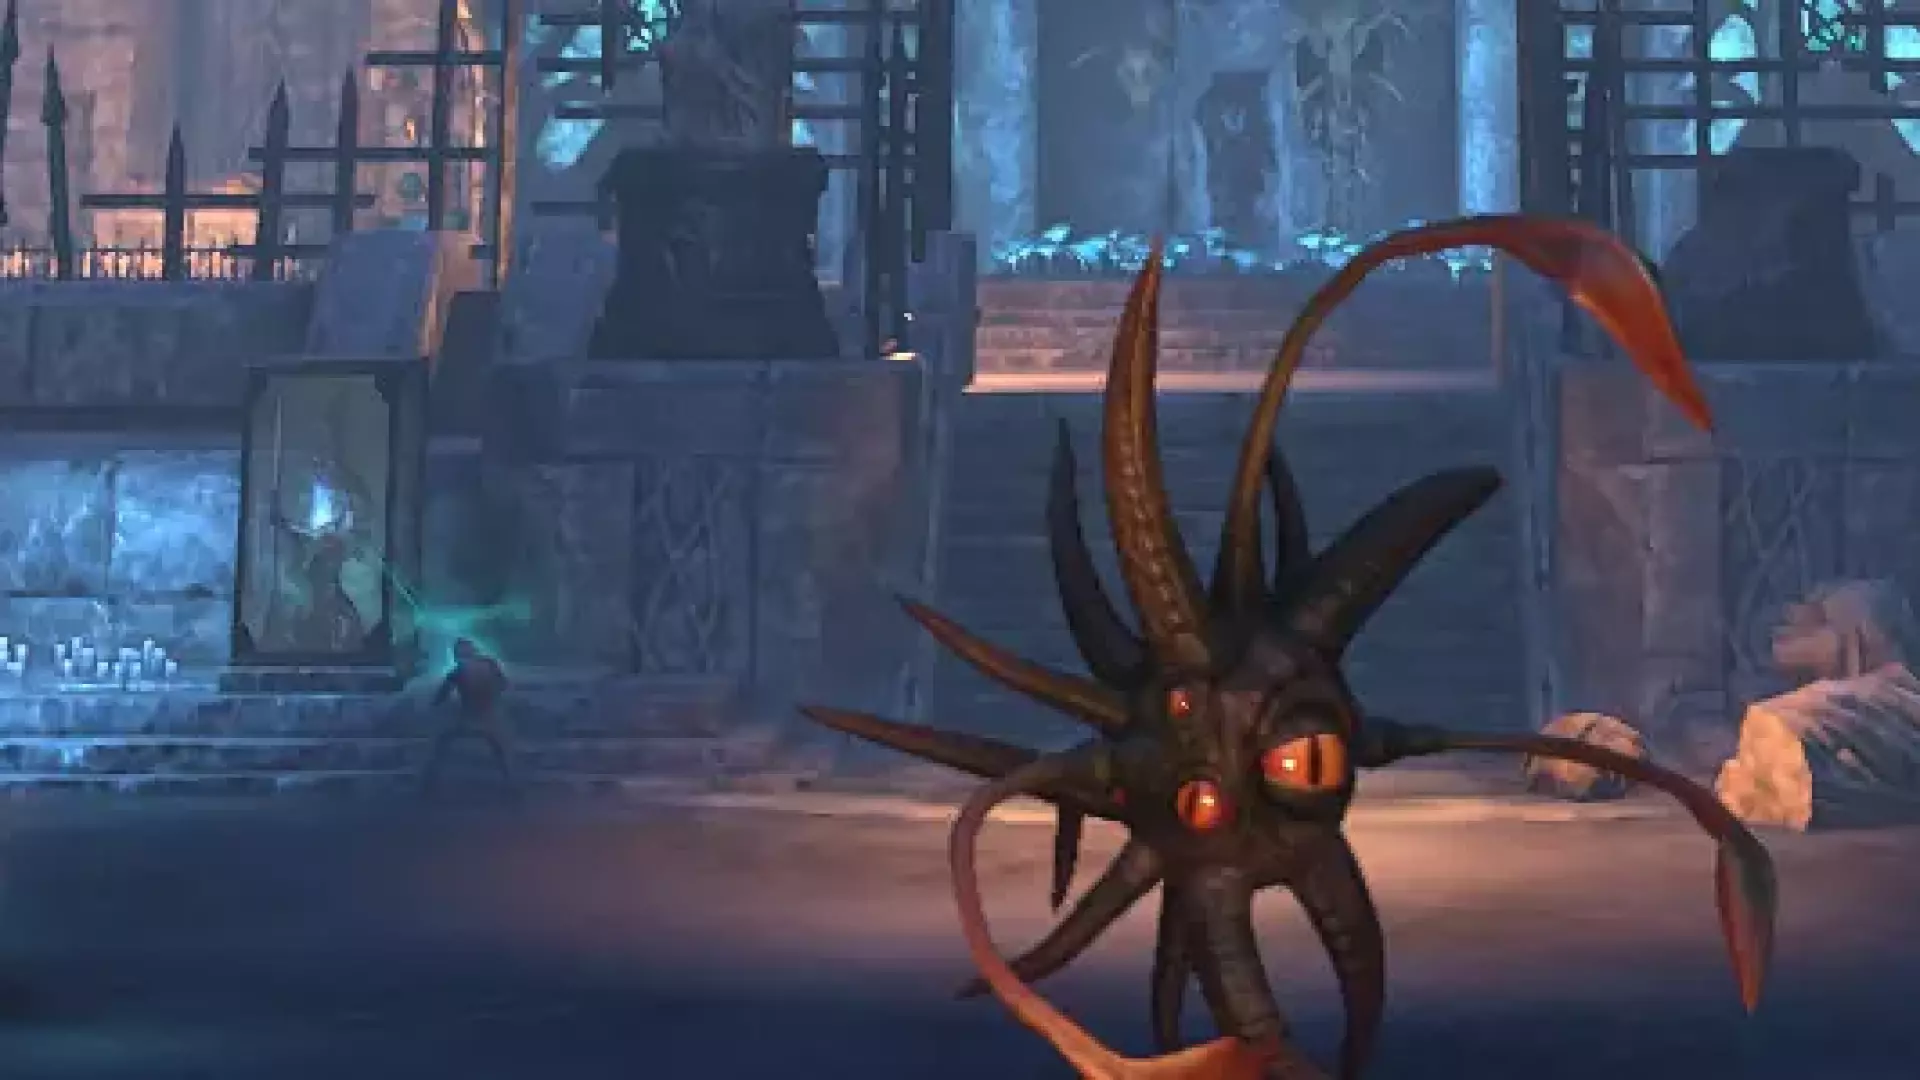
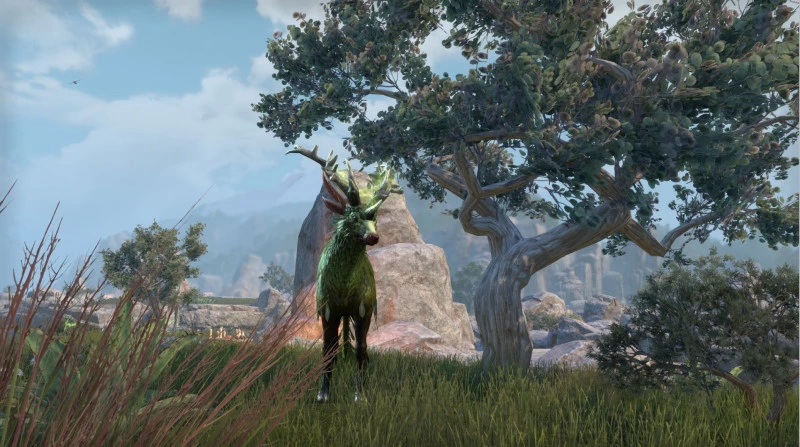
Secret Boss 3 - Jodoro
Jodoro is an Indrik secret boss in Earthen Root Enclave, and is the last of the three secret bosses in the dungeon. Defeating this boss will grant your group a buff called Jodoro's Hide. This gives you an extra 3,000 HP and reduces your damage taken by 10%.
How to Activate Jodoro
Jodoro is easier to find than the previous secret bosses in this dungeon. As you progress along the path to the final boss, look around to the sides of the path once you have ascended to the top of the cliffs. There will be three circular altars that you need to activate, but you will need to carefully jump across some rock formations to reach them. Once you have activated them all, Jodoro will be activated. You can find him on a side-path to the left of the entrance to the final boss area.
How to Defeat Jodoro
Jodoro has a few mechanics to be aware of, but nothing too difficult.
Teleport
Jodoro will teleport around quite a lot, and normally after teleporting he will start channeling an attack which needs to be interrupted.
Laser Beams
He will also shoot "laser" AOEs at players, these do very high damage if you stand in them - you should kite backwards in order to avoid this.He shoots smaller lasers at whichever player has aggro, this should be the tank so it shouldn't cause a problem.
Spectral Indrik
Sometimes he will spawn a smaller green indrik that charges at the group. This effectively acts as a cleave attack and will usually go in the tank's direction, however you might have to watch out for it if it happens just after the boss teleports to the edge of the area. There isn't much else to this boss fight. It's pretty easy, as long as you watch out for the AOEs you should be fine here.
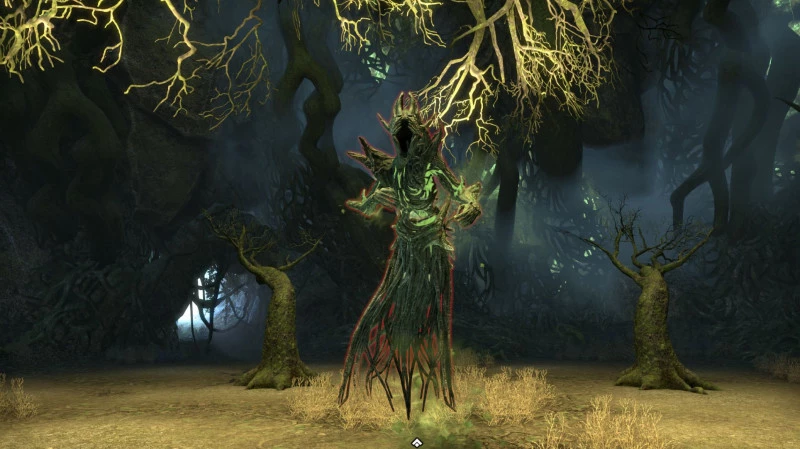
Main Boss 3 - Archdruid Devyric
Archdruid Devyric is the final boss of Earthen Root Enclave. He has around 9 million HP.
How to Defeat Archdruid Devyric
Archdruid Devyric has quite a few different mechanics that you will need to watch out for.
Earthquakes
The first mechanic to watch out for is some small earthquake AOEs that follow you around, very similar to those on the first boss. You can kite backwards to avoid these, and it's probably best to avoid stacking too tightly with your group members just to avoid taking unnecessary damage to this mechanic.
Exploding Rocks
There are several rock pillars around the edges of the room. These will sometimes explode in a large AOE, so watch out for this and try to avoid staying too close to them.
Lightning Pillar
The boss will periodically summon a Lightning Pillar which shoots lightning at everyone in the group. These have 370K HP and should be focused down by the DDs to avoid taking too much damage.
Lightning Bolts
He can send out bolts of lightning on the ground in random directions. These hit pretty hard so it's a good idea to stand back a bit when this is happening so you have time to react and avoid the lightning.
Fire Wolves
Fire wolves will sometimes spawn, which will jump at players and explode. You will see a red circle above your head when a wolf is targeting you.
Bear Transformation
Archdruid Devyric will eventually transform into a bear. When he changes into this form, he will heal himself for around 20% of his max HP value. He does not stay in this form forever, and may sometimes change back into human form.
Bear Charge
In bear form he will sometimes charge at a randomly selected player. You will see a narrow AOE on the ground before this happens, so you should avoid stacking this on another player.
Bear Lightning Breath
He also has a lightning breath attack which will be targeted at whoever has aggro - generally the tank. This will follow you, so you need to face tank it, sidestepping it does not work.
Archdruid Devyric Hardmode Mechanics
Once again, the hardmode of this boss is quite similar. The only real differences are that the boss has more health, around 13.5 million HP, and his attacks and the mechanics of the fight will deal more damage to players, so there is less room for error.