Discord Bot
 ESO Server Status
 AlcastHQ
 First Descendant





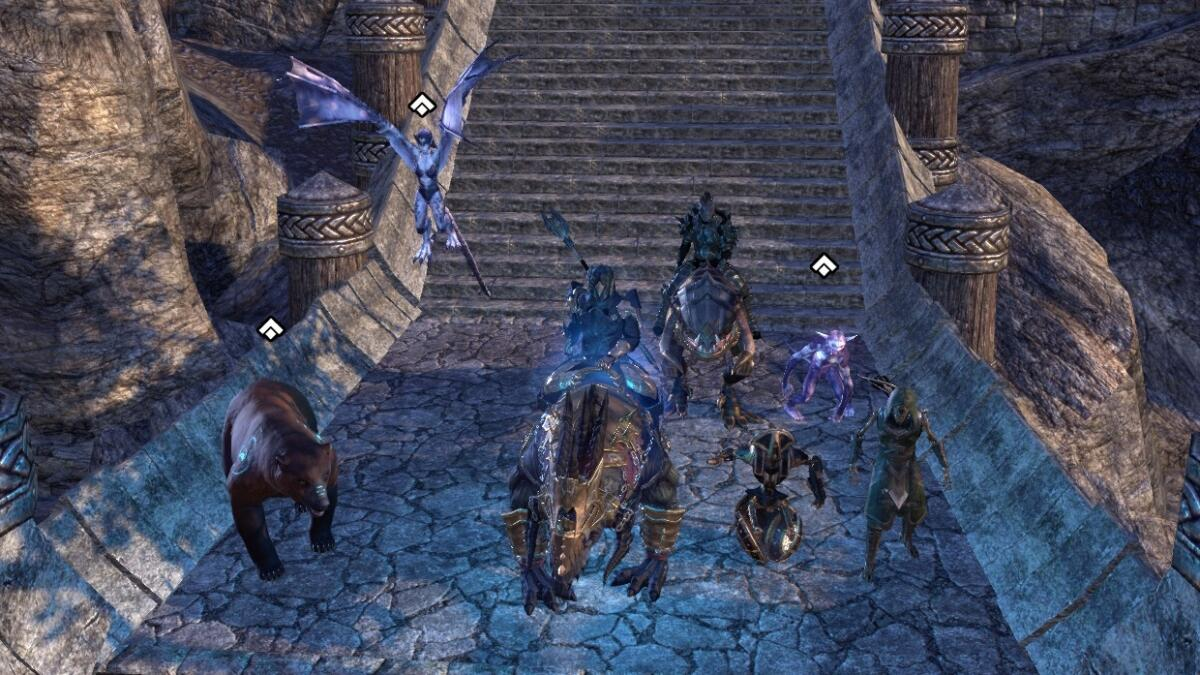
This build is mainly just for fun. It has some optimizations to aid in survival and damage output, but role-players will probably enjoy it more than professionals.
We are utilizing both ranged and melee skills, as well as magicka and stamina resources. It has a focus on triggering as many Status Effects as possible while in combat.
Once you are in the fray, you'll want to make sure to direct your menagerie to the primary target (or more immediate threat) to get the most out of any AoE skills being utilized.
First, from your Back Bar, make sure your  Skeletal Archer is summoned. This gives you your Major Brutality and Sorcery. Then, while still closing in on your enemies, a Heavy Attack from the Lightning Staff will trigger your Weapon and Spell Damage glyph. Follow this up with
  Trample through the middle of the crowd. Then, tag the center-most strong target with
  Growing Swarm to get everybody bleeding. Get your [Volatile Familiar] sparking to try to keep stuns in play.
Switching to the Front Bar, get the  Subterranean Assault Beetles going, since they have the longest effect time. Take two Light Attack swings with your sword. Follow that up with
  Blighted Blastbones, since it also has a summon time associated with it. Take two more Light Attack swings with your sword. Send
  Screaming Cliff Racer down as a spammable attack in between additional paired Light Attack swings from your sword.
If you've successfully made contact with each light attack swing from your sword, then after five paired swings, Belharza will rush forward. Try to be mindful of your positioning and face as many enemies as possible when this triggers to get the maximum effect.
Swap back to your Back Bar and repeat as needed. Trigger your [Twilight Matriarch] as necessary to keep heals up. Your  Wild Guardian Ultimate is relatively inexpensive, so be sure to add it in whenever it's primed. Oh, and food & potions are good to keep up with, too.
For additional pets, take Sharp-As-Night with you. He has a handful of Warden-esque animal skills (Swoop, Infest, Char, & Gore) that he can add to your total number of critters on the battlefield. I tend to utilize him as a tank when I'm running solo content.
Again, this build is mainly for fun. I can't guarantee success in all veteran hard-mode content, but it is capable of a lot of it. Ultimately, this is just a game.