- Why you should pick a Dual Wield One Bar Necromancer Build in ESO?
- Resource Management
- Potions
- Rotation
- Healing
- Werewolf (Optional)
- Outfit
Please upvote the build if you like it :)
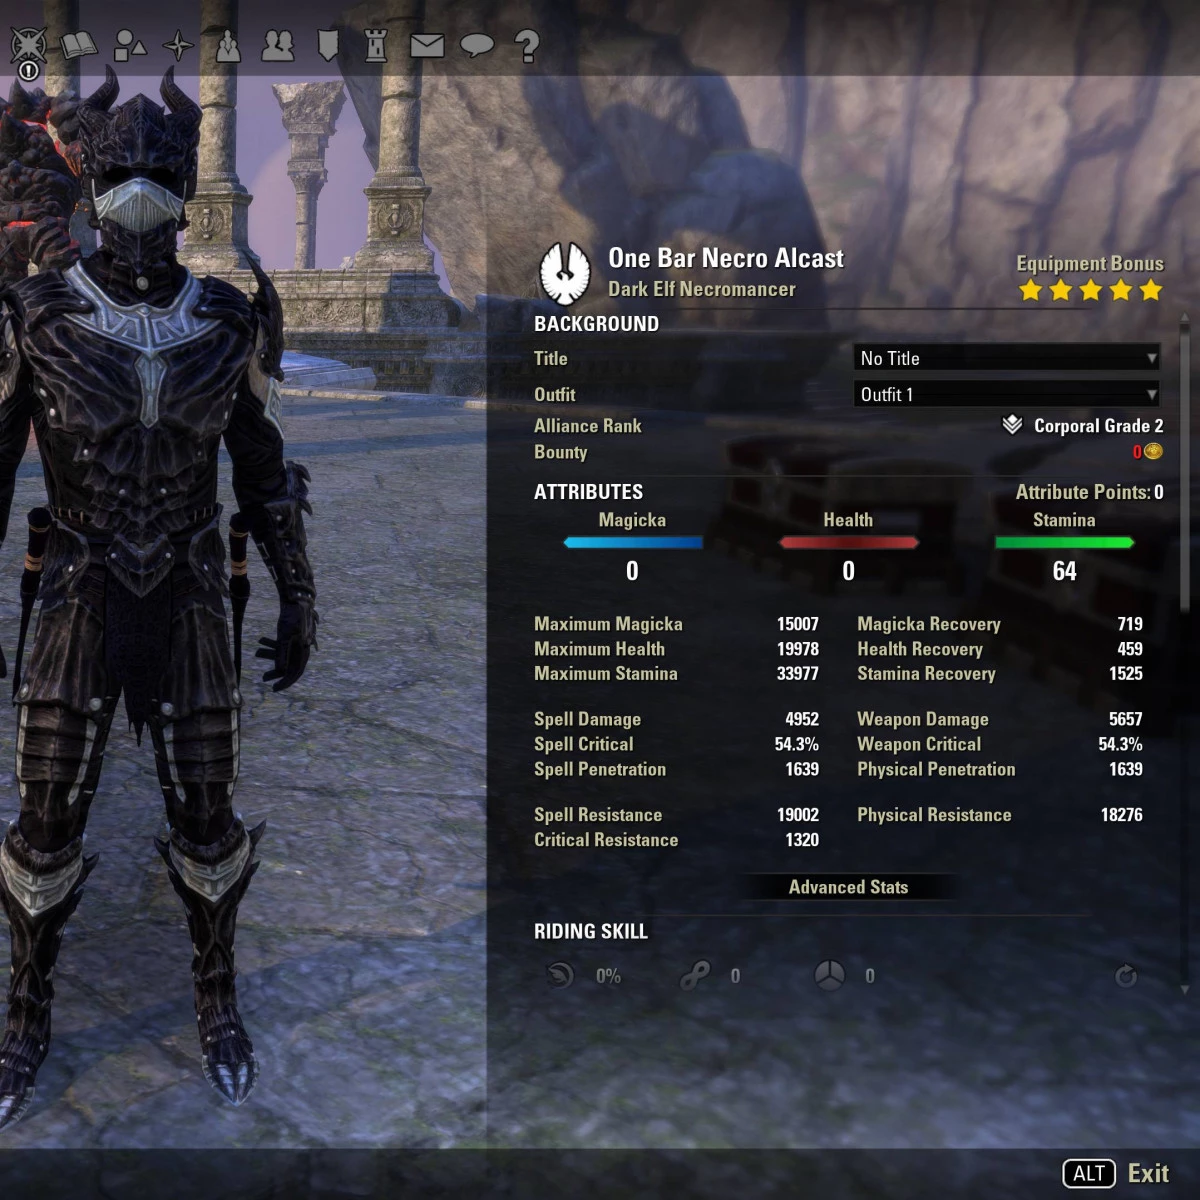
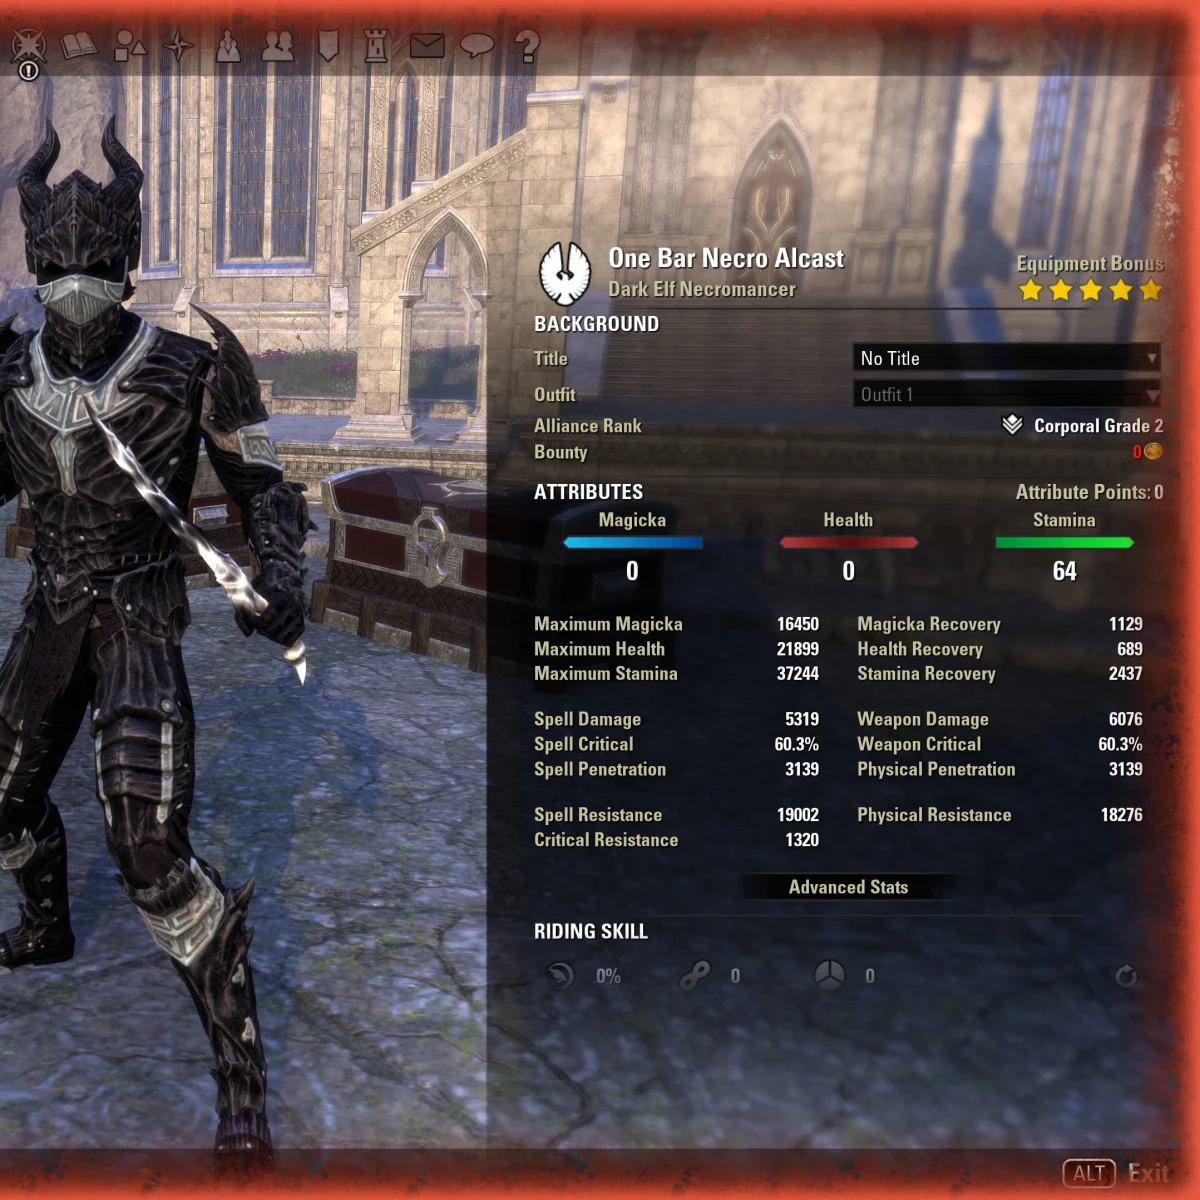
The One Bar Necromancer Build with a Dual Wield spec is made for players that prefer one bar setups in ESO (Elder Scrolls Online). The build has three different setups. A best in slot, a beginner and a Werewolf setup. You don't need Werewolf for this build, but for players that enjoy playing Werewolf you can use it.
The Best in Slot setup uses 1x Oakensoul Ring, 5x Perfected Arms of Relequen, 5x Pillar of Nirn and 1x Slimecraw. These item sets might be a bit tricky to obtain, therefore the beginner setup is easier to get because you can simply craft 12x Druid's Braid. The Werewolf setup is identical to the Best in Slot it just showcases the Werewolf skills.
Why you should pick a Dual Wield One Bar Necromancer Build in ESO?
One Bar Builds have been very powerful and have even become more powerful with the recent addition of the Oakensoul Ring which gave the one bar builds another insane power boost.
Necromancers in ESO actually make great melee fighters because they have high speed and a very easy rotation on a one bar build.
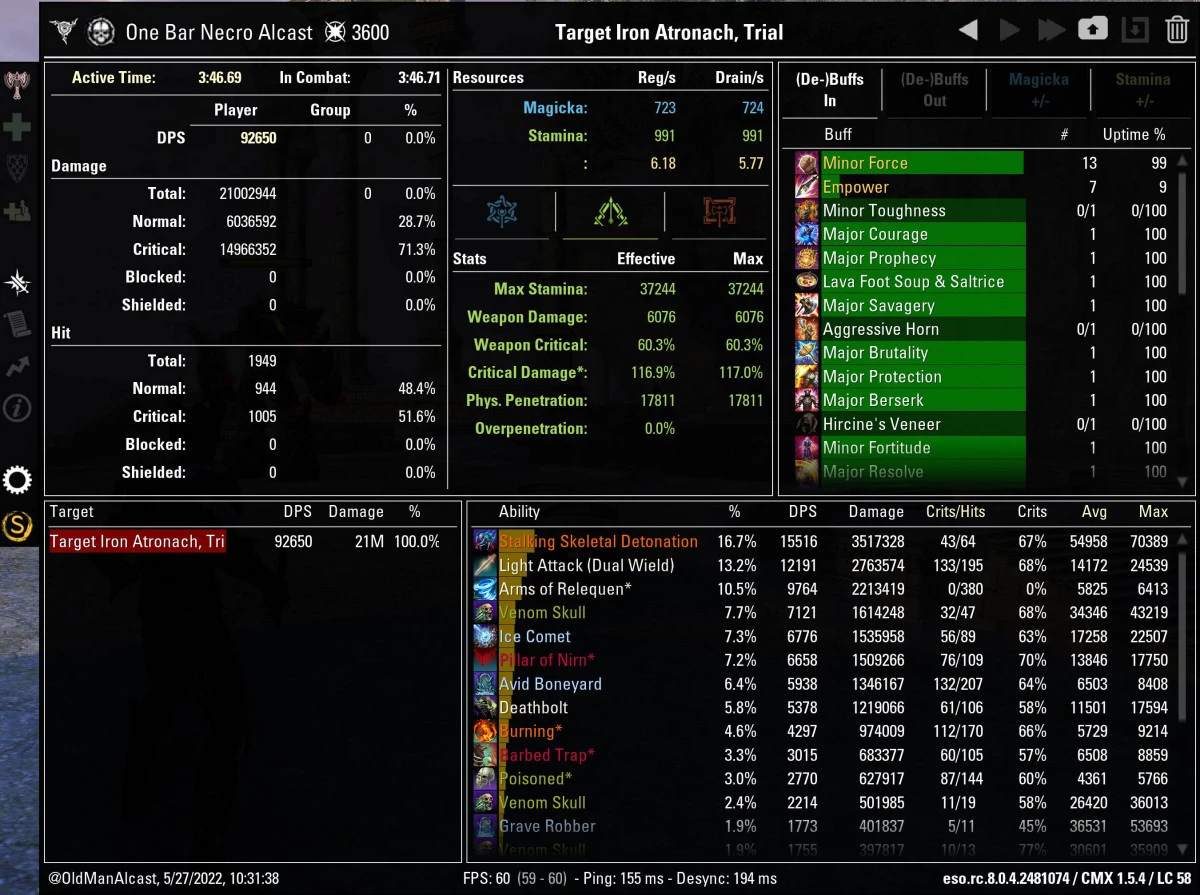
With the Necromancer One Bar Build we use abilities such as Skeletal Archer, [Stalking Blastbones], Venom Skull, Barbed Trap, Unnerving Boneyard and the ultimate Ice Comet or Pestilent Colossus.
Resource Management
The sustain is great on this setup because we have a good mix of stamina and magicka cost abilities. In theory you don't really need any resource management if you equip the Oakensoul Ring and use potions on cooldown. We are using the Lava Foot Soup-and-Saltrice buff food which gives us extra stamina and a lot of extra stamina recovery.
Potions
You can just use normal cheap potions for this setup because we have access to all the Major buffs that we need. If you have a lot of gold you could technically use the Minor Heroism potion that I added to this build. This will increase ultimate regeneration a little bit. But the potions are super expensive and therefore if you don't have access to them, don't worry about it. Just use normal cheap potions to get a bit of resources back.
Rotation
- Your main spammable is Venom Skull. Always use this whenever you have nothing else to do.
- Keep re-activating [Stalking Blastbones] whenever it explodes on the enemy.
- Keep Barbed Trap on the enemy at all times
- Keep the Avid Boneyard on the enemy at all times and you can also activate the synergy for extra damage.
- Whenever the ultimate Ice Comet is ready drop it on the enemy. Alternatively you can also use Pestilent Colossus.
Healing
If you are playing in a group you don't need to slot extra healing abilities. However, if you play alone remove the Barbed Trap skill and replace it with the Resolving Vigor that will heal you if needed.
Werewolf (Optional)
You can use Werewolf Berserker form with this setup if you want.
Outfit
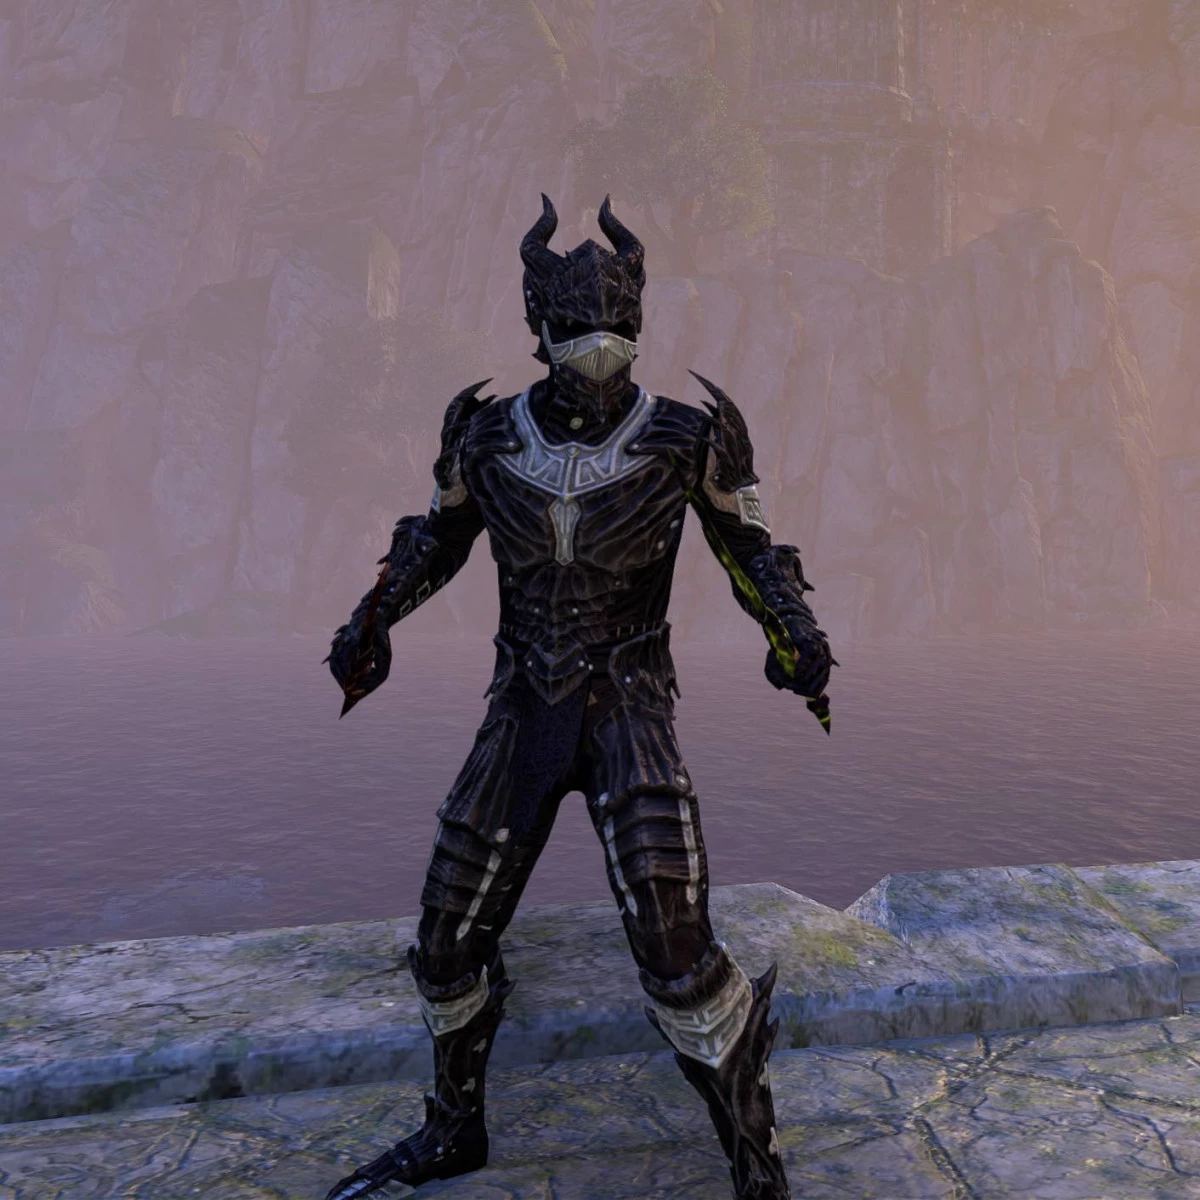
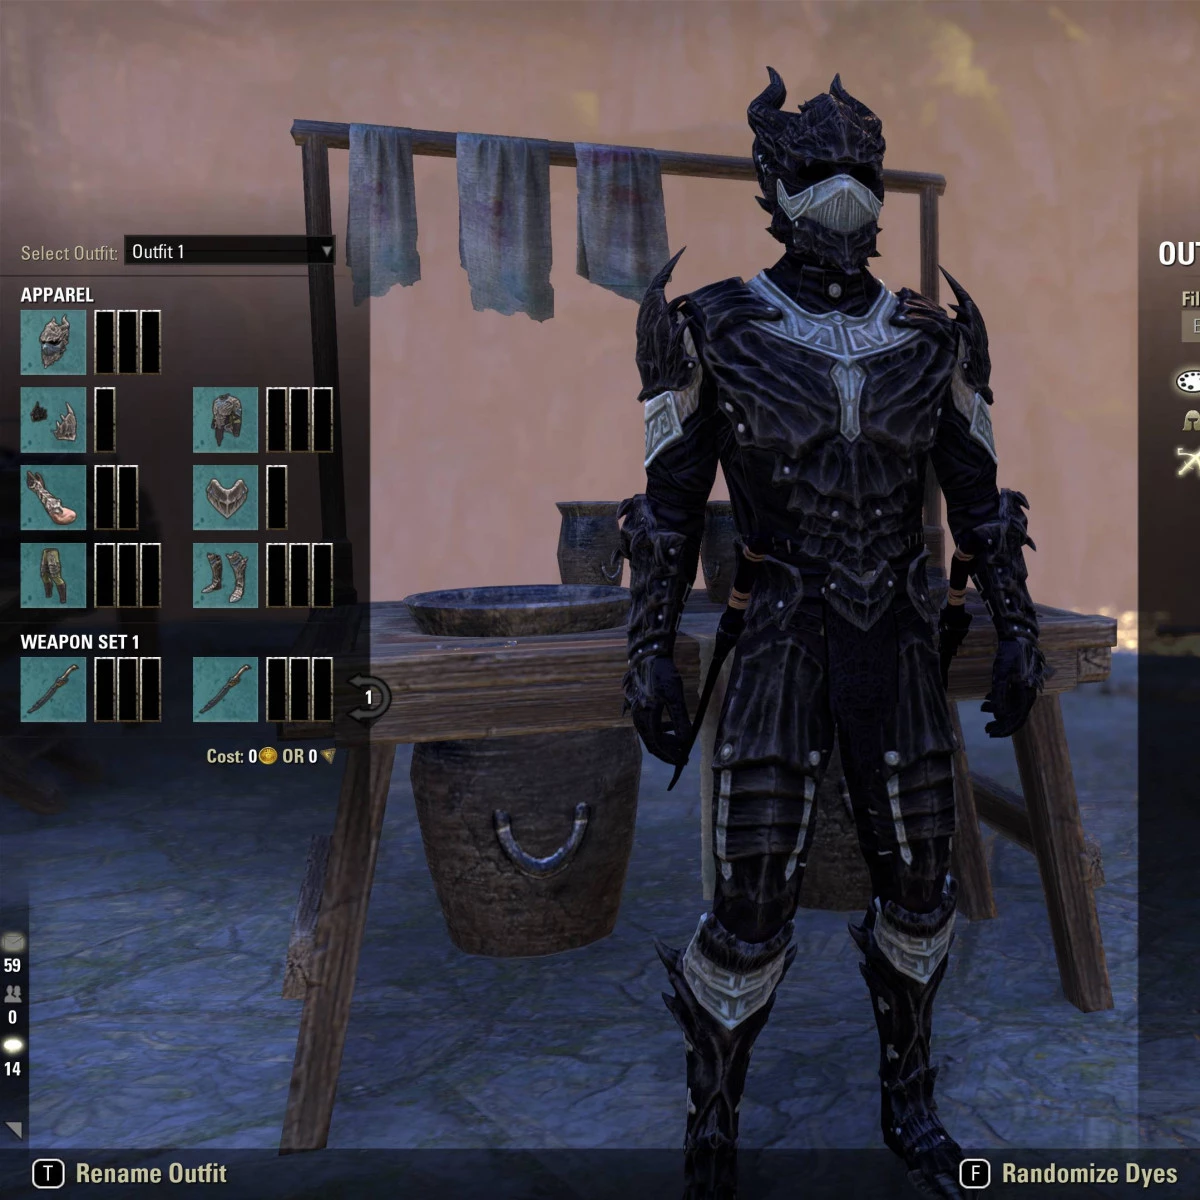
The outfit I was wearing is the Dragon Bone Motif with Void Pitch Dye.
 English
 Deutsch
 Français
 Русский


