 English
 Deutsch
 Русский
 Español


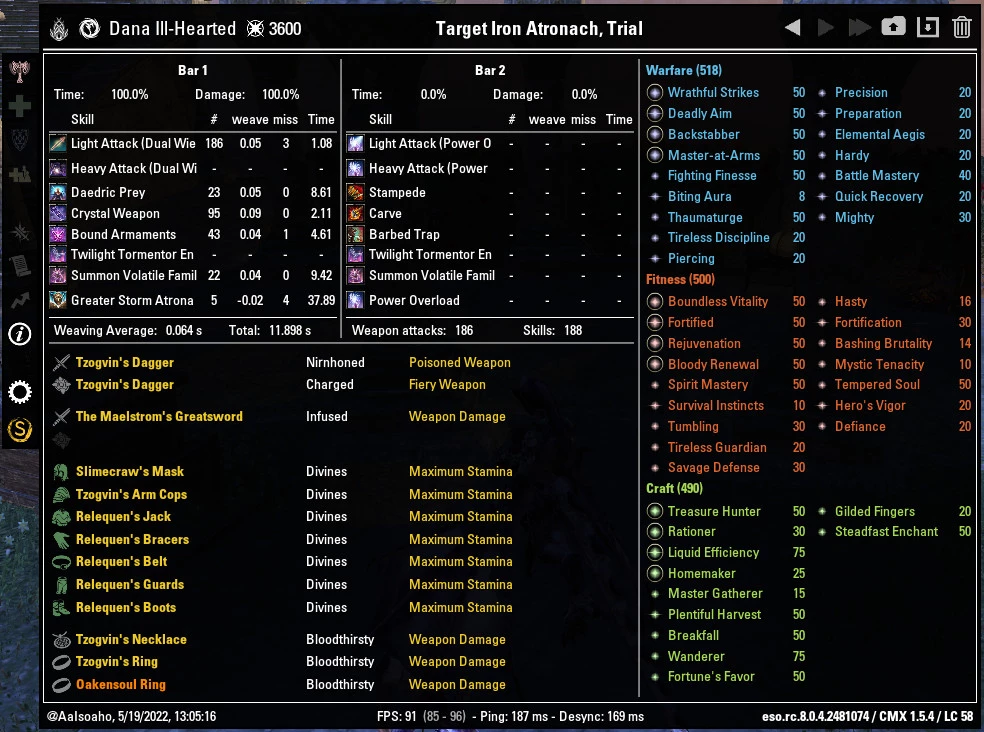
- Rotation used
- Baseline - Relequen
- Whorl of the Depths
- Coral Riptide
- Oakensoul
- Oakensoul vs. Kilt on 3mil. and 6mil.
- Summary
Public Test Server, or PTS for short, is an awesome resource for anyone wanting to test builds and loadouts. For this guide, I spent several weeks on finetuning my stam sorc, and the following guide will show what I found out while slaying the trial dummy over and over again.
For the baseline I used a ye-olde Arms of Relequen . Other sets used for the experiments were Kinras's Wrath and Slimecraw +Harpooner's Wading Kilt. I also did a test on Oakensoul Ring to see, if it has potential to be used on a stam sorc.
All parses were done by me to ensure the skill and rotation stays relatively the same. The trial dummy was used to simulate a solid group, which in turn enabled me to do all these tests by myself. CP, potions and food buffs were the same for each of the following loadouts, to enable me to show just how powerful they are.
Do note, I'm not the top parser here, and do not claim my findings to be conclusive. The findings I'm about to show are what I base my opinions on, until better results comes in.
Rotation used
For the tests, I used a rotation that focuses on getting the Crystal Weapon as the every second skill. To be able to do so, we need to use 6 medium armor and a sustain race (bosmer), because the cost of crystal weapon is relatively high.
The rotation has a static opening: you cast Power Overload , Bound Armaments, Summon Twilight Tormentor, crystal weapon, barswap and cast Barbed Trap. After this opening, you start weaving Stampede, Carve, barswap and weave crystal weapon. Then you weave bound armaments, crystal weapon, Daedric Prey, crystal weapon etc. You continue to do so until you have 200-230 ultimate left, when you should be planning on casting the Greater Storm Atronach. (you need at least 200-ish ultimates to be able to weave the storm atronach)
After the first storm atronach is up, you just focus on getting crystal weapon as the every second skill and keep carve up 100% time (and do not let stacks drop), after these, you prioritise daedric prey if you have atronach up and otherwise focus on stampede and barbed. If you are left with extra time, weave a volatile familiar.
Baseline - Relequen
On Relequen setup, I did 123k DPS. I compared the rest of the parses to this to figure out if the new trial sets beats the relequen.
Relequen has typically been the king of single target damage, so using it as a baseline was a no-brainer. It is relatively easy to use, because it requires you to weave (and not miss a lot of light attacks) to stay up, but has the single target requirement as its limitation.
Whorl of the Depths
Whorl of the Depths set is the new light armor offensive set from the new trial, Dreadsail Reefs. It is an easier version of Relequen with a single target and aoe damage components. Easier comes from the fact that to proc it you need to light attack the target, and it leaves an single target dot to the target which leaves an aoe dot after the single target dot expires, and then it goes to cooldown.
Because whorl is a light armor set, and we need 6 medium armor to sustain our rotation, I decided to frontbar the whorl set and body the kinras set. This meant that kinras did not have the stack mechanic minigame anymore, since kinras 5pc is now alwayd up.
The whorl setup did 122k DPS for me, which is 1k lower than the relequen setup, but which had 5k more aoe dps. This means whorl setup is more potent than relequen, if the fight requires you to do splash damage. Whorl is also better if you have issues with keeping kinras's stacks up.
Coral Riptide
This was an interesting one to test. When I earlier did some testing with Yandir's Might and Relequen, I saw they were not super far away from each other DPS-wise. The difference was around 2-3k with relequen coming up top, so Coral Riptide seemed to be able to beat relequen on paper. Coral Riptide does overcome Yandir's non-procced and stacked buff near 60% stamina and surpasses the procced effect of Yandir after 40%-ish stamina.
With the riptide setup, I was able to squeeze out a whopping 126k parse. The said parse did 3k more than my baseline relequen, so it does seem to be the best choice for single target fights.
On riptide setup, I did cast crystal weapons several times before heading to the opening rotation to lower my stam to around 40-50%. From there on, my sustain was bordering running out of stamina. This does mean that in content, you do need to pay attention to your stamina bar, because hitting 0% stamina while needing to block or dodge is a death sentence. However, if you are able to stay near 33% stamina, you get the maximum benefit from riptide while having as much stamina as your magicka brethren!
AoE-wise the riptide seemed to do around 2-3k more dps than relequen. This means riptide is a touch better than relequen, but loses to whorl in AoE situations.
Riptide is also harder to use than relequen and whorl, because to use it effectively, you need to stay around 33% stamina. To do so, you need to plan the synergies and the rotation more carefully, and it throws extra pebbles to your piloting.
Oakensoul
Next up I did check the onebar mythic - oakensoul ring. Oakensoul provided sustain to a degree of me not being able to keep my stamina below 100% for a long time. This meant I could not justify using riptide on it, and ended up using the next best thing, Relequen.
Oakensoul does provide the buff the kinras 5pc provides, so I decided to swap it to Tzogvin's Warband to give oakensoul setup some more oomph. And to have a little bit more oomph, I precasted power overload before slapping on the oakensoul.
This adjusted onebar build did 105k dps. It lost by 21k to riptide, and 18k to relequen twobar setups. It did have an easier rotation and has more survivability.
Oakensoul vs. Kilt on 3mil. and 6mil.
I did perform a couple of tests on the smaller dummies. I used the Relequen+kilt loadout for the twobar build (plus used the medium slimecraw helmet to get an inch more sustain) and the oakensoul loadout for the onebar build.
On 6mil. dummy, I was not able to sustain the two bar build and ended up with a 59.9k dps. The oakensoul on the other hand did 59.8k dps, but I was able to sustain it easily. On 3mil. dummy, the two bar build did 65.5k dps and the one bar build did 65.9k dps.
The differences between the two setups on the smaller dummies are not huge on the DPS department, but you can sustain the fight a lot better when you are using a one-bar oakensoul setup. According to these testings, it'd be a lot better for you to run a one-bar oakensoul setup if you are planning on doing solo content, but it does limit your toolkit by halving your available slots. The oakensoul setup used here lacks survivability tools and thus it might not be a good idea to use in solo arenas for example.
Summary
It seems now we have a new topdog in stamina dds' trial sets: coral riptide. The set outperforms relequen, but carries the weight of being more difficult to pilot and risk your survivability. When used right, it will be the set to use in everything, but if the wearer does not respect the set, it will fail them.
When adding more splash damage to a single target setup, whorl will be the set to use. It does more AoE dps than relequen or than what riptide boosts, but does less single target than relequen or riptide. If building for more AoE, consider your sustain and the riptide. It might just shine over whorl when the setup is designed to deal splash damage, since the AoE difference between whorl and ST setup riptide was just a few thousands of DPS.
For easier-to-pilot builds, I recommend using the whorl of the depths. It does not have stacks to play around, but a proc going off of your light attacks, which goes on a cooldown after proccing. If you need medium armor, you can frontbar the set, but it also allows you to add more light armor pieces when light armor is needed.
Oakensoul is weaker single target wise in group content by a significant margin, which means you should steer away from it when planning to do group content like dungeons and trials. It might have uses in solo scenarios, so do not discard it as junk.