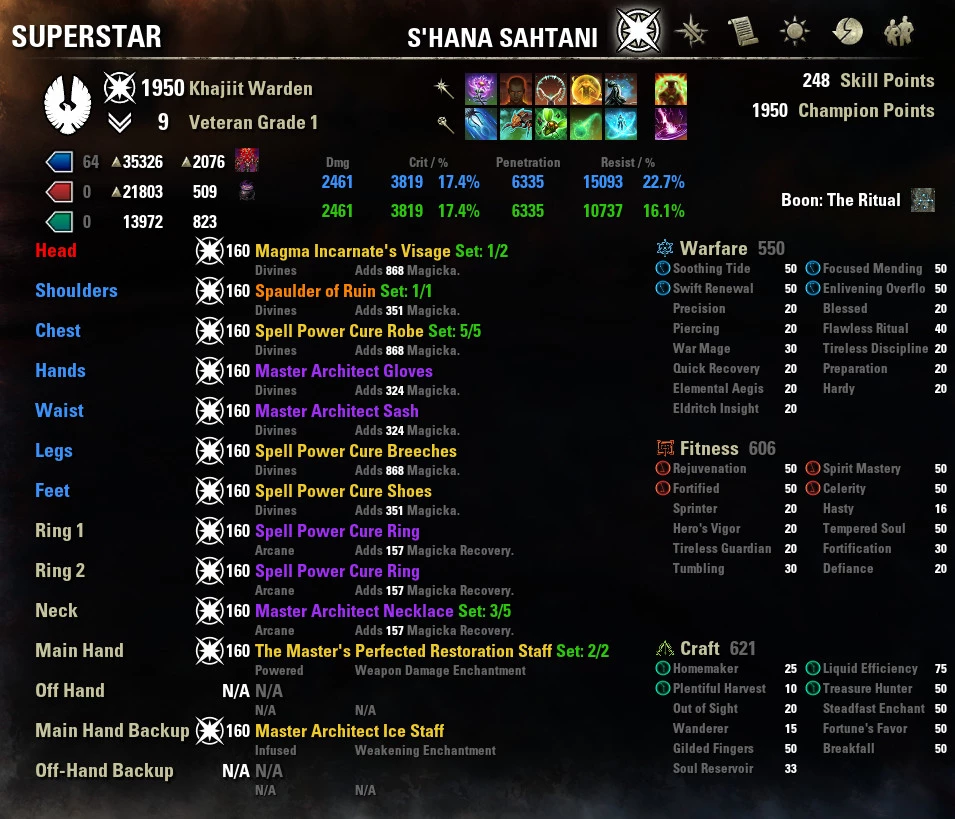
Frontbar:
Budding Seeds - AoE heal for the tank due to the attached synergy
Combat Prayer - Main burst heal
Radiating Regeneration - Use 1 or 2x in a row. 2x will hit all group members, 1x will hit three
Healing Ward - Flex spot, good for DPS that are running around out of stack, their health is low, and you don't know where they are to combat prayer them
Healing Springs - AoE heal for the DPS
Reviving Barrier - Use if absolutely necessary, probably will not use in a PuG environment so you could use a bar buffer, like bear, but barrier will also give you magicka regeneration
Backbar:
Blue Betty - Sustain and major sorcery, assuming that the tank does not have a source of major sorcery (they likely do not)
Deep Fissure - AoE major and minor breach + some damage, assuming the tank does not have AoE major and minor breach
Fetcher Infection OR Growing Swarm - Minor vulnerability + damage, either morph will work in this case since you do not need to apply it to multiple targets at once except in trash, where infestation will work fine
Energy Orb - Sustain for the DPS and importantly, the tank. Make sure to aim it well and if you have to choose, aim towards the tank
Expansive Frost Cloak - Major resolve, needed for tank if they do not have it themselves (they should, but this is a PuG, you never know), useful for DPS who may be standing in stupid
Aggressive Horn OR Destro Ult - Your ultimate to proc MA, use on bosses. I use Destro as to not have to deal with ults if the tank is also using horn, but horn is considered the better choice
 English
 Deutsch
 Français
 Русский


