- Why you should pick a Dual Wield One Bar Warden Build in ESO?
- Resource Management
- Potions
- Rotation
- Healing
- Werewolf (Optional)
- Outfit
If you like the build please give it an upvote :)
The Stamina One Bar Warden Build with a Dual Wield spec is made for players that prefer one bar setups in ESO (Elder Scrolls Online). The build has three different setups. A best in slot, a beginner and a Werewolf setup. You don't need Werewolf for this build, but for players that enjoy playing Werewolf you can use it.
The Best in Slot setup uses 1x Oakensoul Ring, 5x Perfected Arms of Relequen, 5x Tzogvin's Warband and 1x Slimecraw. These item sets might be a bit tricky to obtain, therefore the beginner setup is easier to get because you can simply craft 12x Druid's Braid. The Werewolf setup is identical to the Best in Slot it just showcases the Werewolf skills.
Why you should pick a Dual Wield One Bar Warden Build in ESO?
One Bar Builds have been very powerful and have even become more powerful with the recent addition of the Oakensoul Ring which gave the one bar builds another insane power boost.
Wardens in ESO actually make great melee fighters because they have high speed and a very easy rotation on a one bar build.
The Wild Guardian ultimate is always active and deals damage on its own. You can also activate its strong ability every now and then to deal an insane amount of damage. Our main spammable is Cutting Dive in combination with Subterranean Assault that deals good burst damage and Fetcher Infection which is a DoT (damage over time) and also increases our damage on the enemy thanks to the Minor Vulnerability debuff.
We also use Winter's Revenge that deals great AoE (area of effect) damage on the ground.
Resource Management
The sustain is great on this setup because we have a good mix of stamina and magicka cost abilities. In theory you don't really need any resource management if you equip the Oakensoul Ring and use potions on cooldown. We are using the Lava Foot Soup-and-Saltrice buff food which gives us extra stamina and a lot of extra stamina recovery.
Potions
You can just use normal cheap potions for this setup because we have access to all the Major buffs that we need. If you have a lot of gold you could technically use the Minor Heroism potion that I added to this build. This will increase ultimate regeneration a little bit. But the potions are super expensive and therefore if you don't have access to them, don't worry about it. Just use normal cheap potions to get a bit of resources back.
Rotation
- Your main spammable is Cutting Dive. Always use this whenever you have nothing else to do.
- Keep Subterranean Assault up
- Keep Fetcher Infection on the enemy at all times.
- Keep the Winter's Revenge always below the enemy.
- Activate Wild Guardian attack whenever you have enough ultimate.
- Bird of Prey is only passively slotted for the Minor Berserk and if you activate it you can also use it for the Major Expedition speed buff.
Healing
If you are playing in a group you don't need to slot extra healing abilities. However, if you play alone remove Bird of Prey and replace it with Living Trellis. This will be your main heal.
Werewolf (Optional)
You can use Werewolf Berserker form with this setup if you want.
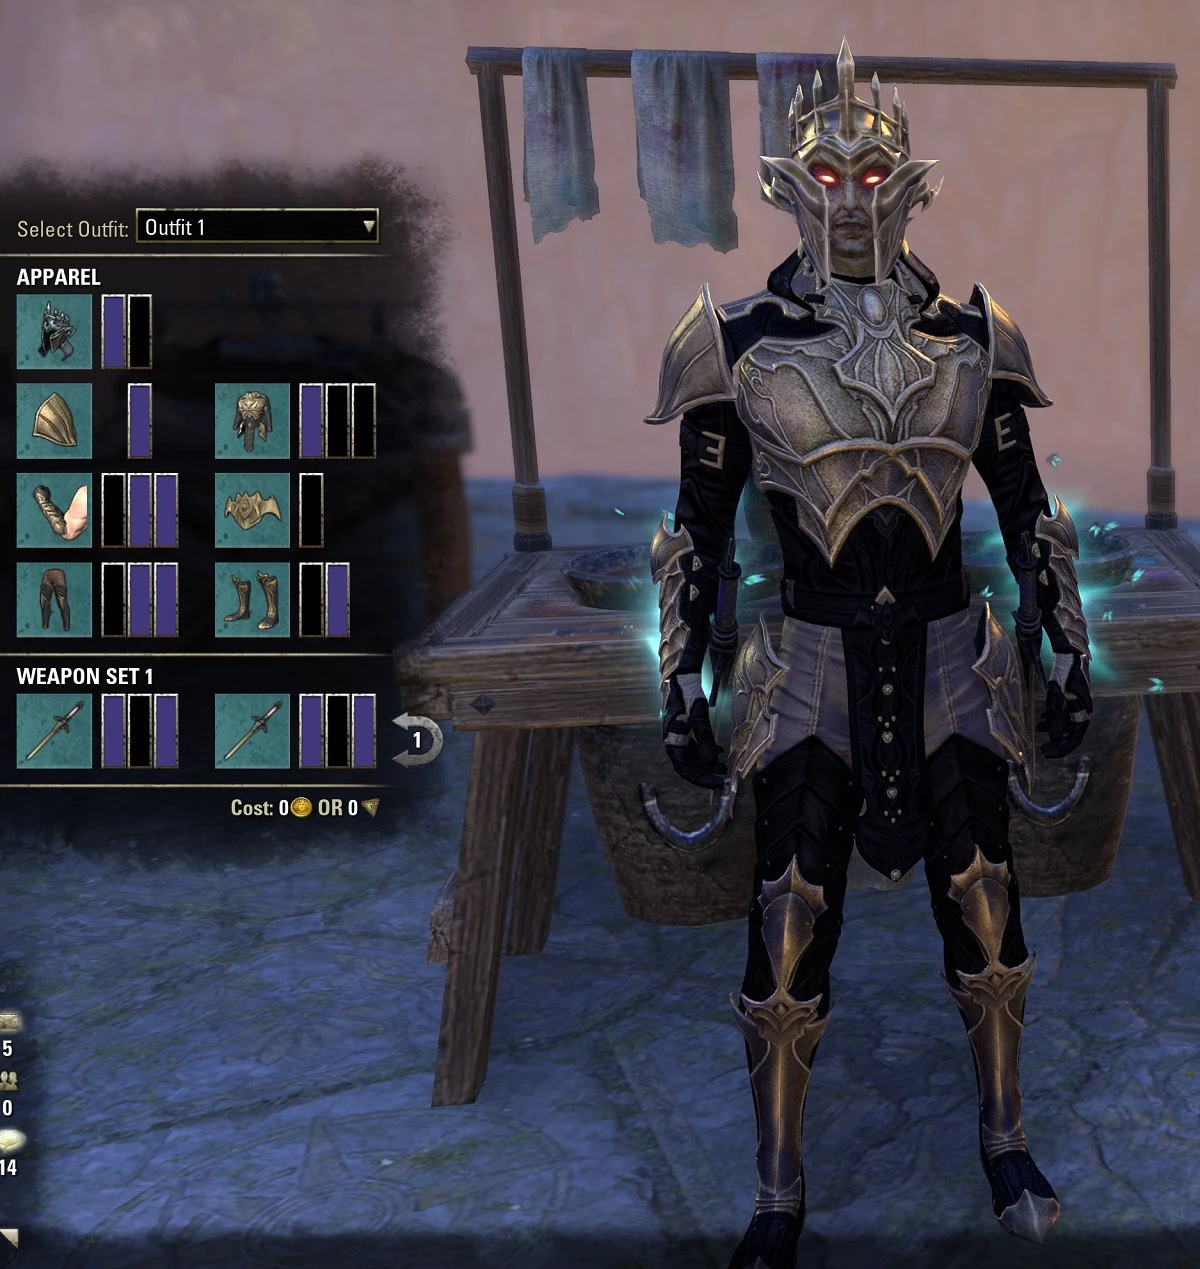
Outfit
The outfit I was wearing is the Greymoor Motif with a mix of the Frozen Blood and Transliminal Violet Dye. I also used the [Reanimated Vampiric Thrall] skin.
 English
 Deutsch
 Français
 Español


